Autopapyrus · Chery Tiggo 4 1.5 Turbo (2024)
https://autopapyrus.com/catalog/chery/tiggo-4/guides/accessory-drive-belt-alternator-belt-replacement/
https://autopapyrus.com/catalog/chery/tiggo-4/guides/accessory-drive-belt-alternator-belt-replacement/
Compiled automatically from service literature and owner experience. Specs are for the typical configuration — check them against your exact car before you start.
Chery Tiggo 4 1.5 Turbo (2024): Accessory Drive Belt (Alternator Belt) Replacement
The 1.5 Turbo uses a single serpentine belt that drives the alternator and other accessories. Replace it if you see cracks, separation, oil stains, squealing, or worn ribs. The job doesn't require removing the engine, but you need careful access to the tensioner. The exact routing diagram and belt size aren't given in publicly available materials, so take a photo of the old routing before removal.
Diagram: where the alternator belt is and how it runs over the pulleys and tensioner
Tap to enlarge
- 1Serpentine belt: inspect for cracks, delamination and oil. Photograph its routing before removal. Fit the new one the same way so the ribs sit in the grooves.
- 2Tensioner: a spring-loaded roller with a square or hex hole for a wrench. Fit the wrench and turn it against the spring to slacken the belt. Hold it and slip the belt off the most accessible pulley.
- 3Alternator: the belt runs on its pulley. It is convenient to take the belt off here first and put it on last.
- 4Crankshaft pulley: the belt runs in its grooves. Turn the crankshaft by hand one or two turns using the pulley bolt and check that the belt does not slip.
- 5Idler pulley: spin it by hand, it must turn smoothly without noise or play. Replace a noisy or loose one together with the belt.
Parts
3| № | Part | Alternatives |
|---|---|---|
| 01 | Serpentine (poly-V) accessory drive belt (alternator, coolant pump) for 1.5 Turbo enginematch rib count and length to the old beltFind on Amazon → | AlternativesGatesContitechBosch |
| 02 | Automatic drive belt tensionerif wornFind on Amazon → | AlternativesGatesContitechBosch |
| 03 | Drive belt idler pulleyif wornFind on Amazon → | AlternativesGatesContitechBosch |
Amazon links search by the part name; use Amazon's fit check for your car before ordering. We may earn a commission from qualifying purchases.
Tools
6Step by step
14 steps- Shut off the engine and let it cool down. Disconnect the negative battery terminal.
- If needed, remove the plastic engine cover and the engine bay undercover. If access is poor, remove the right front wheel and the fender liner. If you raise the car with a jack, always support it on jack stands.
- Inspect the belt for cracks, tears, separation, melted ribs, and signs of oil or coolant. If the belt is soaked in oil or coolant, fix the leak first, or the new belt will fail quickly.
- Photograph or sketch the belt routing over the pulleys. Mark the belt's position on the crankshaft, the alternator, and the other pulleys.
- Locate the tensioner: a spring-loaded pulley with a square or hex opening for a wrench. Fit a wrench or breaker bar on the pulley and turn it against the spring pressure until the belt goes slack. Hold it in that position.
- Slip the belt off the most accessible pulley, for example the alternator, then slowly release the tensioner.
- Check the pulleys and idlers. Spin them by hand: they should turn smoothly, without noise, play, or binding. Clean any dirty grooves. Replace a noisy or wobbly idler or tensioner along with the belt.
- Compare the new belt with the old one: the length, width, and number of ribs must match.
- Install the new belt following the routing diagram. First put it on all pulleys except the last accessible one, and make sure the ribs sit in the grooves.
- Turn the tensioner again, slip the belt onto the last pulley, and slowly release the tensioner.
- Check the fit: the belt should sit evenly in the grooves, without twisting or ribs sticking out. Turn the crankshaft by hand one or two revolutions using the pulley bolt, and make sure the belt doesn't slip off.
- Reinstall everything you removed. Tightening torques for the undercover, fender liner, and wheel fasteners should follow the manufacturer's specifications. For wheel bolts, it is usually 100-120 N·m (74-89 lb-ft) (approximate). If you replaced the tensioner or an idler, tighten their bolts to the specified torque as well.
- Reconnect the battery, start the engine, and let it run for 1-2 minutes. Listen: there should be no squealing or grinding, and the belt should not wander. Make sure the battery charge light is off.
- Recheck the belt after a few days of driving.
Common mistakes and warnings
- Work only on a cold engine with the engine off, and keep your fingers away from the space between the belt and the pulley
- Check the tightening torques and exact belt size against the manufacturer's specifications, as there is no public data for this version
- If you aren't sure of your skills, have a repair shop do the job
- The timing belt is a separate component, and if it is damaged the engine can be damaged, so do not use this guide to replace it
Spotted a mistake? Tell us →
Our articles
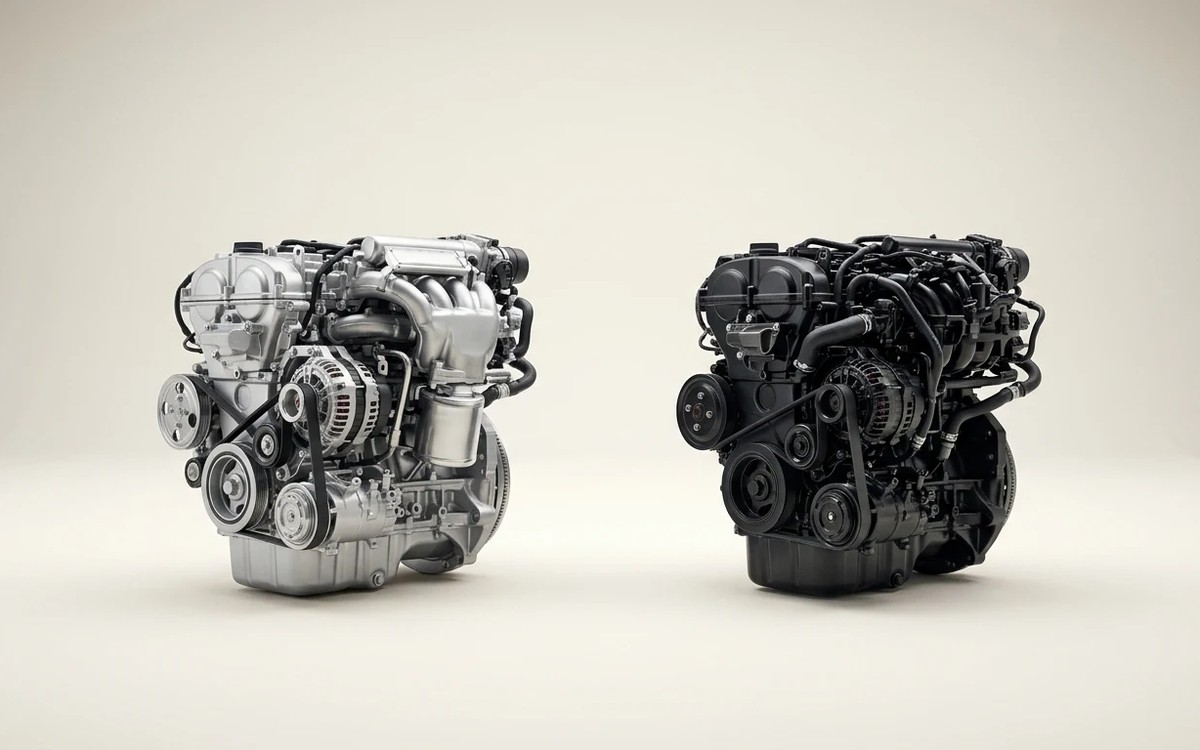 Before you buy
German Turbo Engines vs. Chinese Ones: Which Lasts Longer? An Honest Look at Engine Life
Volkswagen 1.4 and 2.0 TSI, BMW N20 and Mercedes M274 versus Haval, Chery and Geely engines: lifespan benchmarks…
Read →
 Garage
Fuel Quality Indicators: What Octane and Cetane Numbers Mean
What is an octane number? What about a cetane number? Which fuel should you choose for a high-compression engine?…
Read →
 Before you buy
How to Pick Up Your Car from the Dealership the Right Way
If you've decided to buy a car from a dealership, it isn't enough to simply choose a model you like, pay for it, and…
Read →