https://autopapyrus.com/catalog/ford/focus/guides/automatic-transmission-valve-body-repair/
Ford Focus IV 8F35 Automatic Transmission (2019): Valve Body Repair
The 2019 Focus IV has the 8F35 eight-speed automatic transmission. Typical reasons to open the valve body are a missing or delayed reverse gear (code P0766), harsh shifts and slipping, and limp mode. On the 8F35, a common cause is a clogged or damaged separator plate (a dislodged ball, clogged calibrated orifices), as well as solenoid wear. The job requires cleanliness and a scan tool for adaptation. This guide describes removing the valve body by taking off the pan, without removing the transmission, if access to the fasteners allows. If the valve body on your transmission version is covered by a housing, partial disassembly will be needed, and that is a separate job.
Key figures
- Shift adaptation speedaccelerate to this speed during adaptation after the repair (step 31)about 80 km/h (50 mph)
- Shift engine speedshift gears at these speeds during adaptation, three times at each (step 31)about 2000 rpm, then about 3000 rpm
- Hold time in eighth gearhold top gear this long or until torque converter lockup engages (step 31)at least 30 seconds
Check these values against the manufacturer’s specification for your vehicle before you start.
Diagram: where the separator plate and solenoids of the 8F35 valve body are and how to inspect them
- 1Separator plate: after splitting the valve body halves, check its holes for clogging and signs of a knocked-out ball, and check the gaskets. A damaged plate is a common cause of lost reverse.
- 2Valve body mounting bolts: loosen from center to edges in several passes and lay them out by length.
- 3Valve body housing: the cast part with passages that carries the solenoids. Do not turn it over: balls and springs may be inside.
- 4Solenoid connectors: unplug carefully, the plastic is brittle, remember the position of each.
- 5Solenoids: remove one at a time and mark their positions; solenoids of different groups are not interchangeable.
Parts
7| № | Part |
|---|---|
| 01 | 8F35 transmission pan gasket and seal kitFind on Amazon → |
| 02 | 8F35 transmission oil filter with pan gasketFind on Amazon → |
| 03 | Ford Mercon ULV transmission fluid for 8F35Find on Amazon → |
| 04 | 8F35 valve body separator plateif wornFind on Amazon → |
| 05 | 8F35 pressure control solenoidsif wornFind on Amazon → |
| 06 | 8F35 torque converter lockup solenoidif wornFind on Amazon → |
| 07 | 8F35 complete valve bodyif wornFind on Amazon → |
Amazon links search by the part name; use Amazon's fit check for your car before ordering. We may earn a commission from qualifying purchases.
Tools
10- lift or pit Amazon →
- jack and jack stands Amazon →
- socket set and Torx wrenches Amazon →
- low-range torque wrench (5-25 N·m / 4-18 lb-ft) Amazon →
- scan tool with Ford support (FDRS/IDS or equivalent) Amazon →
- drain pan (at least 10 L (10.6 qt)) Amazon →
- automatic transmission fluid fill pump Amazon →
- residue-free cleaner Amazon →
- lint-free wipes Amazon →
- containers and a marker for laying out parts Amazon →
Read the codes yourself
A scanner plugged into the OBD2 port under the dashboard shows which fault codes the car has stored, before you buy any parts. Cars sold in the US from 1996, and petrol cars in Europe from 2001 (diesels from 2004), have this port.
- Basic code reader, about $20–40: reads and clears engine codes Amazon →
- Bluetooth scanner with a phone app, about $30–100: live sensor data, and on many cars ABS and airbag codes too Amazon →
Check that the scanner lists your make and model year before you buy. We may earn a commission from qualifying purchases.
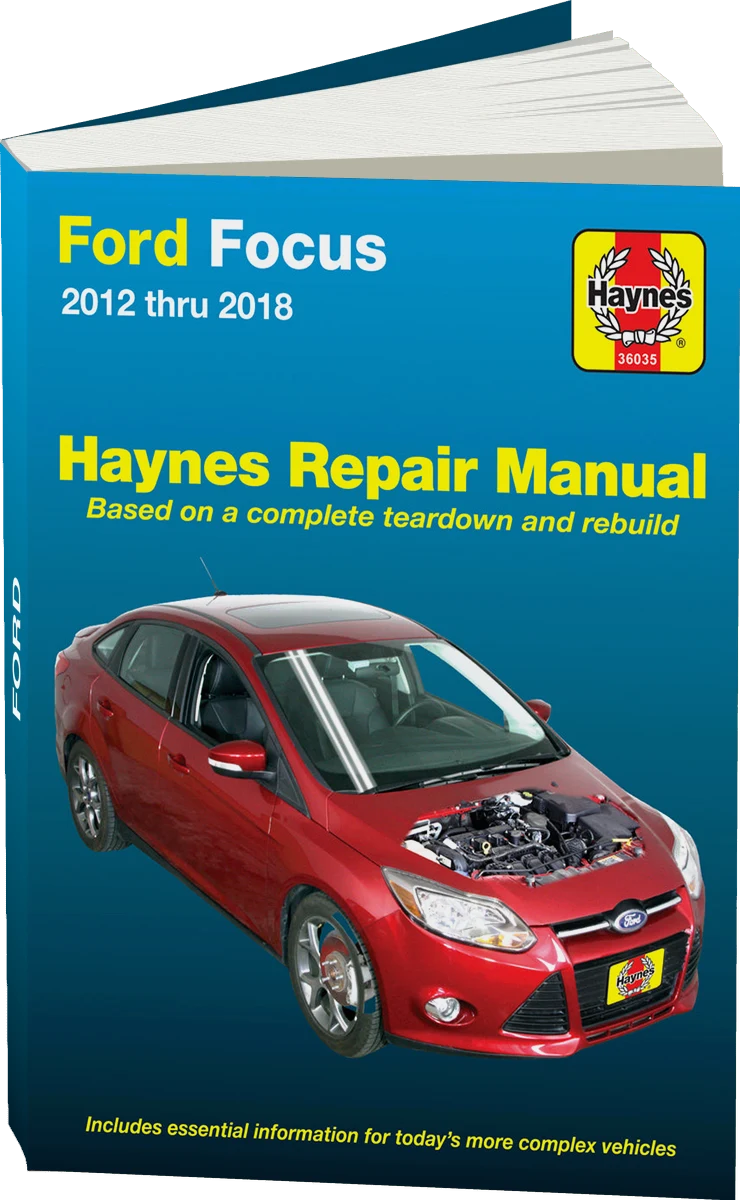 There's a full repair manual for this car
Every system, wiring diagrams and torque specs — not just this job. Haynes and 25 more.
See manuals →
Step by step
34 steps · 7 stagesStage 1 of 7 Diagnostics and preparation 5 steps
- Read the codes with a scan tool (P0766, U2100/U2101, solenoid and sensor faults). Record the fluid temperature and pressure data. If the recording points to a mechanical fault in the valves or solenoids, opening the valve body is justified.
- Check whether a transmission control module software update is available. Some complaints of harsh engagement are fixed by reflashing rather than repair.
- Make sure the fluid is not burnt and contains no metal shavings. A lot of metal in the fluid means the problem is not only in the valve body, and the repair may be pointless.
- Prepare a clean workspace: the valve body is sensitive to dust and lint. Get containers to sort the bolts into groups (the bolts have different lengths).
- Warm the transmission to operating temperature, put the vehicle on a level lift, and disconnect the battery.
Stage 2 of 7 Draining the fluid and access 4 steps
- Remove the engine undershield and, if necessary, the front part of the subframe shield.
- Place a drain pan under the transmission and drain the fluid through the pan drain hole. The level in this transmission is checked by temperature, so note the volume of fluid drained.
- Remove the pan bolts in a crisscross pattern, then remove the pan and gasket. Inspect the magnet and the bottom of the pan for metal dust and fragments of friction material.
- Remove the transmission fluid filter if it blocks access to the valve body. Always replace the filter with a new one.
Stage 3 of 7 Removing the valve body 5 steps
- Disconnect the valve body and solenoid connectors and note the position of each. Release the connector locks carefully, because plastic on transmissions becomes brittle with age.
- Disconnect the fluid temperature sensor (located on the valve body) and the pressure sensor connectors.
- Photograph the position of the valve body, the shift lever, and the park mechanism parts (locking lever, shaft).
- Remove the valve body mounting bolts from the center outward, evenly, in several passes. Lay out the bolts of different lengths according to their removal pattern.
- Carefully lift the valve body, disconnect the range selector linkage or lever while supporting the body from below. There may be balls, springs, and small parts inside, so do not turn the body over.
Stage 4 of 7 Disassembly and assessment of the valve body 6 steps
- Place the valve body on a clean surface. Open it only if you are ready to keep all the parts in order: lay out the pistons, springs, balls, and valves according to the diagram in the sequence in which they were installed.
- Remove the solenoids and the plate that retains them. Mark each solenoid and its position.
- Separate the halves of the body and remove the separator plate. Inspect the holes in the plate for clogging and for signs of a dislodged ball, and check the plate gaskets. A damaged plate is a common cause of lost reverse gear on the 8F35.
- Clean the parts with cleaner and blow out the passages with compressed air. Do not sand anything with emery cloth: the valves are calibrated. The spool valves must slide freely in their bores under their own weight.
- Replace damaged parts: the plate, solenoids, gaskets, and seals. If wear of the spool valves or the body is obvious, install a complete valve body.
- When replacing the valve body or the solenoid block, transfer the new strategy and Body ID label from the box of the new part onto the transmission case. The control module needs this data for correct adaptation. Solenoids from different groups are not interchangeable in terms of flow characteristics.
Stage 5 of 7 Assembly and installation 6 steps
- Reassemble the valve body in reverse order and lubricate the seals with clean transmission fluid. Tighten the bolts that join the body halves evenly in a crisscross pattern with a torque wrench, approximately 5-10 N·m (4-7 lb-ft) (exact torque per the manufacturer's specification).
- Install the valve body, connect it to the range selector lever, and make sure the park mechanism is seated correctly.
- Thread in the valve body fasteners by hand from the center outward, then tighten them in two to three passes, approximately 8-12 N·m (6-9 lb-ft) (exact torque per the manufacturer's specification).
- Connect all connectors and the temperature sensor. Check that the wiring harness is not pinched.
- Install a new filter and the pan with a new gasket. Tighten the pan bolts in a crisscross pattern, approximately 8-12 N·m (6-9 lb-ft) (exact torque per the manufacturer's specification).
- Install the drain plug with a new seal, torque per the manufacturer's specification.
Stage 6 of 7 Refilling and adaptation 5 steps
- Fill with fluid of the same specification (Mercon ULV, quantity per the drained volume and the manufacturer's specification) through the fill hole using the pump.
- Connect the battery. Start the engine and, with the vehicle stationary, cycle through all selector positions, pausing 3-5 seconds in each.
- Warm the transmission to operating temperature (by fluid temperature on the scan tool) and check the level using the manufacturer's procedure through the check hole. Add fluid or drain the excess.
- Clear the codes with the scan tool. If the control module sets U2100/U2101 after replacing the valve body or solenoid block, perform module configuration in FDRS (Module Configuration, As-Built).
- Reset and adapt the shift points: warm up the engine and transmission, then on the road accelerate from a stop to about 80 km/h (50 mph), shifting at about 2000 rpm, and hold eighth gear for at least 30 seconds or until torque converter lockup engages. Repeat three times. Then repeat the same with shifts at about 3000 rpm.
Stage 7 of 7 Testing 3 steps
- Take a 20-30 minute test drive: gentle and hard acceleration, manual mode, and engaging reverse after a stop.
- After the drive, check for leaks from the pan and the plug, and repeat the level check with the transmission hot.
- After 500-1000 km (300-600 mi), inspect the pan again and read the codes.
Common mistakes and warnings
- This job requires spotless cleanliness and knowledge of the 8F35's design
- A mistake when assembling the valve body (a lost ball or a mixed-up solenoid) leads to severe transmission damage
- If you have no experience with automatic transmissions, leave the job to a specialized transmission shop
- Spring-loaded valve body parts can fly out during disassembly, so wear safety glasses
- Unbranded solenoid kits without group and strategy markings often cause harsh and jerky shifts, so use original or well-proven parts
- The torque values in this guide are approximate, so check the exact values against the manufacturer's specification
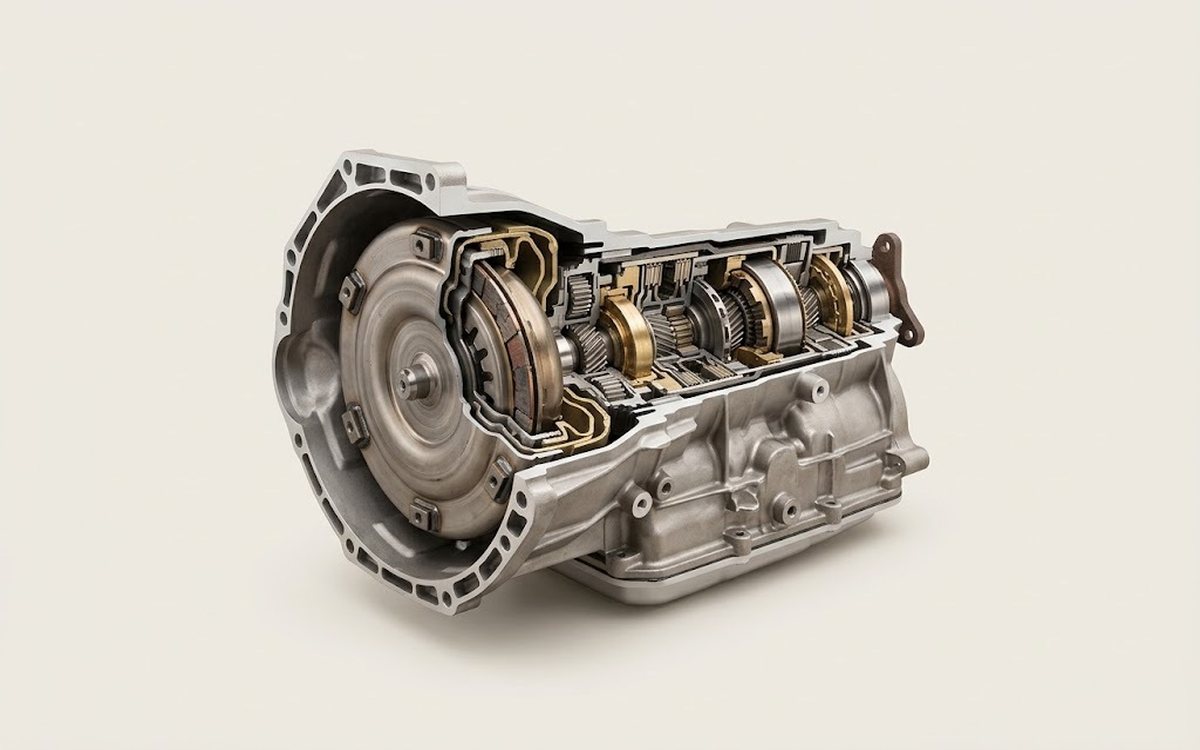 How it works · 3D
How an Automatic Transmission Works
How the part you're working on actually works — in plain English, on a 3D model.
Open in 3D →
Spotted a mistake? Tell us →
Our articles
 Brand stories
The History of Ford
Ford Motor Company is the largest American automaker by heritage and one of the most recognizable car brands in the…
Read →
 Garage
Fuel Quality Indicators: What Octane and Cetane Numbers Mean
What is an octane number? What about a cetane number? Which fuel should you choose for a high-compression engine?…
Read →
 Before you buy
How to Pick Up Your Car from the Dealership the Right Way
If you've decided to buy a car from a dealership, it isn't enough to simply choose a model you like, pay for it, and…
Read →