Autopapyrus · Honda CR-V 2.4 i-VTEC K24W9 (2013)
https://autopapyrus.com/catalog/honda/cr-v/guides/valve-cover-gasket-replacement/
https://autopapyrus.com/catalog/honda/cr-v/guides/valve-cover-gasket-replacement/
Compiled automatically from service literature and owner experience. Specs are for the typical configuration — check them against your exact car before you start.
Honda CR-V 2.4 i-VTEC K24W9 (2013): Valve Cover Gasket Replacement
Oil leaking around the edge of the cover, or oil in the spark plug wells, means the gasket needs replacing. The spark plug tube seals are replaced along with it: they age just as fast, and oil gets through them onto the spark plugs and ignition coils. To get access, you remove the ignition coils and several accessories. The torque values below are approximate, so check the exact figures against the manufacturer's service manual.
Key figures
- Cover bolt tightening torqueset it on the torque wrench in step 13; tighter risks stripping the threads or crushing the gasketabout 12 N·m (9 lb-ft)
- Time to install the cover after applying sealantkeep to it in step 10, otherwise the sealant has to be removed and applied again5 minutes
- Wait before starting the enginelet the sealant cure (step 16)about 3 hours
Check these values against the manufacturer’s specification for your vehicle before you start.
Parts
4| № | Part | Alternatives |
|---|---|---|
| 01 | K24 valve cover gasket set (gasket, 4 spark plug tube seals, rubber cover bolt washers)Find on Amazon → | AlternativesFel-ProVictor ReinzAjusa |
| 02 | Honda liquid gasket sealantFind on Amazon → | |
| 03 | Engine oilif the oil was drainedFind on Amazon → | |
| 04 | Oil filterif the oil was drainedFind on Amazon → |
Amazon links search by the part name; use Amazon's fit check for your car before ordering. We may earn a commission from qualifying purchases.
Tools
8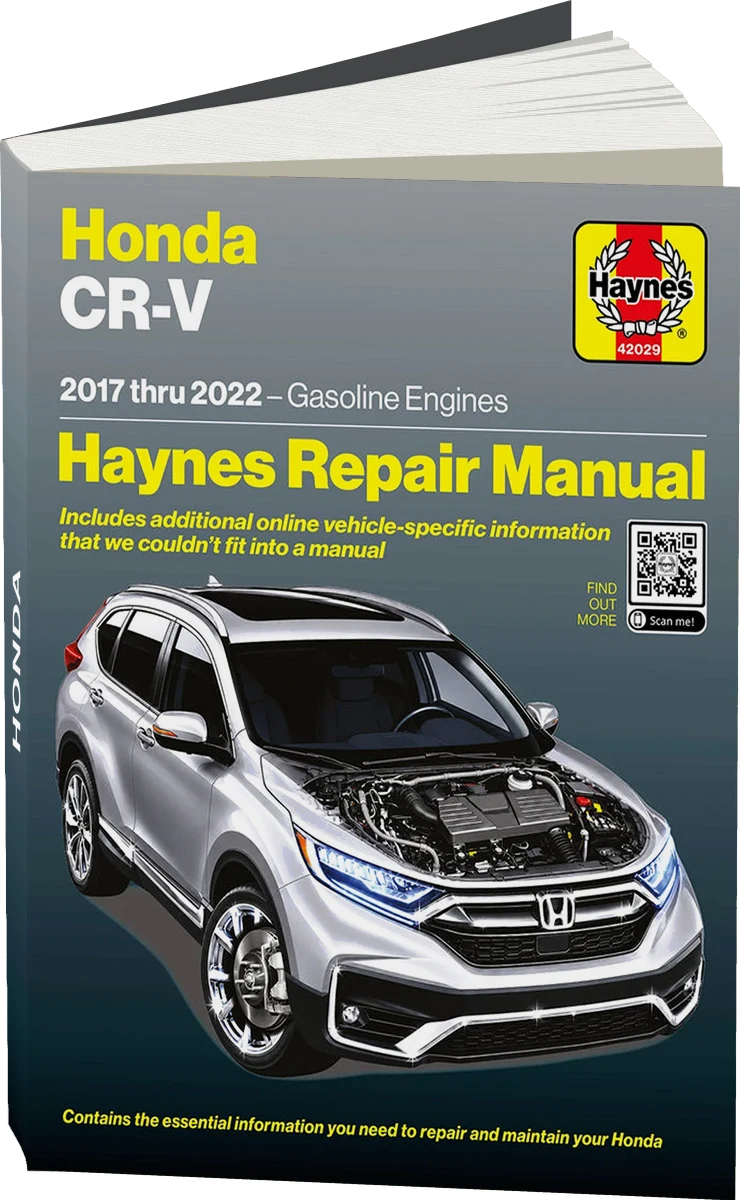 There's a full repair manual for this car
Every system, wiring diagrams and torque specs — not just this job. Haynes and 8 more.
See manuals →
Step by step
17 steps- Work on a cold engine. Disconnect the negative battery terminal. If needed, park the car on level ground and set the parking brake.
- Remove the decorative engine cover (the intake manifold cover).
- Disconnect the connectors of the four ignition coils and pull the coils out. Mark them by cylinder.
- Disconnect the connector of the EVAP canister purge valve. Remove the two bolts of its bracket and move the valve aside.
- Pull out the oil dipstick. Remove the breather (crankcase ventilation) hose and the power steering hose clamp, if it is attached to the cover. Move aside any hoses and wires that get in the way of removing the cover.
- Blow out or wipe out the spark plug wells so dirt doesn't get into the engine. Remove the cover bolts from the edges toward the center, in two or three passes. Remove the cover, rocking it slightly. If it is stuck, carefully pry it at the raised tabs. Do not hammer a screwdriver into the mating surface.
- Remove the old spark plug tube seals and take the old gasket out of the cover groove. Clean the cover groove and the cylinder head mating surface of oil and old sealant residue. Then degrease them. Make sure no debris falls into the engine. The surfaces must be clean and dry.
- Check the rubber washers of the cover bolts. If they are damaged or hardened, replace them.
- Lay the new gasket into the cover groove. Check that it is seated all the way around.
- Apply liquid sealant at the joints with the timing chain case and at the fifth rocker arm support (the support farthest from the chain). You must install the cover within 5 minutes of applying the sealant. If the time runs out, remove the fresh sealant, clean the application areas and apply it again.
- Fit the new seals onto the spark plug well tubes. Press them in evenly, without tilting. Use the driver or a piece of wood through a rag and push smoothly so you don't tear the edge.
- Set the cover onto the cylinder head and move it slightly back and forth so the gasket settles into place.
- Tighten the cover bolts in two or three stages, from the center toward the edges. On the last pass, tighten them with a torque wrench to about 12 N·m (9 lb-ft) (approximate, check against the service manual). Do not overtighten: the threads in the aluminum head and the gasket itself cannot take it.
- Reinstall the two EVAP valve bracket bolts, the power steering hose clamp, the breather hose and the oil dipstick. Connect the EVAP valve connector.
- Install the ignition coils and connect their connectors. Install the decorative cover and reconnect the battery.
- Let the sealant cure. The usual recommendation is not to start the engine for about 3 hours after installing the cover. If the oil was drained, don't refill it right away: wait at least 30 minutes.
- After the wait, start the engine. Warm it up and inspect the cover around its edge and the spark plug wells. The next day, check the oil level and make sure there are no leaks.
Common mistakes and warnings
- Do not use general-purpose silicone instead of Honda liquid sealant: excess sealant can get into the oil passages
- Do not let dirt get into the spark plug wells or the engine while the cover is off
- If oil has already gotten into the spark plug wells, inspect the coils and boots: oil-soaked coils are best replaced
- If you have no experience working on engines, take the car to a repair shop
Spotted a mistake? Tell us →
Our articles
 Brand stories
The History of Honda
The founder of the famous company, Japanese entrepreneur Soichiro Honda, was born in 1906 into the family of a poor…
Read →
 Garage
Fuel Quality Indicators: What Octane and Cetane Numbers Mean
What is an octane number? What about a cetane number? Which fuel should you choose for a high-compression engine?…
Read →
 Before you buy
How to Pick Up Your Car from the Dealership the Right Way
If you've decided to buy a car from a dealership, it isn't enough to simply choose a model you like, pay for it, and…
Read →