Honda CR-V — repair and maintenance
8 step-by-step guides · 9 repair manuals
V generation (RW) · 2017–presentIV generation (RM) · 2012–2016III generation (RE) · 2006–2011II generation (RD4-RD9) · 2001–2005I generation (RD1-RD3) · 1995–2000
Honda CR-V guides
350Engine92
- Valve Cover Gasket Replacement
- Valve Clearance Adjustment
- Valve Clearance Adjustment
- Servicing the lubrication system
- Diagnosing the engine condition
- Replacing the air filter
- Replacing the drive chain hydraulic tensioner
- Replacing the engine sealing parts
84 more
- Replacing the crankshaft main bearings
- Replacing the oil filter
- Replacing the front crankshaft oil seal
- Replacing the mounts and mounting brackets
- Replacing the piston rings
- Replacing the drive belt
- Replacing the intake manifold gasket
- Replacing the gasket and installation
- Replacing the camshafts
- Replacing the auxiliary drive belt
- Replacing the oil pan gasket
- Engine mechanical components
- Powertrain mountings: replacement
- Cleaning and installing the strainer
- Lapping the valves
- Checking and replacing the system filter gasket
- Checking and replacing the solenoid valve
- Checking and adjusting the valve clearances
- Checking the cylinder compression
- Checking the drive belt
- Checking the engine fuel system
- Checking the positive crankcase ventilation system
- Checking the lubrication system
- Checking the oil level
- Adjusting the valve clearances
- Repairing the cylinder block
- Spark plugs
- Removing and installing the intake manifold
- Removing and installing the supply valve
- Removing and installing the adsorber purge valve
- Removing and installing the control valve
- Removing and installing the oil pump
- Engine knocking noises
- Setting the piston of cylinder No. 1
- Piston and connecting rod assembly
- Engine assembly
- Replacing the automatic tensioner
- Replacing the air cleaner
- Replacing the EVAP canister two-way valve
- Replacing the EGR valve
- Replacing the positive crankcase ventilation valve
- Replacing the engine oil
- Replacing the valve guides
- Replacing the connecting rod bearing
- Replacing the pistons, piston pins and connecting rods
- Replacing the piston, piston pin and connecting rod
- Replacing the VTC actuator and the exhaust camshaft sprocket
- Replacing the EVAP canister
- Replacing the air filter element
- Replacing the connecting rod bearings
- Replacing the EVAP canister purge control solenoid valve
- Replacing the exhaust gas recirculation solenoid valve
- Replacing the EVAP canister vapor solenoid valve (Accord, Element)
- Starting the engine
- Valve clearances
- Oil pump
- Checking the automatic drive belt tensioner
- Inspecting the connecting rod bolt
- Checking the oil pressure
- Checking and replacing the engine oil
- Checking and adjusting the engine idle speed
- Checking the 2-way valve (except Element)
- Checking the crankshaft
- Checking the engine compression
- Checking the connecting rod and crankshaft play
- Checking the oil pump
- Checking the EVAP canister
- Checking the balance shafts
- Checking the starting system circuit
- Bleeding the automatic drive belt tensioner
- Adjusting the timing belt tension
- Repairing the petrol engine without removing it from the vehicle
- Engine repair
- Repairing the diesel engine without removing it from the vehicle
- Repairing the oil pump
- Repairing the intake and exhaust system
- Removing and overhauling the engine
- Removing and installing the intake and exhaust manifolds
- Removing and installing the crankshaft pulley
- Removing the valve rocker arm assembly
- Removing the valves, springs and valve stem seals
- Removing the cylinder head cover
- Installing the crankshaft oil seal (transmission side)
- Installing the timing chain
Suspension & steering39
- Upper Rear Trailing Arm Bushing Replacement
- Rear Trailing Arm Replacement
- Front Strut Mount and Bearing Replacement
- Rear suspension
- Front suspension repair
- Replacing the rear bushing
- Replacing the protective boot
- Replacing the left powertrain mount
31 more
- Replacing the outer tie rod end
- Replacing the lower torque rod
- Replacing the powertrain mounts
- Replacing the exhaust system hangers
- Replacing the power steering gear
- Replacing the tie rod
- Replacing the front suspension arm
- Replacing the stabilizer bar
- Replacing the front suspension stabilizer bar
- Replacing the tie rod boot
- Replacing the ball joint
- Lower control arm
- Inspecting and checking the steering
- Bleeding the power steering system
- Disassembling and assembling the shock absorber strut
- Adjusting the steering wheel position
- Adjusting the wheel alignment angles
- Steering column
- Steering gear
- Removing and installing the shock absorber strut
- Removing and installing the rear hub
- Removing and installing the rear suspension knuckle
- Removing and installing the steering knuckle
- Removing and installing the rear suspension crossmember
- Removing and installing the steering wheel
- Removing and installing the steering column
- Removing and installing the control arm
- Servicing the suspension and steering
- Checking and adjusting the power steering pump belt tension
- Repairing the suspension
- Repairing the steering
Electrical68
- Replacing the alternator
- Ignition switch (lock)
- Diagnosing the engine management system
- Replacing the instrument cluster
- Repairing the ignition system
- Removing and installing the ignition coils
- Removing and installing the starter
- Replacing the battery
60 more
- Replacing the immobilizer unit
- Replacing the climate control unit
- Replacing the ignition switch (lock)
- Replacing the fluid pressure sensor
- Replacing the throttle position sensor
- Replacing the selector position sensor
- Replacing the speed sensor
- Replacing the contact section of the switch (lock)
- Replacing the windshield wiper gear motor
- Replacing the steering column switches
- Replacing the cigarette lighter
- Replacing the electronic control unit
- Charging the battery
- Vehicle keys
- Fuse and relay boxes
- Lighting and audible/visual signaling
- Checking the exterior lighting
- Checking and replacing the sensors
- Checking and replacing the ignition coil
- Checking and adjusting the headlight aim
- Checking the spark plugs
- Checking the ignition system
- Checking the ignition timing
- Checking the electrical equipment
- Repairing the charging system
- Removing and installing the horns
- Removing and installing the information display
- Removing and installing the fuse and relay boxes
- Removing and installing the ignition distributor
- Troubleshooting the charging system by symptoms
- Diagnosing the starting system
- Troubleshooting by the number of PGM–Fi indicator light flashes
- Replacing the battery
- Replacing the oil pressure sensor
- Replacing the knock sensor
- Replacing the crankshaft position sensor
- Replacing the accelerator pedal position sensor
- Replacing the lighting
- Replacing the fuses
- Setting up the cruise control
- Instrument panel
- Checking and replacing the engine management system sensors
- Checking and adjusting the alternator belt tension
- Checking starter operation (Mitsuba 1.6 kW)
- Checking the starter operation (except KQ model)
- Checking starter operation (model KQ)
- Checking relay No. 2 of the PGM-FI fuel injection system (fuel pump)
- Checking the engine starting system
- Checking the parking assist system
- Checking the alternator control system
- Checking the alternator brushes
- Repairing the exterior lighting
- Repairing the anti-theft system
- Repairing the starting system
- Repairing the cruise control system
- Repairing the power windows
- Repairing the body electrical equipment
- Removing/installing the ignition coil
- Setting the ignition timing
- Reversing lights
Fuel system33
- Repairing the fuel vapor recovery system
- Replacing the fuel tank
- Replacing the charcoal canister
- Replacing the throttle body
- Replacing the fuel filter
- Refueling the vehicle
- Filling with gasoline
- Checking the fuel lines for leaks
25 more
- Checking the fuel pressure
- Checking and replacing the fuel pressure regulator
- Checking the fuel injectors
- Repairing the fuel system
- Relieving the fuel pressure
- Relieving the fuel system pressure
- Removing and installing the throttle body
- Removing and installing the fuel rail
- Cleaning the throttle body
- Replacing the accelerator pedal assembly
- Replacing the air filter housing
- Replacing the fuel pressure regulator
- Replacing the accelerator pedal cable
- Replacing the injectors
- Cleaning the throttle body
- Accelerator pedal
- Checking the throttle body
- Checking and adjusting the accelerator pedal cable
- Checking the low fuel level indicator
- Checking the fuel pump output
- Checking the fuel vapor recovery system
- Repairing the fuel supply system
- Removing and installing a fuel tube with a quick-connect fitting
- Removing and installing the fuel tank filler pipe
- Fuel pump
Body & glass8
Wheels & tires9
Brakes21
- Rear Brake Rotor Dimensions
- Adjusting the parking brake
- Brake system repair
- Brake master cylinder
- Rear brake assemblies
- Replacing the brake pads
- Replacing the brake fluid
- Replacing the brake hydraulic hoses
13 more
- Front brake assemblies
- Checking the brake hydraulic system for leaks
- Checking the brake pedal free play
- Checking the parking brake
- Checking the brake system
- Checking the level and topping up the brake fluid
- Bleeding the brake hydraulic system
- Removing and installing the brake vacuum booster
- Removing and installing the brake pedal
- Removing and installing the brake disc
- Rear wheel brake assemblies
- Front wheel brake assemblies
- Replacing the pressure regulator
Transmission23
- Diagnosing the propeller shaft
- Rear axle
- Replacing the steering column shaft
- Replacing the rear axle gear oil
- Replacing the transmission mount cushion
- Replacing the rear wheel drive shafts
- Replacing the front wheel drive shafts
- Replacing the rear axle final drive
15 more
- Replacing the gear selector
- Replacing the clutch
- Replacing the gear shift cable
- Adjusting the transmission control
- Inspecting the fluid coupling
- Automatic transmission repair
- Repairing the hydraulic clutch release system
- Manual transmission repair
- Gear shift lever
- Removing and installing the propeller shaft
- Replacing the propeller shafts
- Inspecting the condition of the transfer case
- Repairing the transmission
- Repairing the transfer case
- Removing and installing the transfer case assembly
Cooling system23
- Servicing the cooling system
- Replacing the coolant
- Replacing the water pump
- Replacing the cooling system radiator
- Replacing the thermostat 111
- Replacing the fluid lines
- Replacing the cooling system electric fan
- Coolant pump – replacement
15 more
- Servicing the air conditioning system
- Checking the cooling system
- Checking the thermostat
- Removing and installing the radiator shroud 84
- Removing and installing the expansion tank
- Water pump
- Replacing the radiator fan
- Replacing the cooling fan
- Replacing the coolant and bleeding air
- Checking and replacing the radiator cap
- Checking and adjusting the A/C compressor belt tension
- Checking the pipes and hoses
- Checking for coolant leaks
- Cooling system checks
- Repairing the air conditioning and heater system
Exhaust system13
Interior20
- Replacing the interior lighting
- Seat belts
- Rear seat
- Replacing the ashtray
- Replacing the cup holders
- Instrument cluster
- Adjusting the front seat position
- Adjusting the seat position
12 more
- Front seat belts
- Removing and installing the audio system
- Removing and installing the interior equipment
- Removing and installing the sun visors
- Instrument cluster
- Servicing the heating and ventilation system
- Airbags
- Adjusting the seats
- Repairing the air conditioner
- Repairing the automatic climate control air conditioner
- Repairing the seat heater
- Removing and installing interior components
Other jobs1
Need a job that isn't listed? A full repair manual for the Honda CR-V covers every system: wiring diagrams, torque specs, step-by-step photos.
Find a repair manual →Need a part? Search Amazon for Honda CR-V parts: filters, brakes, sensors, belts. Check the fit for your year and engine before you buy.
Find parts on Amazon →Honda CR-V repair manuals
9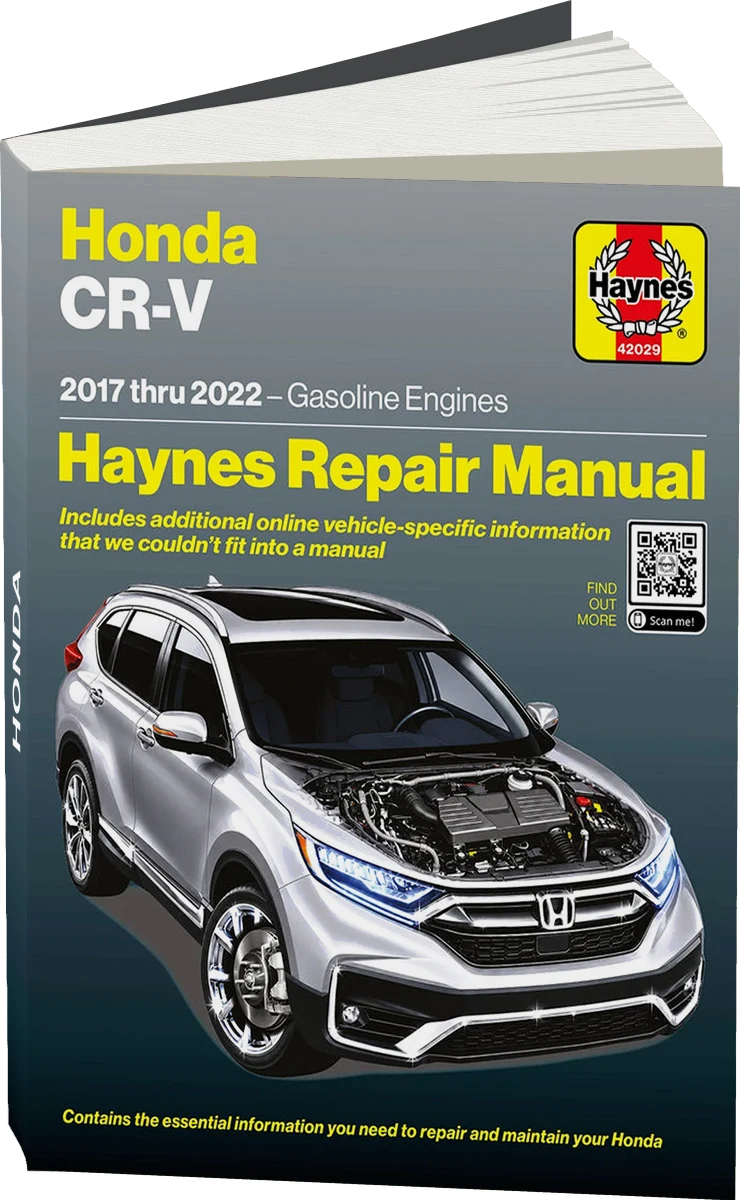
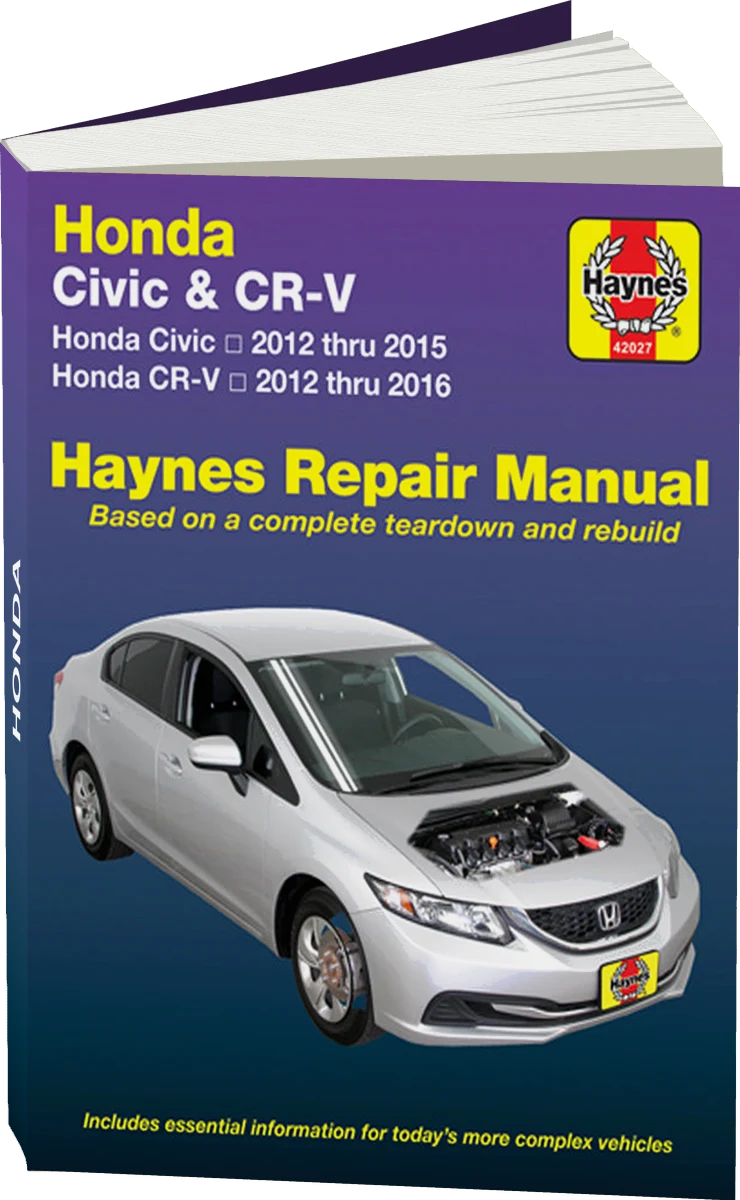
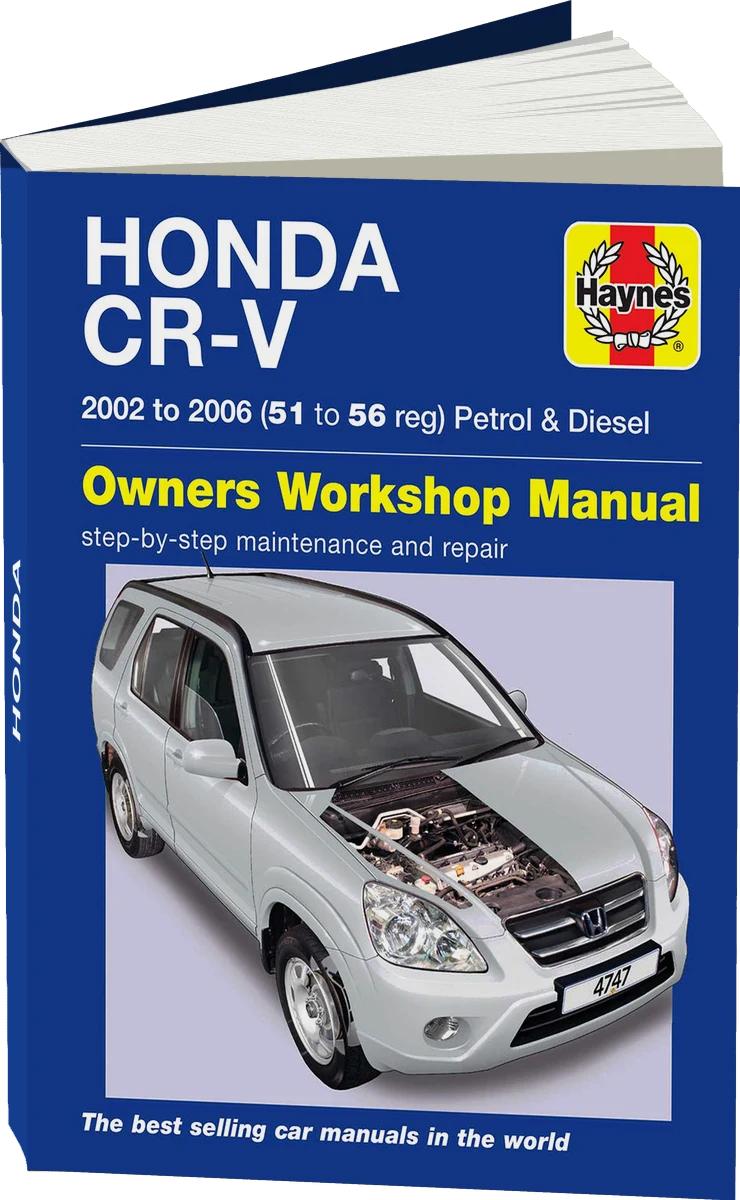

Honda CR-V (RW, RT) 2018 to 2025 Haynes Online Diagnostics & Service Guide
UK edition · online access
£28.79

Honda CR-V (RM, RE) 2013 to 2017 Haynes Online Diagnostics & Service Guide
UK edition · online access
£28.79

Honda CR-V (RE) 2007 to 2012 Haynes Online Diagnostics & Service Guide
UK edition · online access
£28.79

Honda CR-V (RD) 2002 to 2007 Haynes Online Diagnostics & Service Guide
UK edition · online access
£28.79

Honda CR-V (RD) 1997 to 2002 Haynes Online Diagnostics & Service Guide
UK edition · online access
£28.79
Manuals are written for specific model years — check that the years match your car. Prices are set by the seller.
How well do you know the Honda CR-V? Ten questions on its history, engines and records, with the answer explained after each pick.
Take the quiz →Our articles
 Brand stories
The History of Honda
The founder of the famous company, Japanese entrepreneur Soichiro Honda, was born in 1906 into the family of a poor…
Read →
 Garage
Fuel Quality Indicators: What Octane and Cetane Numbers Mean
What is an octane number? What about a cetane number? Which fuel should you choose for a high-compression engine?…
Read →
 Before you buy
How to Pick Up Your Car from the Dealership the Right Way
If you've decided to buy a car from a dealership, it isn't enough to simply choose a model you like, pay for it, and…
Read →