Autopapyrus · Honda CR-V 2.0 R20A (2018)
https://autopapyrus.com/catalog/honda/cr-v/guides/valve-clearance-adjustment-rw-2018/
https://autopapyrus.com/catalog/honda/cr-v/guides/valve-clearance-adjustment-rw-2018/
Compiled automatically from service literature and owner experience. Specs are for the typical configuration — check them against your exact car before you start.
Honda CR-V 2.0 R20A (2018): Valve Clearance Adjustment
The R20A engine has no hydraulic lash adjusters. Valve clearances are adjusted manually with screw-type adjusters. Honda's maintenance schedule calls for a check every 40,000 km (25,000 mi), or whenever you hear a characteristic valve tick on a cold engine. The procedure requires removing the valve cover, setting the pistons to TDC on the compression stroke, and adjusting the clearances with feeler gauges.
Parts
2| № | Part | Alternatives |
|---|---|---|
| 01 | Valve cover gasketFind on Amazon → | AlternativesVICTOR REINZ |
| 02 | Honda Bond sealantfor the joint between the cylinder head and timing chain coverFind on Amazon → |
Amazon links search by the part name; use Amazon's fit check for your car before ordering. We may earn a commission from qualifying purchases.
Tools
6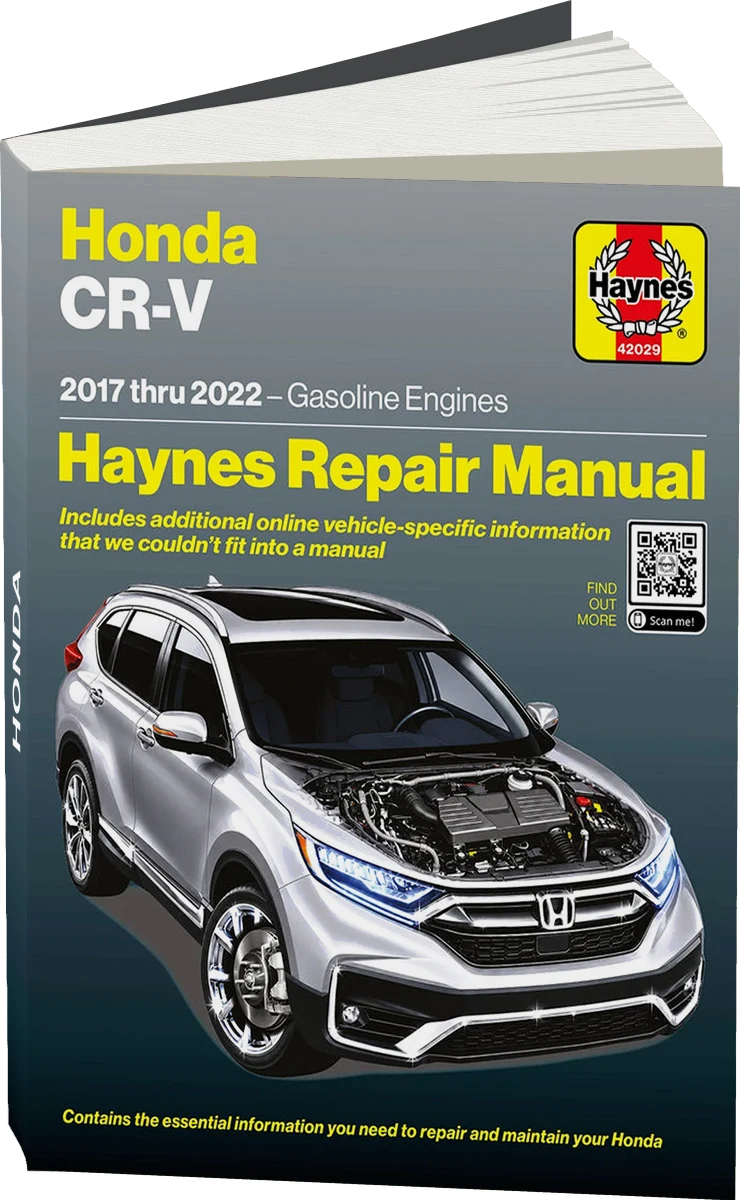 There's a full repair manual for this car
Every system, wiring diagrams and torque specs — not just this job. Haynes and 8 more.
See manuals →
Step by step
10 steps- Let the engine cool to below 38°C (100°F). Valve clearance must be adjusted only on a cold engine.
- Remove the decorative engine cover (if equipped) and disconnect the PCV ventilation hoses from the valve cover.
- Remove the 8 valve cover bolts (10 mm wrench, working around the perimeter) and carefully lift off the cover. If the gasket is stuck, pry gently with a plastic scraper, taking care not to damage the mating surface.
- Set the No. 1 cylinder piston to TDC on the compression stroke. Turn the crankshaft clockwise (viewed from the timing chain side) until the TDC mark on the camshaft sprocket lines up with the pointer on the cylinder head. Both valves of cylinder No. 1 must be closed (the rocker arms should move freely).
- Check the cylinder No. 1 clearances with feeler gauges: intake valve 0.18-0.22 mm, exhaust valve 0.23-0.27 mm. The gauge should slide in with slight drag. If it is too tight or too loose, adjust.
- To adjust: loosen the adjuster screw locknut (10 mm wrench) while holding the screw with a flat-blade screwdriver. Turn the screw until you reach the specified clearance, then tighten the locknut to 20 N·m (15 lb-ft) for intake or 14 N·m (10 lb-ft) for exhaust. Always recheck the clearance after tightening, because the torque can shift the setting.
- Rotate the crankshaft 180° (camshaft 90°) and adjust the next cylinder in firing order 1-3-4-2. Repeat the check and adjustment for all 8 valves.
- Clean the mating surfaces of the cylinder head and valve cover, removing any remnants of the old gasket. Fit the new gasket into the cover groove, and apply a thin layer of Honda Bond sealant to the joint between the timing chain cover and the cylinder head (the two corners on the chain side).
- Install the cover and tighten the bolts in a crisscross pattern to 10-12 N·m (7-9 lb-ft). Check the service manual, because some R20A versions specify 9 N·m (7 lb-ft). Reconnect the ventilation hoses and refit the decorative cover.
- Start the engine and warm it up to operating temperature. Check for oil leaks around the valve cover and for any unusual noises from the valvetrain.
Common mistakes and warnings
- Locknut torque is critical
- If it is too low, the nut will back off and the clearance will drift
- If it is too high, the threads can strip
- Use a torque wrench
- Do not adjust the valves on a hot engine, because thermal expansion of the parts will give incorrect readings
- If the tick persists after adjustment, check the camshaft lobes and valve tips for wear
Spotted a mistake? Tell us →
Our articles
 Brand stories
The History of Honda
The founder of the famous company, Japanese entrepreneur Soichiro Honda, was born in 1906 into the family of a poor…
Read →
 Garage
Fuel Quality Indicators: What Octane and Cetane Numbers Mean
What is an octane number? What about a cetane number? Which fuel should you choose for a high-compression engine?…
Read →
 Before you buy
How to Pick Up Your Car from the Dealership the Right Way
If you've decided to buy a car from a dealership, it isn't enough to simply choose a model you like, pay for it, and…
Read →