Autopapyrus · Honda CR-V (RW) 2.4 / 1.5 Turbo (2018)
https://autopapyrus.com/catalog/honda/cr-v/guides/front-strut-mount-bearing-replacement/
https://autopapyrus.com/catalog/honda/cr-v/guides/front-strut-mount-bearing-replacement/
Compiled automatically from service literature and owner experience. Specs are for the typical configuration — check them against your exact car before you start.
Honda CR-V (RW) 2.4 / 1.5 Turbo (2018): Front Strut Mount and Bearing Replacement
The strut bearing wears out, and then you hear knocking and creaking at the front when you turn the steering wheel, the steering feels like it "crunches," and the car doesn't hold its line as well. This guide covers the front left or right strut (the other side is the same job; replace them in pairs). The torque values below are approximate, so check the exact figures against the manufacturer's specifications.
Parts
4| № | Part | Alternatives |
|---|---|---|
| 01 | Front strut mount assembly with bearing, dust boot and bump stop (kit) for CR-Vleft and right, as neededFind on Amazon → | AlternativesKayabaSachsMonroeLemfördergenuine Honda parts |
| 02 | Tie rod end cotter pinsnewFind on Amazon → | |
| 03 | Self-locking strut shaft nutsif neededFind on Amazon → | |
| 04 | Strut-to-knuckle pinch boltif neededFind on Amazon → |
Amazon links search by the part name; use Amazon's fit check for your car before ordering. We may earn a commission from qualifying purchases.
Tools
10- Jack and jack stands Amazon →
- sockets and wrenches 12-19 mm Amazon →
- torque wrench Amazon →
- tie rod end puller or hammer Amazon →
- pry bar Amazon →
- reliable spring compressors (pair) Amazon →
- ratchet wrench Amazon →
- hex key or open-end wrench for the strut shaft Amazon →
- penetrating oil Amazon →
- cotter pins Amazon →
 There's a full repair manual for this car
Every system, wiring diagrams and torque specs — not just this job. Haynes and 8 more.
See manuals →
Step by step
34 steps · 6 stagesStage 1 of 6 Diagnosis and preparation 5 steps
- Confirm the diagnosis. Have a helper turn the steering wheel back and forth while the car is stationary with the engine off, and put your hand on the top strut mount under the hood: clicks and crunching there mean the mount or bearing is worn. Also check the sway bar links and ball joints so you don't mistake the cause.
- Park the car on level ground, set the parking brake, and chock the rear wheels. On a CVT, put the selector in P.
- Loosen the lug nuts on the wheel you're working on by half a turn, raise the front of the car with the jack, and place jack stands under the rocker panel.
- Remove the wheel.
- Spray penetrating oil on the strut pinch bolt, the ball joint nuts and the tie rod end nut, since the threads often seize.
Stage 2 of 6 Removing the strut 7 steps
- Disconnect the sway bar link from the strut, holding the joint with a hex key so it doesn't spin.
- If a bracket for the ABS sensor wiring harness or the brake hose is attached to the strut, carefully release it without stretching the wires or hose.
- Remove the cotter pin from the tie rod end stud, undo the nut, and use a puller or hammer to press the stud out of the knuckle.
- Remove the pinch bolt that secures the strut to the steering knuckle (hold the nut with a second socket).
- Remove the three nuts that secure the ball joint to the lower control arm and pull the arm down to free the lower end of the strut.
- Open the hood. At the top strut mount, remove the three nuts that secure it to the body, supporting the strut from below.
- Take the strut and mount out through the wheel well and place it on a workbench.
Stage 3 of 6 Disassembling the strut 5 steps
- Clamp the strut in a vise by its lower part (using soft jaw covers) or in a spring-compressor stand.
- Attach two spring compressors on opposite coils and compress the spring evenly until the load is completely off the top mount. The compressors must be in perfect condition: a spring that slips free can kill you.
- Hold the shaft so it doesn't turn and remove the center shaft nut.
- Remove the mount cup with the bearing, then the spring seat washer, the compressed spring, the bump stop and the dust boot. Remember the order and position of each part.
- Inspect the spring, bump stop and dust boot, and replace them if they are cracked or torn. Check the strut shaft for oil residue: if the strut is "sweating" or leaking, replace it along with the mount.
Stage 4 of 6 Reassembly with the new mount 4 steps
- Slide the dust boot and bump stop onto the shaft, then the compressed spring, aligning the end of the coil exactly with the stop on the lower seat.
- Install the new mount with bearing in the same position as the old one: the tab or holes on the mount must line up with the marks so the strut angle in the body doesn't change.
- Thread on the new self-locking shaft nut and tighten it while holding the shaft from turning. Torque is approximately 40-55 N·m (30-41 lb-ft) (check the exact value in the manufacturer's specifications).
- Gradually and evenly release the spring compressors, making sure the spring seats in the cups along the full length of the coil end, then remove them.
Stage 5 of 6 Installing on the car 8 steps
- Guide the strut into the wheel well, line up the mount studs with the holes in the body, and start the three nuts by hand.
- Insert the lower end of the strut into the steering knuckle (make sure the slot for the pinch bolt lines up with the bolt), insert the bolt and start the nut.
- Put the ball joint back on the lower control arm and start the three nuts.
- Use a torque wrench to tighten the three nuts that secure the mount to the body: approximately 65-80 N·m (48-59 lb-ft) (per specifications).
- Tighten the strut pinch bolt at the knuckle: approximately 85-100 N·m (63-74 lb-ft) (per specifications). Where the specifications call for it for the bushings, tighten with the suspension loaded (wheel on the ground or the arm under load).
- Tighten the ball joint nuts on the lower control arm: approximately 55-70 N·m (41-52 lb-ft) (per specifications).
- Connect the tie rod end stud and tighten the nut to approximately 45-60 N·m (33-44 lb-ft) (per specifications), then install a new cotter pin (do not reuse the old one).
- Bolt on the sway bar link, then release and reinstall the bracket for the wiring harness and hose.
Stage 6 of 6 Finishing up and checking 5 steps
- Install the wheel, lower the car to the ground, and tighten the lug nuts in a crisscross pattern to the manufacturer's specification.
- Rock the body up and down, make sure there are no knocking sounds, and check that no tools were left on the strut or suspension.
- Take a test drive: turn the steering wheel to full lock in both directions at low speed, drive over some bumps, and make sure the knocking and crunching are gone.
- After 50-100 km, re-torque the lug nuts and inspect the strut for leaks.
- Be sure to get a wheel alignment: removing the strut throws off the wheel alignment angles, and without adjustment you will get uneven tire wear.
Common mistakes and warnings
- The strut spring is compressed with great force: work only with serviceable spring compressors and do not undo the shaft nut until the spring is compressed
- This job involves the steering and suspension, which are safety systems: if you lack experience, leave it to a repair shop
- Replace the mounts on both sides at the same time, and replace sweating or knocking struts together with the mounts
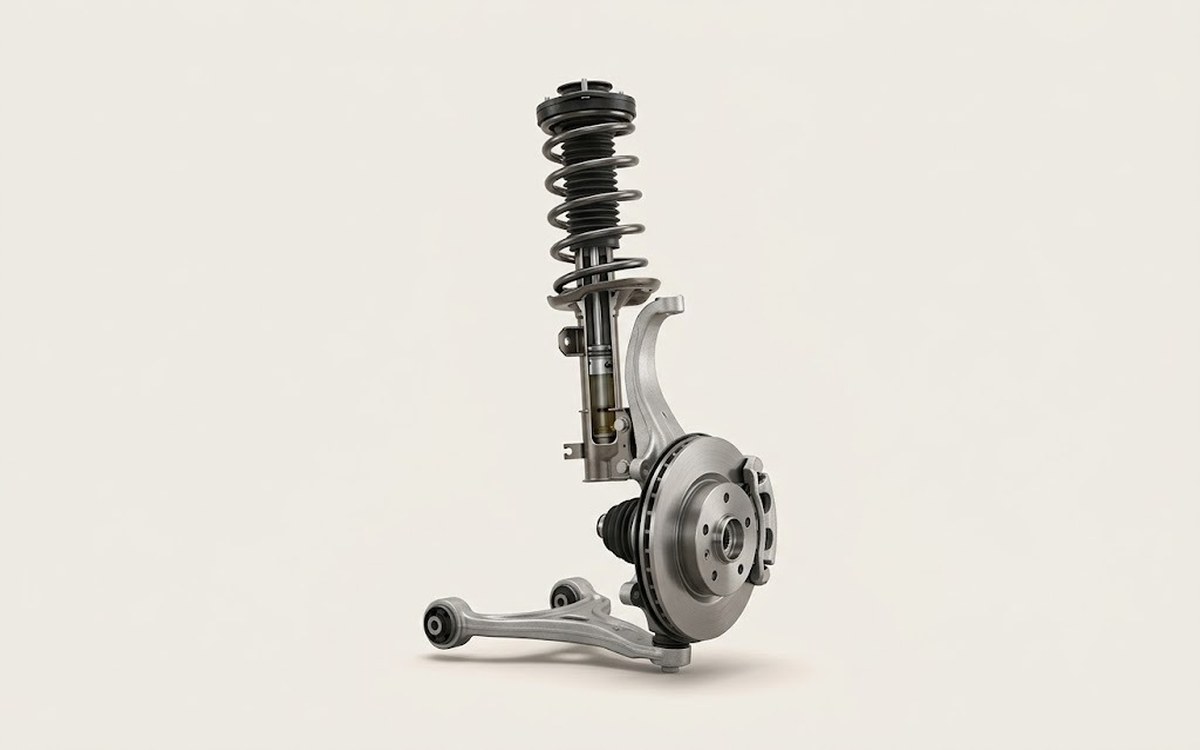 How it works · 3D
How Car Suspension Works
How the part you're working on actually works — in plain English, on a 3D model.
Open in 3D →
Spotted a mistake? Tell us →
Our articles
 Brand stories
The History of Honda
The founder of the famous company, Japanese entrepreneur Soichiro Honda, was born in 1906 into the family of a poor…
Read →
 Garage
Fuel Quality Indicators: What Octane and Cetane Numbers Mean
What is an octane number? What about a cetane number? Which fuel should you choose for a high-compression engine?…
Read →
 Before you buy
How to Pick Up Your Car from the Dealership the Right Way
If you've decided to buy a car from a dealership, it isn't enough to simply choose a model you like, pay for it, and…
Read →