Autopapyrus · Iveco Daily 3.0 F1C 180 hp (2018)
https://autopapyrus.com/catalog/iveco/daily/guides/clutch-replacement/
https://autopapyrus.com/catalog/iveco/daily/guides/clutch-replacement/
Compiled automatically from service literature and owner experience. Specs are for the typical configuration — check them against your exact car before you start.
Iveco Daily 3.0 F1C 180 hp (2018): Clutch Replacement
The Daily of this generation uses a pull-type clutch: to disengage the clutch, the diaphragm spring fingers are pulled rather than pushed. Because of this, the transmission comes off together with the release lever, and the release bearing stays in the clutch cover. For this job, the transmission must be lowered down together with the driveshaft, linkage cables and connectors. Torque specifications are not given below: check the exact values against the manufacturer's service manual.
Key figures
- Number of clutch cover boltstighten evenly in a crisscross pattern, then give a final tightening with a torque wrench (steps 19-20)6
- Book timethis is how long an experienced mechanic needs on a lift; allow more if you are a beginnerabout 4.2 hours
Check these values against the manufacturer’s specification for your vehicle before you start.
Parts
3| № | Part | Alternatives |
|---|---|---|
| 01 | Iveco Daily 3.0 (180 hp) clutch kit: pull-type pressure plate, clutch disc, release bearingFind on Amazon → | AlternativesLuKSachsValeo |
| 02 | Dual-mass flywheelif worn or overheatedFind on Amazon → | AlternativesLuKSachsValeo |
| 03 | Clutch slave cylinderif neededFind on Amazon → |
Amazon links search by the part name; use Amazon's fit check for your car before ordering. We may earn a commission from qualifying purchases.
Tools
8 There's a full repair manual for this car
Every system, wiring diagrams and torque specs — not just this job. Haynes AutoFix (online) and 1 more.
See manuals →
Step by step
24 steps- Position the vehicle on the lift, open the hood, disconnect the negative battery terminal and move it aside. This is the only operation done at ground level.
- Raise the vehicle and support the transmission with a transmission jack.
- Remove the transmission crossmember: undo the transmission mount nut and the bolts that secure the crossmember to the frame.
- Disconnect the driveshaft from the transmission flange and unbolt its center support bearing from the frame. Before disassembly, mark the driveshaft and transmission flanges so you don't upset the balance.
- Disconnect the electrical connectors on the side of the transmission, unbolt their bracket and set it aside.
- Remove the gear selector cables: pry each cable off its ball stud, then pull the cable housings out of their brackets.
- Unbolt the clutch slave cylinder together with its metal bracket and set it aside. Do not disconnect the hydraulic line, so no bleeding will be needed.
- Remove the rubber boot from the release lever: without this, the lever cannot be moved far enough to disengage from the release bearing.
- Make sure the jack is positioned correctly. Remove the clutch housing bolts and the starter bolts, laying them out in the order you removed them.
- Pull the transmission away from the engine while carefully moving the release lever back so that it disengages from the bearing. Once the input shaft has cleared the disc hub and the lever is free, lower the transmission.
- Remove the six clutch cover bolts and take the cover and disc off the flywheel. Collect and vacuum up any friction material residue if the lining has crumbled.
- Inspect the flywheel. A blue tint on the surface indicates overheating: with a dual-mass flywheel, the internal springs and grease suffer in this case, so replace such a flywheel.
- Clean the clutch housing, inspect the release bearing guide sleeve and replace it if worn. Check that the release lever pivot shaft turns freely and is not worn: these shafts tend to seize.
- Apply a thin layer of high-temperature grease to the guide sleeve and to the transmission input shaft splines. Slide the new disc onto the shaft to check that it fits and to spread the grease. Then remove the disc and wipe off any excess grease.
- Lubricate the lever pivot points and the release bearing. Install the new release bearing, feeding it into the lever as it moves along the guide sleeve, and check that the lever moves freely.
- If replacing the flywheel, install the new dual-mass flywheel; tighten the bolts with a torque wrench to the manufacturer's specification.
- Clean the flywheel friction surface and the surface of the new pressure plate with brake and clutch cleaner.
- Install the new clutch disc using the alignment tool: the side marked "gearbox side" must face away from the engine. Place the cover over the locating dowels on the flywheel.
- Insert the six cover bolts, tighten them evenly in a crisscross sequence, and then give them a final tightening with a torque wrench to the manufacturer's specification.
- Before installing the transmission, make sure the centering dowels between the engine and transmission are in place: they determine whether the release bearing will snap into the clutch cover.
- Raise the transmission into position with the jack, make sure it has seated on the dowels and sits tight against the engine, then insert and tighten the clutch housing bolts.
- Engage the release bearing in the clutch by hand: pull the lever back until the bearing begins to grab, then use a pry bar to move the lever further until it clicks at the center of the cover. Work the lever back and forth with the pry bar to confirm it is locked in, then fit the rubber boot.
- As soon as possible, install the slave cylinder with its bracket and press the pedal several times to check that the clutch works. Only then continue with reassembly.
- Reassemble everything else in reverse order: starter bolts, cables, connectors, driveshaft aligned to your marks, crossmember. Reconnect the battery, reset the electronic systems if necessary, and take a full test drive.
Common mistakes and warnings
- This job requires a lift and a transmission jack: the transmission is heavy, and you must never be under it without secure support
- If the clutch was slipping and overheating, the flywheel is almost certainly damaged too, so it is best to replace it at the same time
- Do not let the transmission hang on the input shaft during installation: this will damage the disc
- If you have no experience working on transmissions, it is better to go to a repair shop
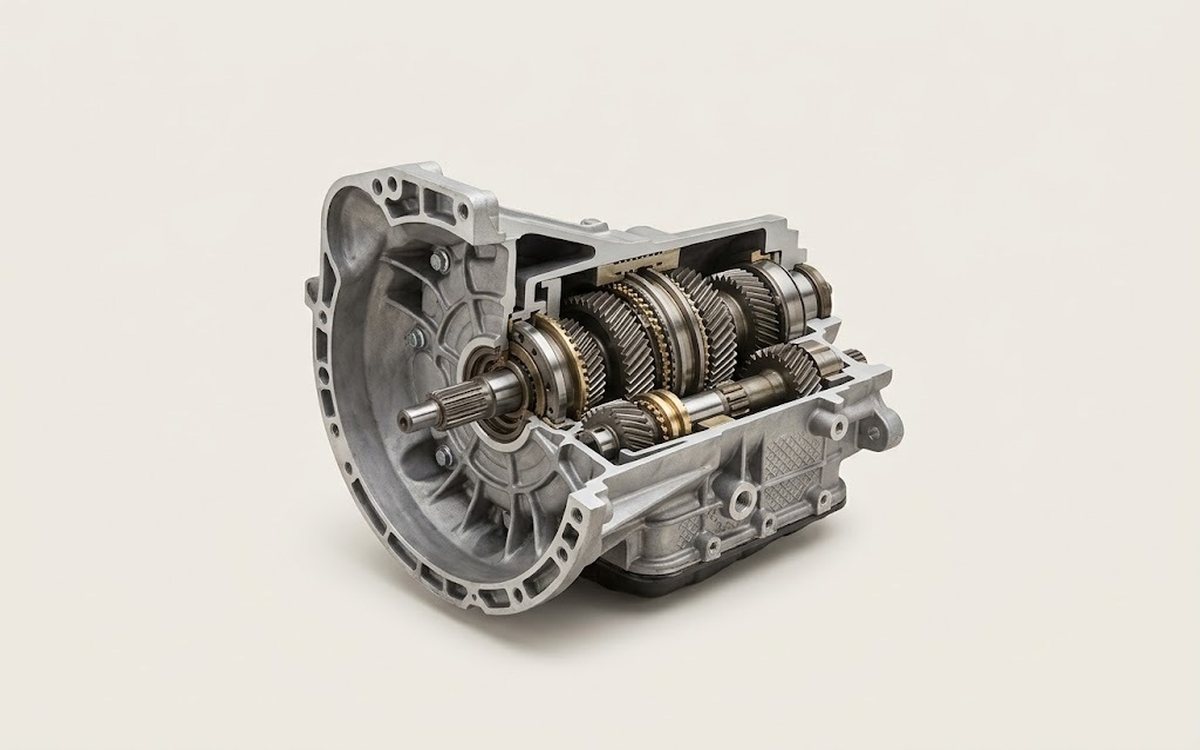 How it works · 3D
How a Manual Transmission Works
How the part you're working on actually works — in plain English, on a 3D model.
Open in 3D →
Spotted a mistake? Tell us →
Our articles
 Brand stories
The History of the Iveco Brand
Iveco (short for Industrial Vehicles Corporation) is an Italian vehicle manufacturer headquartered in Turin.
Read →
 Garage
Fuel Quality Indicators: What Octane and Cetane Numbers Mean
What is an octane number? What about a cetane number? Which fuel should you choose for a high-compression engine?…
Read →
 Before you buy
How to Pick Up Your Car from the Dealership the Right Way
If you've decided to buy a car from a dealership, it isn't enough to simply choose a model you like, pay for it, and…
Read →