Autopapyrus · Iveco EuroCargo (3rd generation)
https://autopapyrus.com/catalog/iveco/eurocargo/guides/rear-axle-wheel-hub-bearing-replacement/
https://autopapyrus.com/catalog/iveco/eurocargo/guides/rear-axle-wheel-hub-bearing-replacement/
Compiled automatically from service literature and owner experience. Specs are for the typical configuration — check them against your exact car before you start.
Iveco EuroCargo (3rd generation): Rear Axle Wheel Hub Bearing Replacement
On the EuroCargo rear axle, the hub rides on two tapered roller bearings that are preloaded by the hub adjusting nut. The bearings wear over mileage, and they fail quickly if the seal leaks or the grease is lost. Symptoms: a hum that rises with speed, wheel play, a hot hub, and oil traces on the brake disc or drum. The exact sequence and torque values depend on the axle type and brake type (disc or drum), so a general procedure is given below. Check all figures against the manufacturer's service manual.
Parts
4| № | Part | Alternatives |
|---|---|---|
| 01 | Rear axle hub bearing kit (two tapered roller bearings, inner and outer, with outer races)per hub, best replaced on both sides at onceFind on Amazon → | AlternativesSKFSNRFAGTimken |
| 02 | Rear axle hub sealper hub, replace together with the bearingsFind on Amazon → | AlternativesSKFSNRFAGTimken |
| 03 | Hub nut locking washer or locking deviceFind on Amazon → | |
| 04 | O-ring or gasketif neededFind on Amazon → |
Amazon links search by the part name; use Amazon's fit check for your car before ordering. We may earn a commission from qualifying purchases.
Tools
10- 10-ton jack and safety stands Amazon →
- wheel chocks Amazon →
- sockets and wrenches for the wheel nuts and hub nut Amazon →
- wide-range torque wrench Amazon →
- puller or drift for the outer races Amazon →
- drivers for the races and seal Amazon →
- dial indicator on a magnetic stand Amazon →
- soft-faced hammer Amazon →
- wheel bearing grease Amazon →
- clean rags and cleaner Amazon →
Step by step
18 steps- Park the vehicle on a level, hard surface, apply the parking brake, and place chocks under the front wheels. Disconnect the negative battery terminal. If the vehicle has air brakes, wait until the system pressure has bled off, and note that the spring brake chamber may only be mechanically released following the service manual procedure.
- Loosen the rear wheel nuts 1-2 turns while the wheel is still on the ground. Raise the rear axle with a jack under the axle beam and be sure to place safety stands. Never work under a vehicle supported only by a jack.
- Remove the wheel (on dual wheels, remove the outer one first, then the inner one). The wheel is heavy, so use a wheel dolly or a helper.
- Remove the caliper together with its bracket from the disc and hang it on a wire or zip tie so it does not load the brake hose or line. If the brakes are drum type, remove the drum and, if necessary, back off the shoes with the adjuster. Inspect the brake pads or shoes and replace them if worn.
- Remove the axle shaft or its flange if the axle design requires it (on a drive axle, the hub is covered by the axle shaft flange). Remove the hub cap.
- Bend back or remove the locking washer, then unscrew the lock nut and the hub adjusting nut. Note the order and position of the parts: washers, locks, nuts.
- Carefully remove the hub together with the brake disc or drum, supporting its weight. The outer bearing will come out with it, so hold onto it to keep it from dropping.
- Take out the inner bearing and remove the hub seal. Drive the outer bearing races out of the hub through the relief slots with a drift, without damaging the seats.
- Thoroughly clean the hub, the axle spindle and the covers of old grease and dirt. Inspect the race seats and the spindle journals: scoring, corrosion and spun races are not acceptable. If the spindle or hub is worn, replacing the bearing alone will not be enough.
- Press the new outer races into the hub with a driver until they seat fully, pushing only on the edge of the race and without any tilt. Install the new seal and bearings only after this.
- Pack the inner bearing with grease (the cage and rollers must be completely filled), place it in the hub, and press in the new seal evenly with a driver, without tilting. Lightly lubricate the working lip of the seal and the spindle journal.
- Install the hub on the spindle without damaging the seal. Lubricate and insert the outer bearing, fit the washer and thread on the adjusting nut.
- Adjust the bearings. Tighten the adjusting nut per the manual while turning the hub so the rollers seat, then loosen it and tighten it again to the required preload or axial play. The nut torque and the axial play for your axle are given in the manufacturer's service manual, so use only those figures. Check the hub axial play with a dial indicator. It must be within tolerance, and the hub must turn freely, without binding or jerking.
- Lock the nut: fit the lock nut and tighten it to the torque in the manual, then bend over the locking washer (or install a new one if it is single-use). Turn the hub and check again that the play has not changed.
- Install the hub cap, the flange or axle shaft (with a new gasket or sealant if specified), and tighten the fasteners to the torque in the manual. Refit the caliper or drum and the pads or shoes. Tighten the caliper fasteners only with a torque wrench, to the torque in the manual.
- Mount the wheel, snug the nuts in a crisscross pattern, lower the vehicle to the ground, and tighten the wheel nuts with a torque wrench to the torque in the manual, in two or three passes in a crisscross pattern.
- Reconnect the battery and pump the brake pedal several times until it feels firm. Check the operation of the parking brake and the air system.
- Take a test drive of 5-10 km (3-6 miles) at low speed, then check the hub temperature by hand (only moderate warmth is acceptable) and check for leaks, noise and play. After 50-100 km (30-60 miles), retighten the wheel nuts and check the hub play again.
Common mistakes and warnings
- This job involves the brake system and a raised heavy truck, and a mistake here can be fatal
- If you have no experience with truck axles and air brakes, have the work done at a repair shop
- Do not set bearing preload by feel: overtightening overheats the hub and destroys the bearing, while undertightening causes play and wear
- Check all torque values, axial play and grease type against the manufacturer's service manual for your rear axle type
- For vehicles of this model year with the F4HFE engine, the axle design depends on the trim level, so determine the axle and brake type before starting work
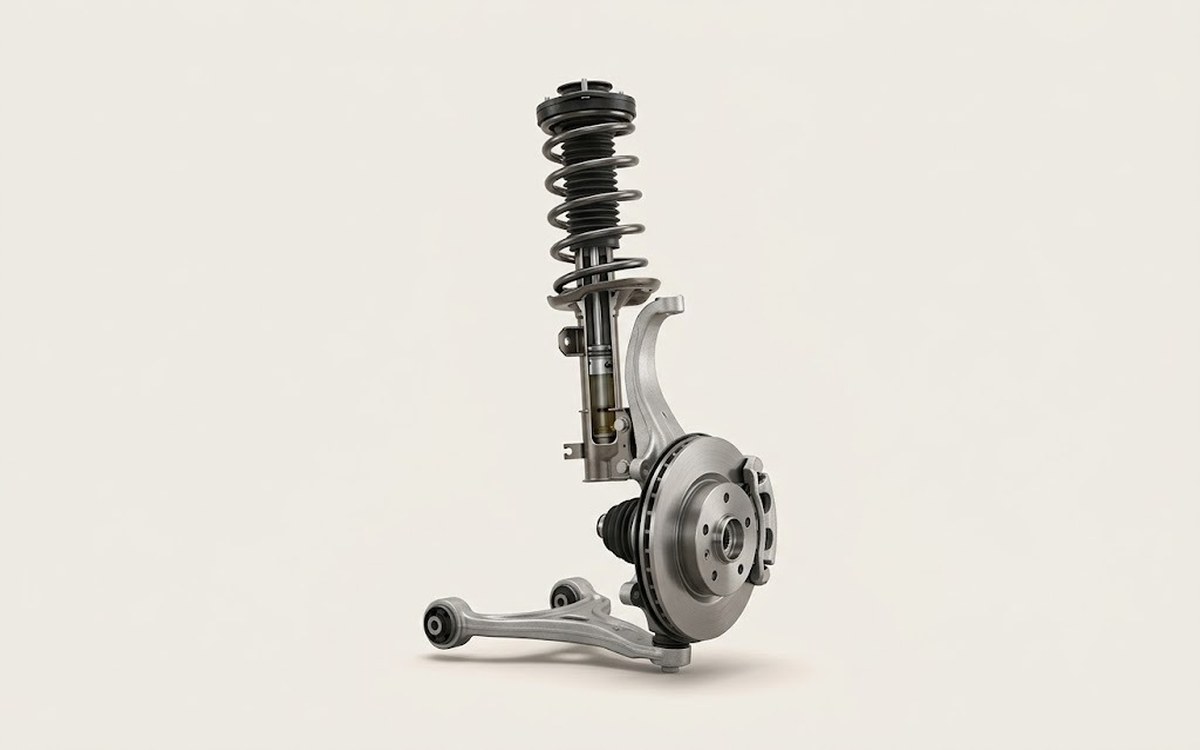 How it works · 3D
How Car Suspension Works
How the part you're working on actually works — in plain English, on a 3D model.
Open in 3D →
Spotted a mistake? Tell us →
Our articles
 Brand stories
The History of the Iveco Brand
Iveco (short for Industrial Vehicles Corporation) is an Italian vehicle manufacturer headquartered in Turin.
Read →
 Garage
Fuel Quality Indicators: What Octane and Cetane Numbers Mean
What is an octane number? What about a cetane number? Which fuel should you choose for a high-compression engine?…
Read →
 Before you buy
How to Pick Up Your Car from the Dealership the Right Way
If you've decided to buy a car from a dealership, it isn't enough to simply choose a model you like, pay for it, and…
Read →