Jeep Grand Cherokee I generation (ZJ) (1992–1998) — repair and maintenance
2 repair manuals
All generations
V generation (WL) · 2021–presentIV generation (WK2) · 2010–2020III generation (WK) · 2004–2009II generation (WJ) · 1999–2003I generation (ZJ) · 1992–1998
Jeep Grand Cherokee I generation (ZJ) guides
237Engine48
- Vacuum pump
- Rear crankshaft oil seal
- Replacing the air filter
- Replacing the boost pressure sensor
- Replacing the rear crankshaft oil seal
- Replacing the rear crankshaft oil seal
- Replacing the valve springs, spring retainers and valve stem oil seals
- Replacing the crankshaft
40 more
- Replacing the oil filter
- Replacing the front crankshaft oil seal
- Replacing the camshafts
- Replacing the turbocharger
- Replacing the air filter element
- Left mounting
- Oil pump
- Engine mechanical components
- Engine oil
- Servicing the lubrication system
- Front crankshaft oil seal
- Front cover
- Piston rings
- Pistons and connecting rods
- Right-hand mount
- Checking the operation and replacing the camshaft position sensor
- Checking the cylinder compression pressure
- Checking the condition of the engine block
- Checking the condition of and replacing the engine mount rubber cushions
- Checking the condition of the crankshaft
- Checking the condition of the main and connecting rod bearings
- Checking the condition of the connecting rod and piston assemblies
- Checking the condition of, adjusting the tension of and replacing the drive belt
- Disassembling the cylinder head
- Repairing the cylinder block
- Engine repair
- Repairing the intake and exhaust system
- Assembling the cylinder head
- Removing and installing the intake manifold
- Removing and installing the cylinder head
- Removing and installing the cylinder heads
- Removing and installing the combination valve (regulator)
- Removing and installing the oil pan
- Removing and installing the flywheel/driveplate
- Removing and installing the oil pan
- Removing the crankshaft
- Removing the piston and connecting rod assemblies
- Removing, inspecting and installing the oil pump
- Installing the engine
- Installing the piston rings
Suspension & steering25
- Adjusting the steering column tilt
- Rear suspension
- Replacing the power steering pump
- Servicing the suspension and steering
- Checking the condition of the suspension and steering
- Checking, removing and installing the steering linkage
- Bleeding the power steering system
- Front suspension repair
17 more
- Repairing the steering
- Steering column
- Steering gear
- Removing and installing the rear suspension coil springs
- Removing and installing the front suspension coil springs
- Removing and installing the rear shock absorbers
- Removing and installing the front shock absorbers
- Removing and installing the steering knuckles
- Removing and installing the rear suspension track rod
- Removing and installing the front suspension track rod
- Removing and installing the steering wheel
- Removing and installing the steering gear
- Removing and installing the shift lever
- Removing and installing the rear suspension arms
- Removing and installing the front suspension arms
- Removing and installing the front axle assembly
- Removing and installing the rear stabilizer bar
Electrical41
- Replacing the lighting units
- Diagnosing starter faults without removing it from the vehicle
- Diagnosing chassis electrical faults - general information
- Diagnosing the engine management system
- Replacing the information sensors
- Replacing the combination switch
- Replacing the headlight bulbs
- Replacing the fog lights
33 more
- Replacing the ignition distributor
- Replacing the fuel pump relay
- Replacing the spark plugs
- Replacing the turn signals
- Setting up the cruise control
- Fuses - general information
- Instrument panel
- Checking and maintaining the battery
- Checking and replacing the fuel level sensor unit
- Checking and replacing the ignition coil
- Checking the ignition system operation
- Checking the charging system for correct operation
- Checking the condition of and replacing the ignition switch/lock cylinder
- Checking the condition of and replacing the battery cables
- Checking the spark plug wires, distributor cap and rotor
- Checking and replacing the coolant temperature sensor unit
- Checking and replacing the horn
- Checking the engine electrical equipment
- Adjusting the headlight unit aim
- Adjusting the power seats
- Repairing the ignition system
- Repairing the starting system
- Repairing the lighting system
- Repairing the windscreen wipers and washers
- Repairing the body electrical equipment
- Starting system
- Removing and installing the antenna
- Removing and installing the battery
- Removing and installing the alternator
- Removing and installing the instrument cluster 2I0
- Removing and installing the air conditioning condenser
- Removing and installing the starter
- Removing and installing the electronic control module (PCM)
Fuel system21
- Replacing the fuel pressure sensor
- Replacing the fuel temperature sensor
- Replacing the throttle body
- Replacing the fuel tank
- Replacing the fuel filter
- Replacing the fuel injectors
- Accelerator pedal
- Checking the fuel pressure and fuel pump operation
13 more
- Checking and replacing the fuel pressure regulator
- Checking the fuel injection system
- Checking, removing and installing the fuel injectors
- Checking, removing and installing the throttle body
- Checking the fuel vapor recovery system
- Checking the condition of the fuel system components
- Repairing and replacing the fuel lines
- Repairing the fuel system
- Repairing the fuel system
- Removing and installing the air cleaner assembly
- Removing and installing the fuel pump
- Removing and installing the metering jet tube
- High-pressure fuel pump
Interior15
Brakes12
- Adjusting the parking brake
- Replacing the brake shoes of drum brakes
- Replacing the disc brake pads
- Replacing the parking brake cables
- Checking the anti-lock braking system
- Checking the condition of the brakes
- Checking the condition of, removing and installing the brake disc
- Bleeding the brake system
Transmission27
- Automatic transmission repair
- Replacing the automatic transmission fluid and filter
- Replacing the universal joints
- Replacing the transmission control module (TCM) (AW-4 and 42RE only)
- Replacing the pilot bearing
- Replacing the driveshafts
- Replacing the intermediate shaft
- Replacing the differential pinion shaft oil seal
19 more
- Replacing the manual transmission oil
- Replacing the ball joints
- Gear shift mechanism
- Checking the condition of and replacing the transmission mount
- Checking the condition of the transmission line
- Checking the differential oil level
- Checking the manual transmission oil level
- Adjusting the gear shift linkage
- Repairing the differential
- Repairing the transmission
- Repairing the transfer case
- Removing and installing the rear axle shaft and bearing assembly
- Removing and installing the propeller shafts
- Removing and installing the transfer case
- Removing and installing the manual transmission (MT)
- Removing and installing the rear axle assembly
- Removing, overhauling and installing the front driveshaft
- Removing, inspecting and installing the clutch release bearing
- Removing, inspecting and installing the clutch components
Cooling system26
- Water pump
- Replacing the radiator fan
- Replacing the oil cooler
- Replacing the engine coolant
- Replacing the radiator
- Filling the cooling system
- Radiator cap
- Servicing the air conditioning system
18 more
- Servicing the cooling system
- Checking the cooling system
- Checking and replacing the underhood hoses
- Checking and repairing the rear window defogger
- Checking the cooling system for leaks
- Checking the operation of the water pump
- Checking the operation of and replacing the thermostat
- Expansion tank
- Removing and installing the heater blower motor assembly
- Removing and installing the water pump
- Removing and installing the intake manifold
- Removing and installing the intake manifold/exhaust manifold
- Removing and installing the auxiliary cooler
- Removing and installing the air conditioning system evaporator
- Removing and installing the air conditioning compressor
- Removing and installing the radiator and coolant expansion tank
- Removing and installing the heater and air conditioning control assembly
- Removing and installing the heater core
Exhaust system5
Body & glass14
Need a job that isn't listed? A full repair manual for the Jeep Grand Cherokee I generation (ZJ) covers every system: wiring diagrams, torque specs, step-by-step photos.
Find a repair manual →Need a part? Search Amazon for Jeep Grand Cherokee I generation (ZJ) parts: filters, brakes, sensors, belts. Check the fit for your year and engine before you buy.
Find parts on Amazon →Jeep Grand Cherokee I generation (ZJ) repair manuals
2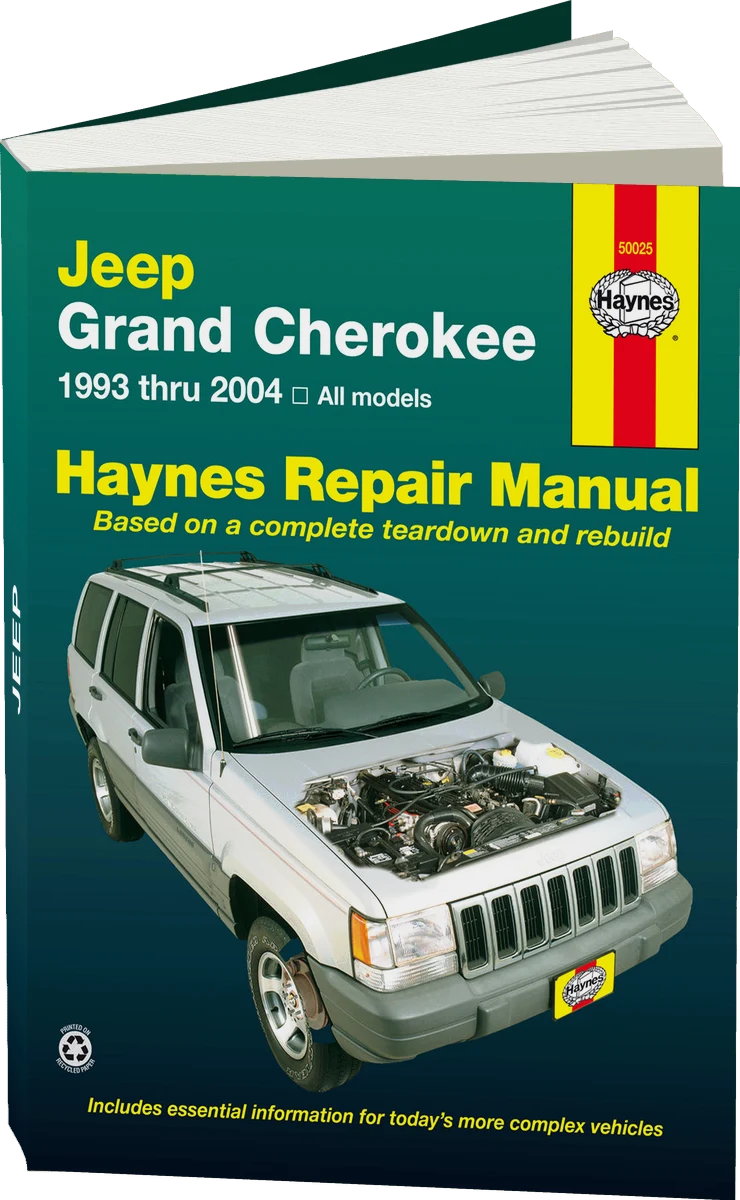
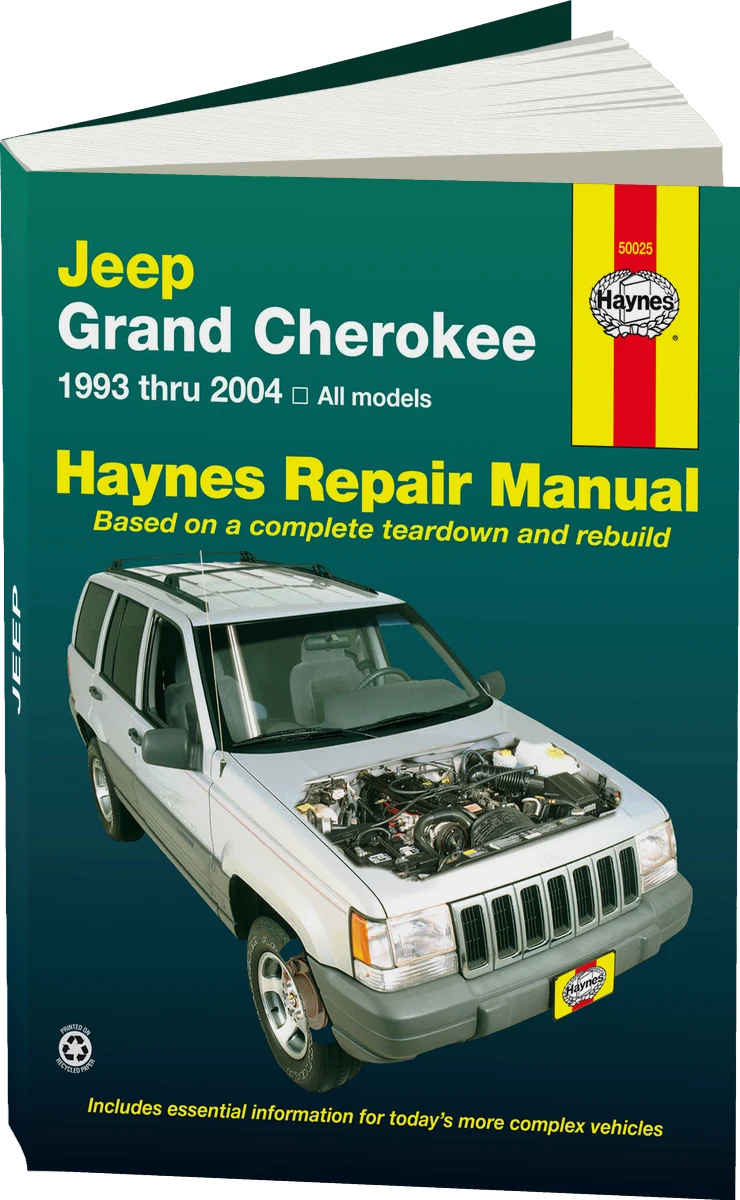
Manuals are written for specific model years — check that the years match your car. Prices are set by the seller.
How well do you know the Jeep Grand Cherokee? Ten questions on its history, engines and records, with the answer explained after each pick.
Take the quiz →Our articles
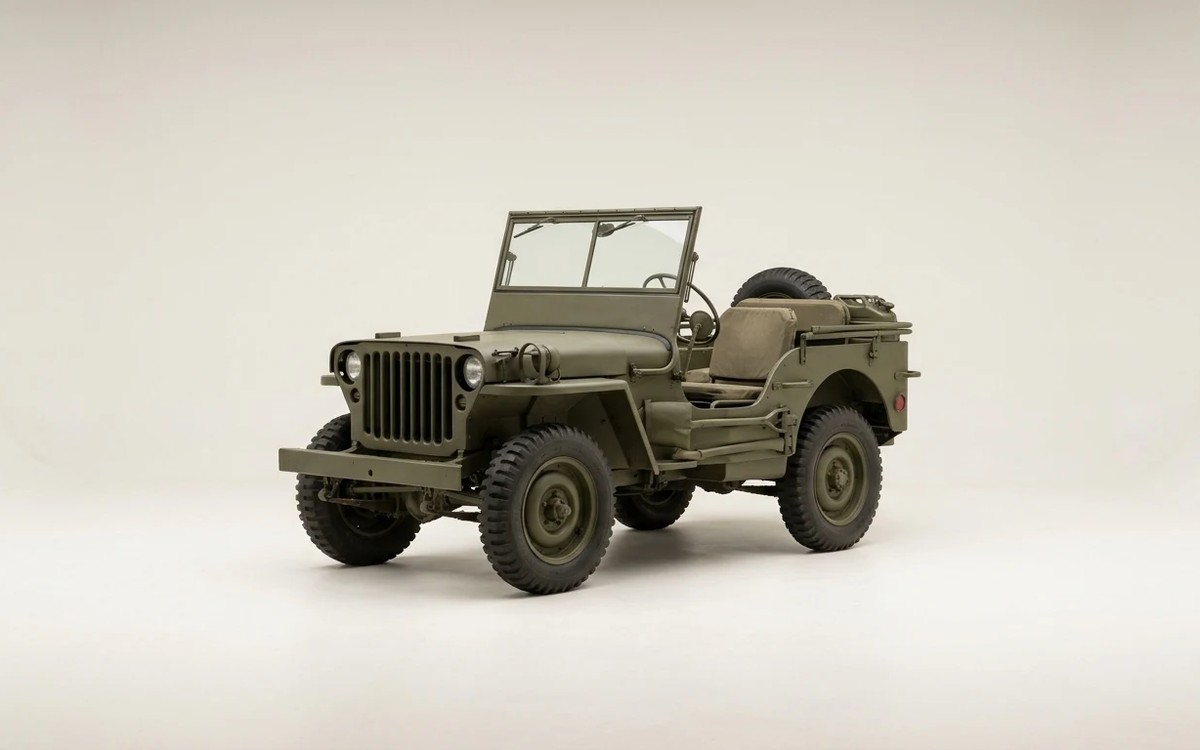 Brand stories
The History of the Jeep Brand
It's hard to find anyone who isn't at least vaguely familiar with Jeep vehicles. The name has become a generic term for…
Read →
 Garage
Fuel Quality Indicators: What Octane and Cetane Numbers Mean
What is an octane number? What about a cetane number? Which fuel should you choose for a high-compression engine?…
Read →
 Before you buy
How to Pick Up Your Car from the Dealership the Right Way
If you've decided to buy a car from a dealership, it isn't enough to simply choose a model you like, pay for it, and…
Read →