Saab 9000 I generation (1984–1997) — repair and maintenance
2 repair manuals
Saab 9000 I generation guides
148Engine25
- Replacing the ventilation filter
- Replacing the engine oil and oil filter
- Replacing the crankshaft oil seals
- Replacing the air cleaner element
- Starting the engine
- Cleaning and inspecting the cylinder block/crankcase
- Cleaning and inspecting the cylinder head and valves
- Checking and replacing the auxiliary drive belt
17 more
- Checking the crankcase ventilation system
- Disassembling the cylinder head
- Assembling the cylinder head
- Removing the engine – procedure and precautions
- Removing and refitting the master cylinder
- Removing and installing the cylinder head
- Removing and installing the timing chain cover
- Removing and refitting the oil cooler
- Removing and refitting the accelerator pedal
- Removing and installing the oil pan
- Removing and refitting the air cleaner assembly
- Removing and refitting the solenoid valve (DI/APC system)
- Removing the piston and connecting rod assemblies
- Removing, inspecting and installing the oil pump
- Removing, inspecting and refitting the flywheel/drive plate
- Removing, inspecting and installing the timing chain and sprockets
- Refitting the piston rings
Suspension & steering20
- Replacing the lower steering column bearing
- Replacing the steering rack rubber boots
- Checking the suspension and steering system
- Checking the power steering fluid level
- Adjusting the steering wheel position
- Removing and installing the rear shock absorber
- Removing and installing the rear coil springs
- Removing and installing the tie rod ends
12 more
- Removing and installing the power steering pump
- Removing and installing the rear suspension lower arm
- Removing and installing the front suspension lower arm
- Removing and installing the steering knuckle
- Removing and installing the rear suspension lateral rod
- Removing and installing the rear suspension radius rod
- Removing and installing the steering wheel
- Removing and installing the rear hub assembly
- Removing and installing the front hub assembly
- Removing and installing the steering gear assembly
- Removing and installing the rear axle tube
- Removing, overhauling and installing the front suspension struts
Electrical35
- Replacing the exterior lighting bulbs
- Replacing the switches
- Replacing the spark plugs
- Replacing the speedometer drive cable
- Replacing the starter brushes
- Checking the traction control system
- Checking and replacing the fuel pump relay
- Checking and charging the battery
27 more
- Checking the battery terminals
- Checking the ignition system
- Checking the starting system
- Checking the charging system
- Checking the electrical equipment
- Checking, removing and installing the reversing light switch
- Adjusting the headlights and fog lights
- Headlight adjustment – general information
- Adjusting, removing and installing the brake light switch
- Removing and installing the battery
- Removing and installing the ignition unit (DI/APC systems)
- Removing and installing the exterior light units
- Removing and installing the switches and control units
- Removing and installing the alternator
- Removing and installing the knock sensor (DI/APC system)
- Removing and installing the oil level sensor
- Removing and installing the speakers
- Removing and installing the ignition switch
- Removing and installing the horn components, page 236
- Removing and installing the interior light bulbs
- Removing and installing the clock/trip computer module
- Removing and installing the central locking motors
- Removing and installing the speedometer drive
- Removing and installing the cigarette lighter
- Removing and installing the radio antenna (power-operated)
- Removing and installing the starter
- Removing and installing the pressure sensor (DI/APC system)
Body & glass18
- Replacing the rear-view mirrors
- Repairing major body damage
- Repairing the sunroof
- Repairing minor body damage
- Removing and installing the tailgate and tailgate stays
- Removing and installing the door handle and lock components
- Removing and installing the rear bumper
- Removing and installing the bonnet lock
10 more
- Removing and installing the bonnet and front grille
- Removing and installing the exterior door mirrors
- Removing and installing the exterior body trim
- Removing and installing the window glass and regulator
- Removing and installing the interior trim panels
- Removing and installing the sunroof panel
- Removing and installing the front bumper
- Removing and installing the instrument panel
- Removing and installing the bonnet release cable
- Removing and installing the heating/ventilation system components
Brakes11
Transmission14
- Replacing the driveshaft rubber boots
- Replacing the transmission fluid filter element
- Checking the automatic transmission fluid level
- Checking the manual transmission oil level
- Adjusting the selector cable
- Adjusting the gear shift linkage rod
- Removing and installing the automatic transmission
- Removing and installing the clutch pedal
6 more
- Removing and installing the manual transmission
- Removing and installing the clutch assembly
- Removing, inspecting and installing the clutch release mechanisms
- Removing, inspecting and installing the gearshift linkage
- Removing, inspecting and installing the driveshafts
- Removing, separating and installing the engine and transmission
Cooling system6
Fuel system4
Interior10
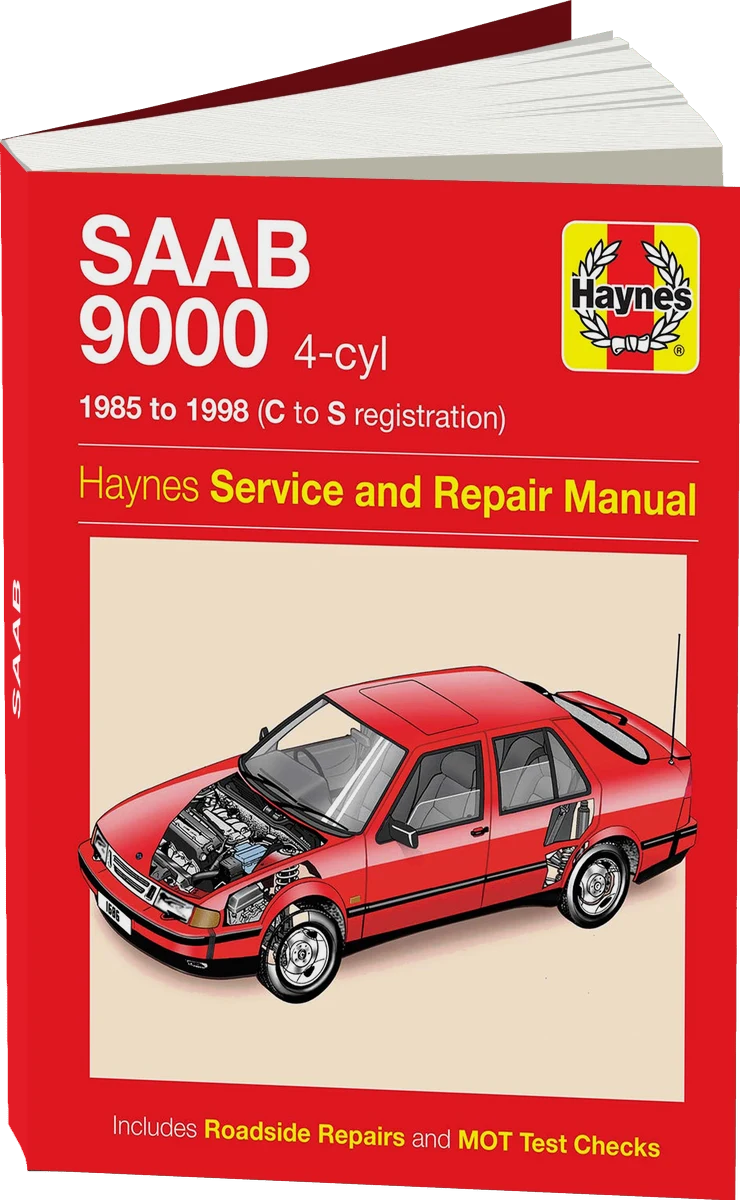
Need a job that isn't listed? A full repair manual for the Saab 9000 I generation covers every system: wiring diagrams, torque specs, step-by-step photos.
Find a repair manual →Need a part? Search Amazon for Saab 9000 I generation parts: filters, brakes, sensors, belts. Check the fit for your year and engine before you buy.
Find parts on Amazon →Saab 9000 I generation repair manuals
2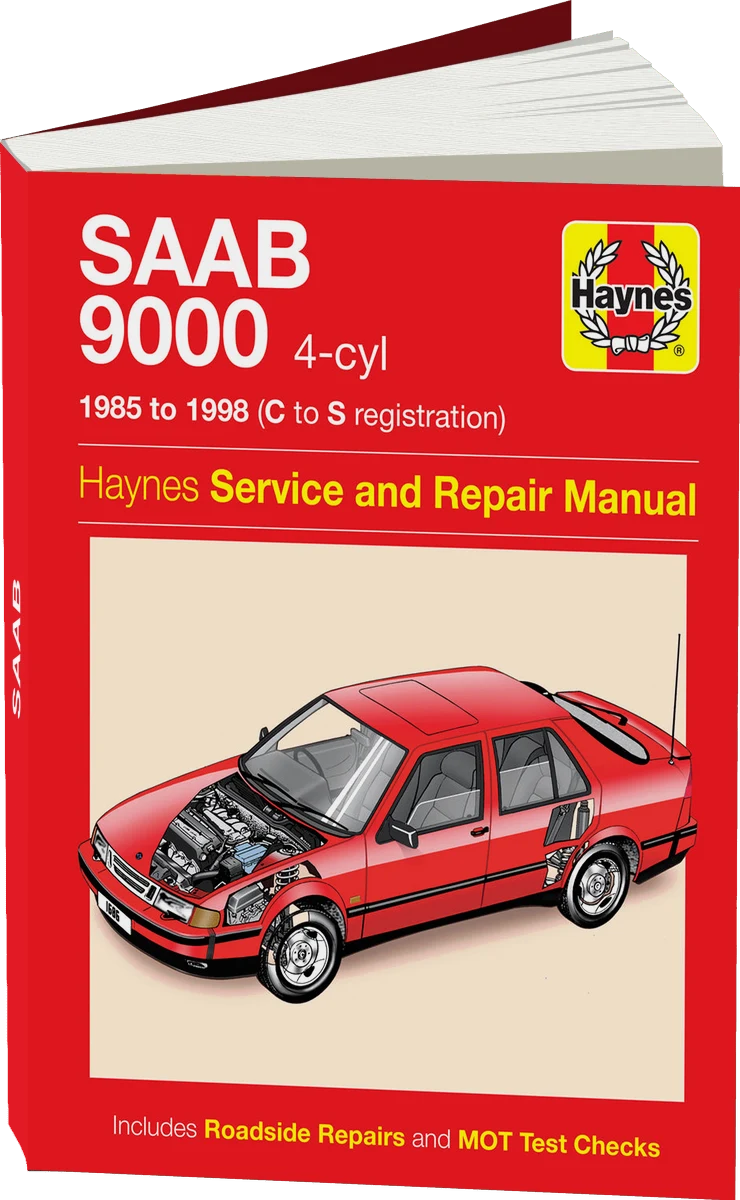
Manuals are written for specific model years — check that the years match your car. Prices are set by the seller.