https://autopapyrus.com/catalog/ssangyong/actyon/guides/rear-crankshaft-seal-replacement/
SsangYong Actyon 2.0 D20DT (2008): Rear Main Seal Replacement
The rear main seal sits between the engine block and the flywheel. To reach it, you have to remove the transmission, the clutch and the flywheel. For this reason the job is almost always combined with a clutch replacement, especially if oil has gotten onto the clutch disc. Before you start, make sure the leak is actually coming from the seal and not from the oil pan, the valve cover or hoses, because their leaks look the same. This guide is written for a car with a manual transmission. On an automatic, the transmission comes off together with the torque converter, and a drive plate is fitted instead of a flywheel. The procedure stays the same.
Diagram: rear crankshaft seal and what is around it
- 1Seal lip: brown ring around the flange. This is the rear seal; pull it out and press a new one in straight.
- 2Crankshaft flange: the flywheel bolts to it. Remove the flywheel before the seal job and inspect the shaft surface.
- 3Housing bolt: landmark on the cast housing around the seal. Clean the area of dirt and oil.
- 4Gearbox locating dowels: stick out of the block face. Slide the gearbox on without tilting.
- 5Housing and oil pan joint: oil can leak here too, check the pan gasket before replacing the seal.
Parts
6| № | Part | Alternatives |
|---|---|---|
| 01 | D20DT rear crankshaft seal (lip seal that seats on the crankshaft flange)Find on Amazon → | AlternativesCortecoElringVictor Reinz |
| 02 | Clutch kit (disc, pressure plate, release bearing)for manual transmissionFind on Amazon → | |
| 03 | Flywheel boltsif single-useFind on Amazon → | |
| 04 | Manual transmission oilFind on Amazon → | |
| 05 | Engine oilFind on Amazon → | |
| 06 | Oil filterFind on Amazon → |
Amazon links search by the part name; use Amazon's fit check for your car before ordering. We may earn a commission from qualifying purchases.
Tools
12- lift or inspection pit with reliable stands Amazon →
- transmission jack Amazon →
- socket set and ratchet Amazon →
- torque wrench Amazon →
- Torx and E-Torx (external Torx) socket set Amazon →
- pry bar Amazon →
- seal puller or seal hook Amazon →
- seal installation tool (driver) Amazon →
- clutch disc alignment tool Amazon →
- engine support stands or a support bar Amazon →
- oil drain pans Amazon →
- degreaser Amazon →
 There's a full repair manual for this car
Every system, wiring diagrams and torque specs — not just this job. Haynes AutoFix (online).
See manuals →
Step by step
37 steps · 6 stagesStage 1 of 6 Diagnosis and preparation 6 steps
- Make sure the leak is really coming from the rear main seal. Oil should be on the lower part of the bellhousing, on the cover plate or in the bellhousing inspection window. To check, clean the area and look again after a drive.
- Rule out other sources of leaks: the oil pan gasket, the valve cover, sensors on the block, the breather and the turbocharger lines.
- Put the car on the lift. Don't rely on the parking brake, and chock the wheels.
- Disconnect the negative battery terminal. If the car has an engine skid plate, remove it.
- Drain the oil from the transmission and, if you plan to change it, from the engine. This makes the work easier and reduces oil loss.
- Prepare the new seal, the installation tool and clean rags. Compare the old seal with the new one for size and lip type.
Stage 2 of 6 Transmission removal 9 steps
- Remove the air filter with its ducts and anything else that blocks access to the upper transmission bolts. Free the breather hoses and wiring harnesses on the transmission.
- Disconnect the sensor connectors on the transmission (including the reverse light switch) and remove the harness brackets.
- On the 4WD version, remove the front driveshaft, and remove the rear driveshaft. Mark the flange positions with paint so you can reassemble without introducing imbalance. Lower the exhaust system or remove the parts of it that are in the way.
- Remove the clutch slave cylinder (without disconnecting the hydraulic line, if the design allows it). Move it aside without kinking the line.
- Disconnect the shift cables or linkages for the transmission and the transfer case (if equipped).
- Remove the starter (the mounting bolts are accessible from above or from the side, depending on the version) and set it aside on its wiring, or disconnect the wires.
- Position the jack under the transmission and secure it with a strap. Support the engine with a stand under the oil pan (using a wooden block) or with a support bar.
- Unbolt the transmission crossmember together with its mount.
- Remove all bolts holding the transmission to the engine. Note where the bolts of different lengths go. Carefully slide the transmission straight back until the input shaft comes out of the clutch disc. Don't let the transmission hang on the input shaft. Lower it on the jack.
Stage 3 of 6 Clutch and flywheel removal 4 steps
- Paint alignment marks on the pressure plate, the flywheel and the crankshaft so you can reinstall the flywheel in its original position.
- Loosen the pressure plate bolts evenly in a crisscross pattern. Remove the pressure plate and the disc.
- Lock the flywheel against turning: insert a screwdriver or pry bar into the ring gear teeth through the starter opening, or fit a locking tool using a transmission mounting bolt.
- Remove the flywheel bolts and take off the flywheel. The flywheel is heavy, so hold it with both hands. Inspect the friction surface and the ring gear teeth: cracks, heat discoloration (bluing) and scoring mean it must be replaced or resurfaced.
Stage 4 of 6 Seal replacement 6 steps
- Thoroughly clean the area around the seal of dirt and oil.
- Remove the old seal with a screwdriver or a hook. Don't scratch the seat surface in the block or the crankshaft journal. If it can't be pried out, carefully pierce it and pull it out with a self-tapping screw.
- Inspect the shaft's sealing surface. If there is a wear groove left by the old seal, shift the position of the sealing lip slightly when installing the new one (if the design allows it) or use a repair sleeve.
- Degrease the seat. Lightly lubricate the lip of the new seal with clean engine oil, unless the manufacturer requires dry installation (lubrication is prohibited for seals with a PTFE lip, so follow the instructions in the package).
- Install the new seal without tilting it. Press it in evenly with the driver on the outer diameter until it bottoms out at the level specified by the manufacturer (usually flush with the surface or to a specified depth).
- Check that the seal is seated evenly and that the lip has not folded over.
Stage 5 of 6 Reassembly 8 steps
- Install the flywheel according to the marks. Replace the flywheel bolts with new ones if they are single-use, and apply thread locker if it is specified. Tighten in a crisscross pattern in two or three stages with a torque wrench. The approximate flywheel bolt torque for the D20DT is 100-140 N·m (74-103 lb-ft). Check the exact value and whether an angle tightening step is needed against the manufacturer's specifications.
- Install the clutch disc (the side marked for the transmission side faces the transmission) and the pressure plate. Center the disc with the alignment tool. Tighten the pressure plate bolts evenly in a crisscross pattern to approximately 20-30 N·m (15-22 lb-ft) (exact value per the manufacturer's specifications).
- Apply a thin layer of high-temperature grease to the transmission input shaft splines and the release bearing guide. Don't let grease get on the disc.
- Raise the transmission on the jack and guide the shaft splines into the disc. Don't force it, and don't let the transmission hang on the shaft. If the shaft won't go in, turn the output shaft or flange slightly.
- Pull the transmission to the engine with its bolts, each in its proper place. The approximate transmission bolt torque is 40-70 N·m (30-52 lb-ft) (per the manufacturer's specifications).
- Install the crossmember and transmission mounts, and tighten them with a torque wrench to the manufacturer's specifications.
- Install the starter and connect the wires, then install the clutch slave cylinder, the linkages or cables, the driveshafts according to the marks, the exhaust system, the connectors and the skid plate.
- Fill the transmission with oil and, if you drained it, the engine too. Tighten the wheel bolts and other fasteners to specification.
Stage 6 of 6 Check 4 steps
- Connect the battery. Bleed the clutch if air has gotten into the hydraulics, and check the pedal travel.
- Start the engine and let it idle. Check for oil leaks at the bellhousing and for release bearing noise.
- With the engine running and the car stationary, check the shifting into all gears. Take a test drive of 10-15 km.
- After a day of driving, inspect the seal area again and make sure there is no leak.
Common mistakes and warnings
- This job requires removing a heavy transmission
- Use a transmission jack and reliable stands, and never work under a car held up only by a single jack
- The torque values above are approximate, so check the exact values against the manufacturer's specifications
- If there are traces of oil on the clutch, it is better to replace the disc and the pressure plate, otherwise the clutch will start to slip
- If you lack the experience or equipment, it is better to leave the job to a repair shop
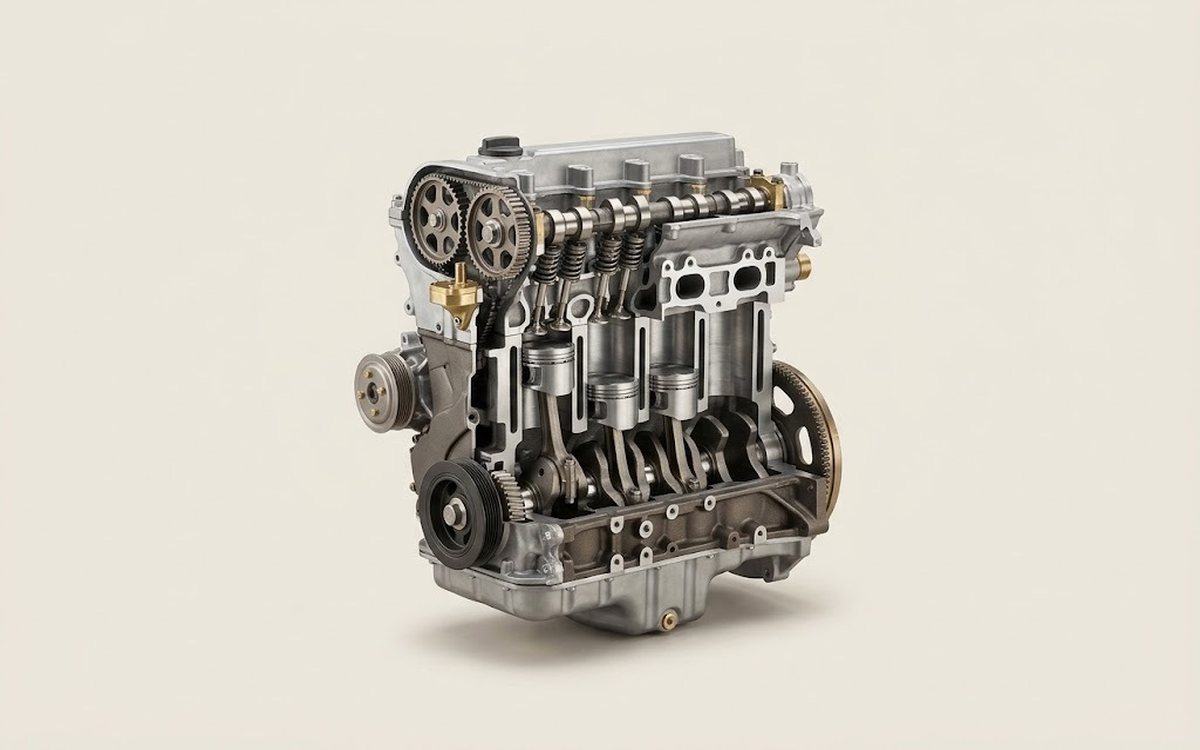 How it works · 3D
How a Car Engine Works
How the part you're working on actually works — in plain English, on a 3D model.
Open in 3D →