Autopapyrus · Toyota Hiace H100 (1992)
https://autopapyrus.com/catalog/toyota/hi-ace/guides/clutch-replacement/
https://autopapyrus.com/catalog/toyota/hi-ace/guides/clutch-replacement/
Compiled automatically from service literature and owner experience. Specs are for the typical configuration — check them against your exact car before you start.
Toyota Hiace H100 (1992): Clutch Replacement
The Hiace H100 has no inspection hatch, so the transmission has to be removed completely to replace the clutch. The van is a cab-over design: the engine sits under the front seats, and the transmission is lowered down. Replace the whole kit: pressure plate, disc and release bearing. Inspect the flywheel and resurface or replace it if necessary. The torque values below are approximate, so check the exact values against the manufacturer's specification.
Diagram: where the gearbox, slave cylinder and clutch disc are
Tap to enlarge
- 1Driveshaft flange: on the gearbox tail, mark it with paint together with the shaft before removal
- 2Gearbox: heavy, comes out whole downward on a transmission jack with a strap
- 3Clutch slave cylinder: unbolt from the housing and move aside with its hose, do not open the hydraulics
- 4Clutch bell housing with flange: bolts to the engine differ in length, remember each place
- 5Clutch disc: fit with the FLYWHEEL SIDE marking toward the flywheel, grease the input shaft splines thinly
Parts
5| № | Part | Genuine part no. | Alternatives |
|---|---|---|---|
| 01 | Clutch kit (pressure plate, clutch disc, release bearing)Find on Amazon → | 31210-35100 | AlternativesExedyAisinValeo |
| 31210-35101 | |||
| 31210-26140 | |||
| 02 | Pilot bearing/bushing in crankshaft endif fittedFind on Amazon → | 13401-54040 | |
| 03 | Rear crankshaft sealFind on Amazon → | ||
| 04 | Manual transmission fluid, GL-4Find on Amazon → | ||
| 05 | Brake fluid DOT 3/DOT 4 for clutch hydraulicsFind on Amazon → |
Amazon links search by the part name and genuine number; use Amazon's fit check for your car before ordering. We may earn a commission from qualifying purchases.
Part numbers are from the manufacturer's original catalogue. Check them against your VIN before ordering.
Tools
10- vehicle lift or inspection pit Amazon →
- transmission jack (or a floor jack with a wide pad) Amazon →
- socket and wrench set 10-19 mm Amazon →
- extensions Amazon →
- torque wrench Amazon →
- clutch alignment tool Amazon →
- spline grease Amazon →
- oil drain pan Amazon →
- container and hose for bleeding Amazon →
- jack stands Amazon →
 There's a full repair manual for this car
Every system, wiring diagrams and torque specs — not just this job. Haynes AutoFix (online) and 1 more.
See manuals →
Step by step
38 steps · 6 stagesStage 1 of 6 Preparation 5 steps
- Put the vehicle on a lift or over a pit, apply the parking brake, and place wheel chocks under the rear wheels. If you are raising it on jack stands, place them only under the structural members of the body.
- Disconnect the negative battery terminal.
- Remove the front seats and the engine cover inside the cab to get access to the top of the transmission and the shift lever. Keep the fasteners together in a separate box.
- Unbolt and remove the shift lever together with its housing (or disconnect the select and shift rods if the linkage is cable or rod type). Note the position of each rod.
- Remove the transmission filler plug first (so you don't end up unable to refill it), then the drain plug, and drain the oil. Reinstall the drain plug with a new gasket.
Stage 2 of 6 Transmission removal 9 steps
- Disconnect the wires of the reverse light switch and any other connectors on the transmission. Note where each one goes.
- Disconnect the speedometer cable or flexible drive (if fitted) from the transmission.
- Unbolt the clutch slave cylinder from the housing and move it aside together with its hose, without opening the hydraulic system. If the hose is in the way, disconnect it and plug it so the fluid does not leak out.
- Mark the position of the driveshaft and transmission flanges with paint. Remove the bolts securing the driveshaft to the transmission flange. Hang the shaft from a wire or remove it so it does not hang on the joint. Tightening torque for reassembly: per specification, approximately 30-50 N·m (22-37 lb-ft).
- Remove the starter (usually two bolts, mounted in the housing). Move it forward and aside or remove it completely.
- Position a transmission jack under the transmission and secure the transmission with a strap.
- Unbolt the crossmember or the rear transmission mount, after which the transmission can be lowered. Remove the mount fasteners first, then the crossmember.
- Remove the bolts securing the clutch housing to the engine block. Remember the length and location of each bolt, as they differ. Remove the upper bolts with the transmission lowered slightly.
- Pull the transmission straight back without letting the weight rest on the input shaft in the disc, until the shaft comes out of the disc splines. Lower the transmission down and pull it out from under the vehicle.
Stage 3 of 6 Clutch removal and inspection 6 steps
- Mark the position of the pressure plate relative to the flywheel with paint. Loosen the pressure plate bolts evenly in a diagonal pattern so as not to warp the cover, then remove them and take off the pressure plate and disc.
- Remove the fork and the release bearing from the clutch housing. Inspect the fork, its pivot and the guide sleeve for wear and scoring.
- Inspect the flywheel for signs of overheating (bluish discoloration), deep grooves and cracks. Minor defects can be fixed by resurfacing; for cracks or heavy wear, replace the flywheel. If you replace it, tighten the flywheel bolts in a diagonal pattern, torque per specification, approximately 60-100 N·m (44-74 lb-ft).
- Check the bearing or bushing in the end of the crankshaft. If it turns with play or is noisy, replace it. Also check the rear crankshaft seal. If there are oil traces on the flywheel or housing, replace the seal, otherwise the new clutch will quickly become contaminated.
- Wipe the flywheel and pressure plate surfaces with solvent (brake cleaner) until they are free of oil and grease.
- Inspect the transmission input shaft: the splines must not be worn. Check the input shaft seal and replace it if there are signs of leakage.
Stage 4 of 6 Clutch installation 5 steps
- Apply a thin layer of spline grease to the input shaft splines, then wipe off the excess so that no grease gets onto the disc. Apply grease to the fork contact points and the release bearing guide sleeve.
- Install the new disc on the flywheel with the correct side facing out (the side with the damper springs usually faces the transmission; check the marking on the disc: "gearbox side" or "getriebeseite").
- Fit the pressure plate according to the marks, start the bolts by hand, and insert the alignment tool through the disc into the crankshaft bearing.
- Tighten the pressure plate bolts evenly in a diagonal pattern in 2-3 passes. Tightening torque per specification, approximately 15-25 N·m (11-18 lb-ft). Remove the alignment tool.
- Install the fork and release bearing in the housing and check that the bearing slides smoothly along the guide.
Stage 5 of 6 Transmission installation 8 steps
- Raise the transmission with the jack and align its axis with the crankshaft. The input shaft should enter the disc without force: if necessary, turn the transmission by the driveshaft flange with a gear engaged so the splines line up. Do not let the transmission hang on the input shaft, or you will bend the disc.
- Draw the transmission in with the clutch housing bolts. Tightening torque per specification, approximately 40-65 N·m (30-48 lb-ft) for 10-12 mm bolts. Pay attention to the bolts of different lengths and the wiring brackets.
- Install the mount and crossmember and tighten the fasteners per specification (approximately 30-60 N·m (22-44 lb-ft)), then remove the jack.
- Install the starter and tighten the fasteners per specification (approximately 30-50 N·m (22-37 lb-ft)).
- Install the clutch slave cylinder and reconnect the hose if you disconnected it.
- Reconnect the driveshaft according to the marks and tighten the bolts (approximately 30-50 N·m (22-37 lb-ft)).
- Reconnect the reverse light wires, the speedometer cable, the shift lever and the rods.
- Fill the transmission with manual transmission fluid up to the lower edge of the filler hole, and tighten the filler plug.
Stage 6 of 6 Bleeding and checking 5 steps
- If you opened the hydraulic system, bleed the clutch: an assistant presses the pedal while you open the bleeder valve on the slave cylinder, until fluid flows without bubbles. Watch the level in the reservoir.
- Check the pedal free play and that the clutch disengages fully. The free play value is per the manufacturer's specification.
- Reinstall the seats and the engine cover, and reconnect the battery.
- With the engine running, press the pedal and shift through all the gears. Shifting should be smooth, without grinding or jerking. Check for oil and fluid leaks.
- Drive 500 km gently, without hard launches or clutch slipping, so the disc beds in.
Common mistakes and warnings
- The transmission is heavy
- Work only with a transmission jack and a safety strap, and never stand under an unsupported load
- Do not let oil or grease get onto the disc, flywheel or pressure plate
- After the replacement, check that the brakes work properly, and raise the vehicle only on reliable supports
- If you lack experience, it is better to leave the job to a repair shop
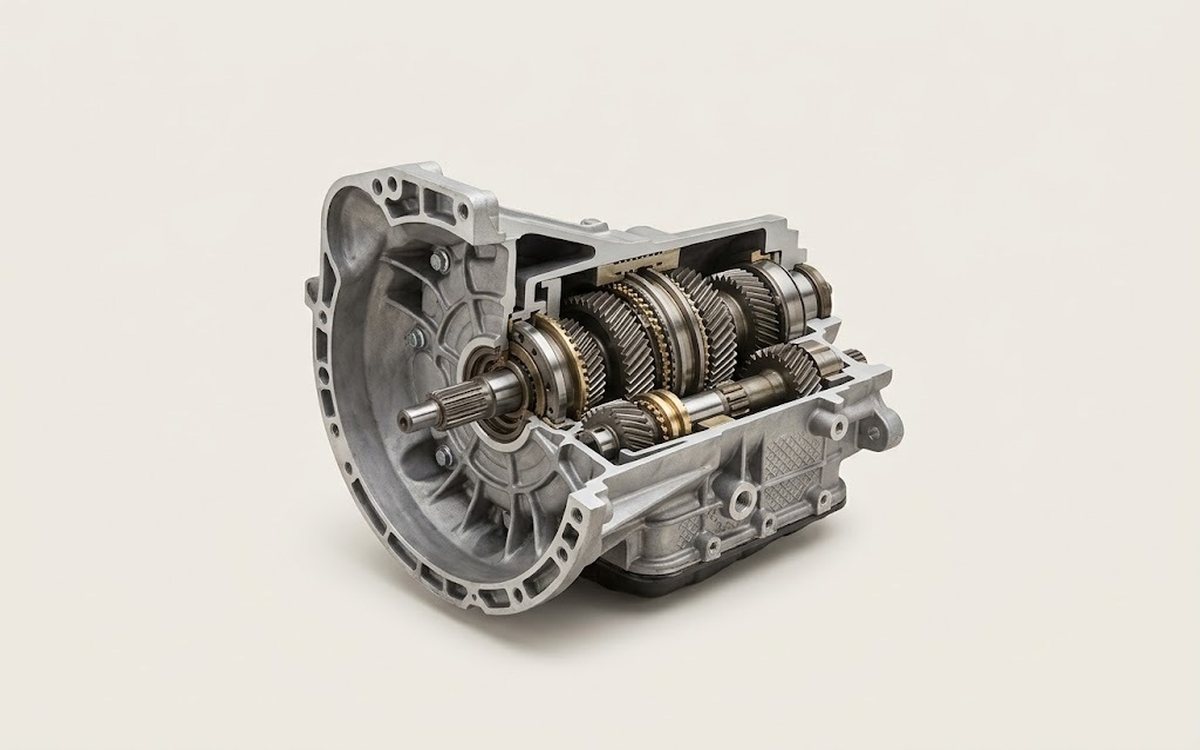 How it works · 3D
How a Manual Transmission Works
How the part you're working on actually works — in plain English, on a 3D model.
Open in 3D →
Spotted a mistake? Tell us →
Our articles
 Brand stories
The History of Toyota
From weaving looms to reliable mass-produced cars.
Read →
 Garage
Fuel Quality Indicators: What Octane and Cetane Numbers Mean
What is an octane number? What about a cetane number? Which fuel should you choose for a high-compression engine?…
Read →
 Before you buy
How to Pick Up Your Car from the Dealership the Right Way
If you've decided to buy a car from a dealership, it isn't enough to simply choose a model you like, pay for it, and…
Read →