Autopapyrus · Toyota Highlander XU50
https://autopapyrus.com/catalog/toyota/highlander/guides/front-strut-replacement/
https://autopapyrus.com/catalog/toyota/highlander/guides/front-strut-replacement/
Compiled automatically from service literature and owner experience. Specs are for the typical configuration — check them against your exact car before you start.
Toyota Highlander XU50: Front Strut Replacement
On the Highlander XU50, the front strut combines the shock absorber and coil spring in a single unit, so when the shock wears out the whole assembly is replaced. Typical signs of wear are oil leaking from the strut body, knocking over bumps, and body sway. A wheel alignment is required after replacement.
Parts
4| № | Part | Genuine part no. | Alternatives |
|---|---|---|---|
| 01 | Front strut assembly with spring (left), FWDFind on Amazon → | AlternativesKYBMonroe | |
| 02 | Front strut assembly with spring (right), FWDFind on Amazon → | AlternativesKYBMonroe | |
| 03 | Front strut assembly with spring (left), AWDFind on Amazon → | AlternativesKYBMonroe | |
| 04 | Front strut assembly with spring (right), AWDFind on Amazon → | 48510-8Z102 | AlternativesKYBMonroe |
Amazon links search by the part name and genuine number; use Amazon's fit check for your car before ordering. We may earn a commission from qualifying purchases.
Part numbers are from the manufacturer's original catalogue. Check them against your VIN before ordering.
Tools
6Step by step
11 steps- Raise the front of the vehicle with a jack, support it on jack stands, and remove the front wheels.
- Open the hood and remove the 3 upper nuts that secure the strut to the body (E14 Torx socket or 12 mm, depending on trim). The wrench reaches them through the opening in the strut tower under the hood. Do not loosen the center nut on the strut rod. That nut is for disassembling the strut mount bearing and requires spring compressors.
- From underneath, disconnect the sway bar link from the strut (14 mm nut, tighten to 75 N·m (55 lb-ft) on reassembly).
- Remove the 2 bolts that secure the strut to the steering knuckle (18 mm socket). The bolts have eccentric washers. Note the position of the alignment marks so you can approximately restore the camber on reassembly.
- Pull the strut downward, guide the upper mounting studs out of the holes in the body tower, and remove the strut assembly.
- Inspect the new strut and make sure the strut mount bearing, rod dust boot, and bump stop are in place. Install the strut in reverse order: first insert the upper mounting studs into the tower holes, then bring the lower end up to the knuckle.
- Start the upper nuts by hand (do not fully tighten yet), install the lower bolts through the knuckle, and line up the eccentric marks with their original position.
- Tighten the upper nuts to 80 N·m (59 lb-ft).
- Tighten the lower bolts that secure the strut to the knuckle to 210 N·m (155 lb-ft).
- Reconnect the sway bar link and tighten the nut to 75 N·m (55 lb-ft).
- Install the wheels and lower the vehicle. Have the alignment done within the next few days, since the eccentric bolts only give an approximate camber setting.
Common mistakes and warnings
- Never loosen the center nut on the strut rod without spring compressors
- The compressed spring can fly out and cause injury
- Buy a complete strut assembly with the spring and strut mount bearing already installed
- Replacing struts without a follow-up wheel alignment causes uneven tire wear and worse handling
- If you have no experience working on suspensions, take the car to a repair shop
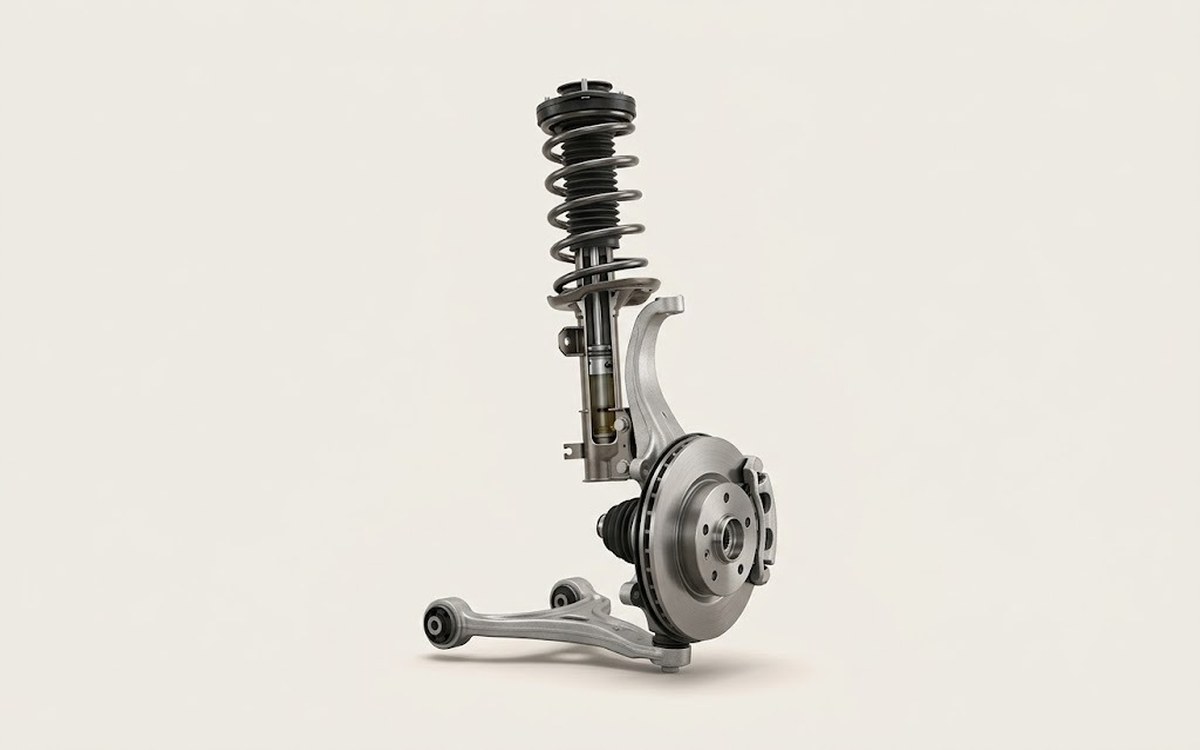 How it works · 3D
How Car Suspension Works
How the part you're working on actually works — in plain English, on a 3D model.
Open in 3D →
Spotted a mistake? Tell us →
Our articles
 Brand stories
The History of Toyota
From weaving looms to reliable mass-produced cars.
Read →
 Garage
Fuel Quality Indicators: What Octane and Cetane Numbers Mean
What is an octane number? What about a cetane number? Which fuel should you choose for a high-compression engine?…
Read →
 Before you buy
How to Pick Up Your Car from the Dealership the Right Way
If you've decided to buy a car from a dealership, it isn't enough to simply choose a model you like, pay for it, and…
Read →