https://autopapyrus.com/catalog/volkswagen/golf/guides/diagnosing-headlight-and-parking-light-wiring-relays-and-fuses/
Volkswagen Golf Mk6: Diagnosing Headlight and Parking Light Wiring, Relays and Fuses
On the Golf Mk6, power for the headlights and parking lights runs through fuses in the engine compartment and in the cabin, and the bulbs are switched by the body control module (J519). So when something fails, check the bulbs and fuses first, then the grounds and connectors, and only after that the control module. A 2010 car with the 1.6 BSE engine is set up the same way in this respect as the other Golf Mk6 models.
Key figures
- Left headlight and left parking light fuse in the engine compartment30 A (F26). Check it in step 4 and replace it only with the same rating.
- Right headlight fuse in the engine compartment30 A (F16). Check it in step 4 if only the right headlight is out.
- Headlight range adjustment fuse in the cabinabout 10 A. Check it in step 3 if only the range adjustment is faulty.
Check these values against the manufacturer’s specification for your vehicle before you start.
Diagram: where the headlight fuses are in the engine bay
- 1Fuse box in the engine bay. Light fuses are here; remove the box cover.
- 230 A fuse at the top of the box. Match its number to the card on the cover and check it.
- 330 A fuse in the center of the box. Match its number to the card; replace only with the same rating.
- 4Large 30 A fuse on the right. Check its number on the card; replace only with the same rating.
- 5Sticker on the box. Match F26 (left headlight and side light) and F16 (right headlight) to the card on the inside of the cover.
Parts
5| № | Part | Genuine part no. |
|---|---|---|
| 01 | Blade fusescorrect ratingFind on Amazon → | |
| 02 | Low beam bulbFind on Amazon → | N10320102 |
| 03 | Parking light bulbFind on Amazon → | N0177535 |
| 04 | Harness repair connectorsif harness is damagedFind on Amazon → | |
| 05 | Wire of matching gaugeif harness is damagedFind on Amazon → |
Amazon links search by the part name and genuine number; use Amazon's fit check for your car before ordering. We may earn a commission from qualifying purchases.
Part numbers are from the manufacturer's original catalogue. Check them against your VIN before ordering.
Tools
6Read the codes yourself
A scanner plugged into the OBD2 port under the dashboard shows which fault codes the car has stored, before you buy any parts. Cars sold in the US from 1996, and petrol cars in Europe from 2001 (diesels from 2004), have this port.
- Basic code reader, about $20–40: reads and clears engine codes Amazon →
- Bluetooth scanner with a phone app, about $30–100: live sensor data, and on many cars ABS and airbag codes too Amazon →
Check that the scanner lists your make and model year before you buy. We may earn a commission from qualifying purchases.
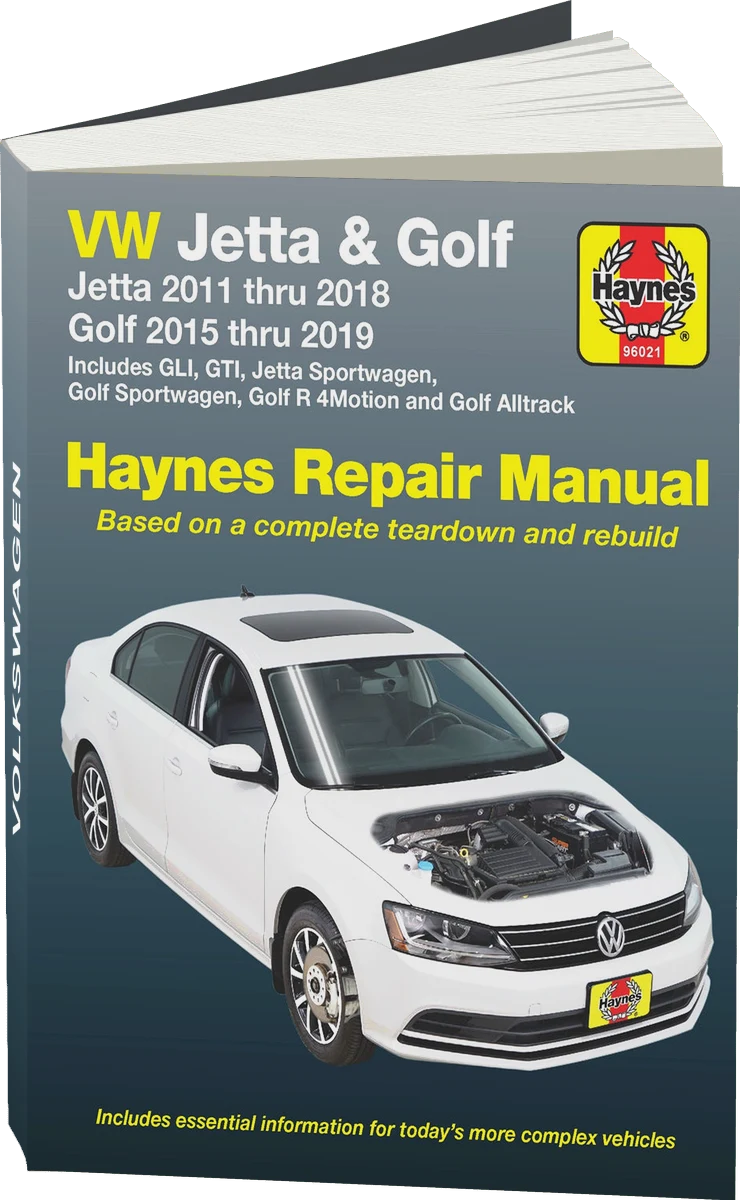 There's a full repair manual for this car
Every system, wiring diagrams and torque specs — not just this job. Haynes and 37 more.
See manuals →
Step by step
11 steps- Identify the symptom. If one bulb is out, the most likely cause is the bulb itself, its socket or its connector. If a whole headlight is out, or the low beam and parking light on one side are out together, suspect a fuse, a ground or a connector. If the lights flicker, come on by themselves or won't turn off, suspect the body control module. Turn off the ignition and the lights, then start the checks.
- Check the bulbs. Remove the bulb and inspect the glass and the filament. Check the socket and contacts for carbon buildup, melting and corrosion. To test, install a known-good bulb.
- Locate the fuse box in the cabin. It is behind a cover on the end of the dashboard on the driver's side (visible when the door is open). Pry the cover off with a flat screwdriver. The fuses here that relate to the headlights are the headlight range adjustment fuse (about 10 A), the headlight washer fuse (about 20 A) and the central electronics module fuse (about 20 A).
- Locate the fuse box in the engine compartment. According to the Golf Mk6 wiring diagrams, the main lighting circuits run through 30 A fuses: the left headlight and left parking light are on F26, and the right headlight is on F16. The fog light and turn signal fuses are next to them. Diagrams differ between model years and trim levels, so check the numbers against the chart on the inside of the fuse box cover.
- Check the fuses. Pull each one with the fuse puller and look at the element against the light, or test it with a multimeter. Replace a fuse only with one of the same rating and color. Do not fit a higher rating and do not use makeshift "bug" bypasses. If a new fuse blows right away or within minutes, there is a short to ground: look for damaged harness insulation near the headlight, at the connector, and at the bend by the fender.
- Check the voltage at the bulb connector. Turn on the lights and connect a multimeter or test light to the connector contacts. You should see a voltage close to the vehicle system voltage (about 12-14 V). If there is no voltage, there is a break in the wire or a problem in the control circuit. If there is voltage but the bulb doesn't light, check the ground.
- Check the ground. Test the headlight ground wire to the body with a continuity check. The resistance should be close to zero. Clean a corroded ground point down to bare metal, tighten the fastener and treat it with contact grease. The torque for ground bolts is low, so tighten them moderately without stripping the threads (check the value against the manufacturer's specifications).
- Inspect the harness and connectors. Check the headlight connector and harness for kinks, chafing, moisture and corrosion. Repair a break by soldering with heat-shrink tubing or with waterproof crimp connectors, using wire of the same gauge and color.
- Connect the scanner and read the fault codes of the body control module and the lighting modules. They will point to a specific circuit: open circuit, short or bulb fault. If the module has data on the relays and lighting outputs, compare it with the results of your voltage check.
- If the bulbs, fuses, harness and grounds are all fine but the lights behave erratically (flicker, come on by themselves, won't switch off), the cause may be the body control module J519. Replacing it is done with equipment that can code and adapt the module to the car, so it is best to leave this part of the job to a shop with VAG diagnostic equipment.
- After the repair, clear the fault codes and check the operation of the parking lights, low beam, high beam, turn signals, fog lights and headlight range adjustment. Take a short drive and read the fault codes again.
Common mistakes and warnings
- Disconnect the battery ground before working on the wiring, to avoid shorting a circuit and damaging the control modules
- Do not install a fuse of a higher rating
- It causes overheating and can set the harness on fire
- If you have no experience with electrical work, take the car to a repair shop
Spotted a mistake? Tell us →
Our articles
 Brand stories
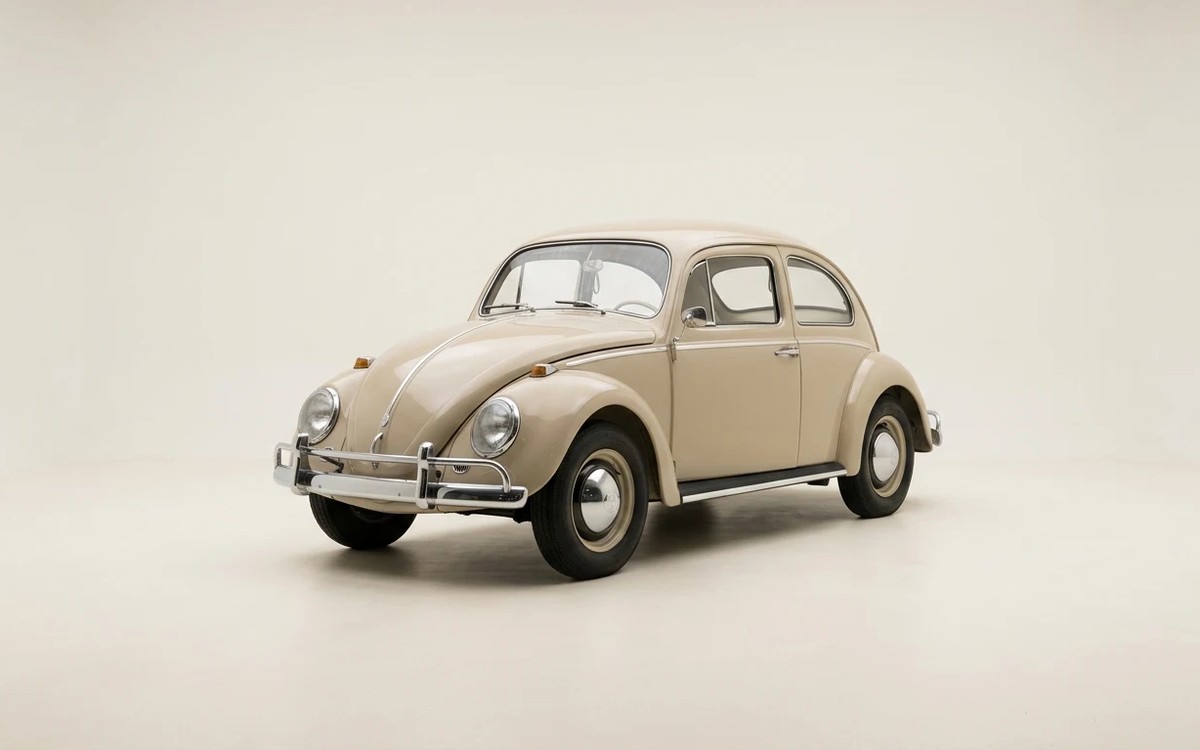
The History of Volkswagen
Volkswagen proved to the world that a car can be "the people's car": good-looking, affordable and fun.
Read →
 Garage
Fuel Quality Indicators: What Octane and Cetane Numbers Mean
What is an octane number? What about a cetane number? Which fuel should you choose for a high-compression engine?…
Read →
 Before you buy
How to Pick Up Your Car from the Dealership the Right Way
If you've decided to buy a car from a dealership, it isn't enough to simply choose a model you like, pay for it, and…
Read →