Autopapyrus · Volkswagen Tiguan 1.4 TSI CZEA (2018)
https://autopapyrus.com/catalog/volkswagen/tiguan/guides/timing-belt-replacement/
https://autopapyrus.com/catalog/volkswagen/tiguan/guides/timing-belt-replacement/
Compiled automatically from service literature and owner experience. Specs are for the typical configuration — check them against your exact car before you start.
Volkswagen Tiguan 1.4 TSI CZEA (2018): Timing Belt Replacement
On the EA211 1.4 TSI (CZEA) engine, the timing drive is a belt. The job requires special tools: without the crankshaft and camshaft locking tools you cannot set the timing accurately, and a mistake with the marks risks the valves hitting the pistons. Below is the procedure for the EA211 family. For torque values not given in the text, check the manufacturer's specifications.
Key figures
- Crankshaft locking tool tightening torquethe bolt that locks the crankshaft at TDC, steps 7 and 2730 N·m (22 lb-ft)
- Tensioner pulley bolt tightening torqueafter setting the tensioner pointer to the mark, step 2425 N·m (18 lb-ft)
- Camshaft pulley bolt pre-tightening torquebefore checking the timing, step 2550 N·m (37 lb-ft)
- Pulley threaded plug tightening torqueat the end of the timing check, step 2820 N·m (15 lb-ft)
- Crankshaft rotation after belt installationfor the timing check, steps 26-272 full revolutions
Check these values against the manufacturer’s specification for your vehicle before you start.
Diagram: timing belt, pulleys and rollers on the 1.4 TSI engine
Tap to enlarge
- 1Timing belt: wide toothed belt wrapped around the camshaft and crankshaft pulleys and the rollers. It is removed and a new one fitted, using marks and locking tools.
- 2Intake camshaft pulley with a threaded plug in the center. The plug is unscrewed while the pulley is held with the counter-holder.
- 3Exhaust camshaft pulley: loosen the bolt about one turn while holding the pulley with the counter-holder.
- 4Idler roller: the belt goes onto it first; the roller is replaced together with the belt.
- 5Tensioner roller with eccentric and pointer: set the tension with the eccentric so the pointer matches the mark, then tighten the bolt to 25 Nm.
- 6Crankshaft toothed pulley: contact surfaces clean and degreased, the flat on the pulley matches the bevel on the shaft nose.
Parts
5| № | Part | Alternatives |
|---|---|---|
| 01 | Timing belt kit for 1.4 TSI EA211 (toothed belt, tensioner pulley, idler pulley)Find on Amazon → | AlternativesGatesSKFContitechDayco |
| 02 | New camshaft pulley boltsFind on Amazon → | |
| 03 | VW G12 evo or G13 coolantFind on Amazon → | |
| 04 | Pulley plug seal ringif damagedFind on Amazon → | |
| 05 | Water pumprecommended to replace at the same time if supplied with the belt kitFind on Amazon → | AlternativesGatesSKFContitechDayco |
Amazon links search by the part name; use Amazon's fit check for your car before ordering. We may earn a commission from qualifying purchases.
Tools
5- Socket and wrench set Amazon →
- torque wrench Amazon →
- special tools for the EA211 engine family (crankshaft locking tool T10340, camshaft locking tool T10494, pulley counterhold T10172 with adapters T10172/1 and T10172/2, tensioner wrenches T10499 and T10500, wrench TW499) Amazon →
- coolant drain pan Amazon →
- chalk or marker Amazon →
 There's a full repair manual for this car
Every system, wiring diagrams and torque specs — not just this job. Haynes AutoFix (online) and 1 more.
See manuals →
Step by step
32 steps · 6 stagesStage 1 of 6 Preparation and access 6 steps
- Shut off the engine, let it cool, and disconnect the negative battery terminal. Park the car on a level surface or lift.
- Loosen the clamps and remove the air duct. Disconnect the hoses and the connector, and release the air duct retainers.
- Press the retainer buttons and disconnect the hose to the charcoal canister (EVAP). Remove the screws and take off the crankcase ventilation hose.
- Move the wiring harness aside. Remove the screws and take off the protective cover of the water pump belt drive, then the upper cover above it.
- Drain the coolant into a clean container.
- Remove the four thermostat housing cover bolts and push the cover aside. Remove the sound insulation cover.
Stage 2 of 6 Setting tdc 5 steps
- Remove the TDC plug from the cylinder block. Screw in the crankshaft locking tool T10340 until it stops and tighten it to 30 N·m (22 lb-ft).
- Turn the crankshaft in the direction of engine rotation until the counterweight stops against the bolt. The locking tool only locks the shaft in the direction of rotation.
- If the bolt does not thread in all the way, loosen it, turn the crankshaft 90° in the direction of rotation, thread the bolt in again (30 N·m (22 lb-ft)), and turn the crankshaft until it stops.
- Check the marks on the camshafts: each has a pair of symmetrical and a pair of asymmetrical notches, and at TDC the asymmetrical pair must sit above the horizontal axis. If not, remove T10340, turn the crankshaft one full revolution, and set TDC again.
- Insert the camshaft locking tool T10494 until it stops and tighten its screw by hand. Do not hammer it in or use impact tools. Do not use T10494 as a stop for turning the shafts.
Stage 3 of 6 Belt removal 7 steps
- Remove the crankshaft pulley (loosen the bolt per the manufacturer's specification). Remove the screws and take off the lower belt cover.
- Free the hoses from the holder, remove the screw and release the retainers, then take off the upper belt cover.
- Remove the threaded plug in the intake camshaft pulley while holding the pulley with the counterhold T10172 and adapter T10172/1.
- Loosen the camshaft pulley bolts about one turn while holding the pulleys with T10172 and adapters T10172/2 and T10172/1.
- Loosen the tensioner pulley bolt with wrench T10500, then turn the eccentric with wrench T10499 to release the tension.
- If the belt will be reused, mark the direction of rotation with chalk. Remove the belt. Always install a new belt.
- If replacing the water pump and its drive belt, do it now, then fill the system later per step 28. Inspect the pulleys and rollers and check them for play and noise.
Stage 4 of 6 Installing the new belt 7 steps
- Install the new camshaft pulley bolts by hand: the pulleys should still be able to turn on the shafts but must not wobble.
- Install the new tensioner pulley so that its tab seats in the cast recess in the cylinder head. Install the idler pulley.
- Install the toothed crankshaft pulley: the contact surfaces with the belt drive pulley must be clean and degreased, and the flat on the pulley aligns with the bevel on the shaft nose.
- Fit the belt: first onto the idler pulley and tensioner pulley, then onto the camshaft pulleys. Do not bend or twist the belt.
- Using wrench TW499, turn the tensioner eccentric clockwise so the pointer moves about 10 mm to the right past the mark. Then turn the eccentric back until the pointer lines up exactly with the mark.
- Holding the eccentric, tighten the tensioner bolt to 25 N·m (18 lb-ft) (wrench T10500 with a torque wrench).
- Pre-tighten the camshaft pulley bolts to 50 N·m (37 lb-ft), holding the pulleys with the counterhold.
Stage 5 of 6 Checking the timing 4 steps
- Remove T10340 and T10494, install the lower belt cover and the crankshaft pulley. Turn the crankshaft two full revolutions in the direction of rotation.
- Thread in T10340 again (30 N·m (22 lb-ft)), turn the crankshaft until it stops, and insert T10494. It must go in easily. If it does not, the timing is set incorrectly: repeat the installation starting from step 19. If it goes in, the timing is correct.
- Remove T10340 and T10494. Do the final tightening of the camshaft pulley bolts per the manufacturer's specification (counterhold T10172). Tighten the pulley threaded plug to 20 N·m (15 lb-ft).
- Make sure neither T10340 nor T10494 has been left on the engine.
Stage 6 of 6 Reassembly and starting 3 steps
- Install the upper belt cover, water pump drive covers, thermostat housing cover, sound insulation cover, ventilation and canister hoses, and the air duct. Tighten fasteners per the manufacturer's specification.
- Fill with coolant and bleed the cooling system per the manufacturer's procedure. Connect the battery.
- Start the engine, warm it up, and check for unusual noises and fault codes. Check the coolant level with the engine warm and top up if needed. Check the level again after a few days.
Common mistakes and warnings
- If you have any doubt about the marks or the locking tools, do not start the engine: with incorrect timing the valves can hit the pistons
- Do not turn the crankshaft against the direction of rotation
- Camshaft pulley bolts that are torque-angle tightened must be replaced with new ones
- Without the special tools, it is best to leave the job to a repair shop
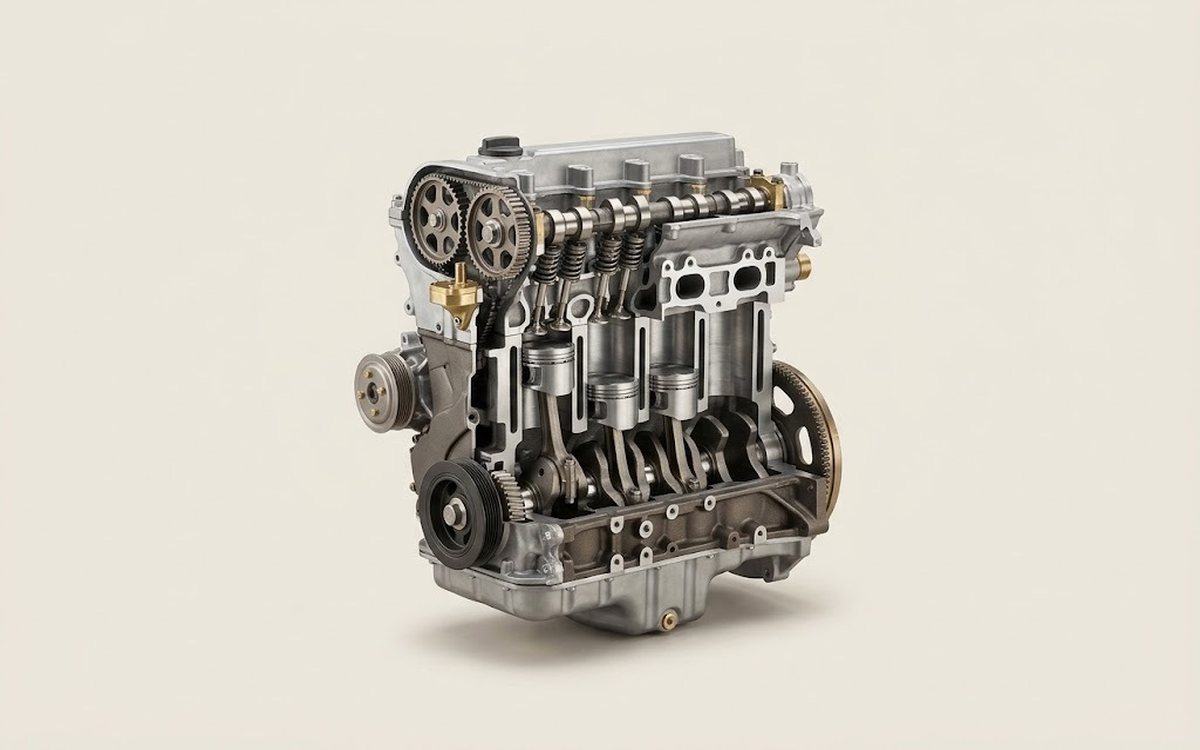 How it works · 3D
How a Car Engine Works
How the part you're working on actually works — in plain English, on a 3D model.
Open in 3D →
Spotted a mistake? Tell us →
Our articles
 Brand stories
The History of Volkswagen
Volkswagen proved to the world that a car can be "the people's car": good-looking, affordable and fun.
Read →
 Garage
Fuel Quality Indicators: What Octane and Cetane Numbers Mean
What is an octane number? What about a cetane number? Which fuel should you choose for a high-compression engine?…
Read →
 Before you buy
How to Pick Up Your Car from the Dealership the Right Way
If you've decided to buy a car from a dealership, it isn't enough to simply choose a model you like, pay for it, and…
Read →