Autopapyrus · Acura RDX 2.3T K23A1 (2008)
https://autopapyrus.com/guides/acura/rdx/timing-chain-replacement/
https://autopapyrus.com/guides/acura/rdx/timing-chain-replacement/
Compiled automatically from service literature and owner experience. Specs are for the typical configuration — check them against your exact car before you start.
Acura RDX 2.3T K23A1 (2008): Timing Chain Replacement
The K23A1 engine uses a chain-driven valvetrain, and the service schedule does not call for routine replacement. Replacement is needed when the chain is noisy on a cold start, when the chain has stretched (camshaft/crankshaft correlation codes), when the guides are worn, or when the tensioner has failed. The job requires removing the front of the engine and setting the timing marks precisely.
Parts
8| № | Part |
|---|---|
| 01 | K23A1 timing chain kit (chain, guides, tensioner shoe, automatic hydraulic tensioner) |
| 02 | VTC sprocket or phaserif worn |
| 03 | Timing cover gaskets and bolts |
| 04 | Front crankshaft seal |
| 05 | Valve cover gasket |
| 06 | Engine oil |
| 07 | Oil filter |
| 08 | Honda Type 2 coolant |
Tools
11- socket and ratchet set
- torque wrench
- crankshaft pulley puller
- pulley holding tool or strap wrench
- flywheel holding tool (or a block stop)
- jack or lift
- engine support stand or bracket
- plastic locking pins
- sealant for the timing cover
- marker
- containers for oil and coolant
Step by step
11 steps- Disconnect the negative battery terminal. Raise the vehicle on a lift or jack stands. Drain the engine oil and coolant, then remove the skid plate.
- Remove the air ducts, the intercooler with its boost pipes, and anything else that blocks access to the front of the engine. Disconnect the harnesses and hoses from the valve cover and remove the ignition coils.
- Remove the drive belt and the tensioner. Remove the right engine mount, supporting the engine with a jack and a wooden block under the oil pan or with a support bracket. Remove everything attached to the timing cover (the power steering pump; unbolt the A/C compressor without opening the refrigerant circuit and secure it to the side).
- Remove the valve cover. Turn the crankshaft in its normal direction of rotation and set cylinder 1 to TDC: the mark on the crankshaft pulley lines up with the pointer, and the marks on the camshaft sprockets line up with the marks on the cylinder head. Take photos of the mark positions.
- Remove the crankshaft pulley (the bolt is very tight, so use a flywheel holding tool or a block stop, and avoid an impact wrench if possible). Remove the part of the oil pan at the timing cover area as specified in the service manual, then remove the timing cover, separating it from the block and the oil pan around its perimeter. Work carefully so you don't damage the oil pan sealing surface.
- Before removal, mark the position of the chain relative to the sprockets with paint. Lock the hydraulic tensioner in its compressed state (with a locking pin or thin wire in the service hole), then remove the tensioner and the guides.
- Remove the chain. Inspect the sprockets, the VTC phaser on the intake camshaft, and the oil feed passages to the tensioner. Worn teeth, play in the VTC, or scoring are reasons to replace the sprockets and phaser along with the chain. If the engine has a balance shaft drive or a separate oil pump chain, check its tension and marks per the service manual.
- Install the new chain with all marks aligned (on the crankshaft and both camshafts, with the colored chain links matching the sprocket marks). Install the guides and the shoe, then the tensioner, and then remove the tensioner lock. Turn the crankshaft by hand 2 full revolutions and verify that the marks line up again at TDC. If the marks do not line up, reposition the chain.
- Clean the mating surfaces of the block and cover of old sealant, replace the front crankshaft seal, apply an even bead of sealant, and install the timing cover. Tighten the cover, oil pan, crankshaft pulley bolt, and sprocket bolts with a torque wrench to the service manual specifications (the crankshaft pulley bolt on the K-series has a high torque, roughly 180-270 N·m (133-199 lb-ft); the timing cover bolts roughly 10-25 N·m (7-18 lb-ft); the camshaft sprockets roughly 20-50 N·m (15-37 lb-ft). Confirm the exact values for the K23A1 in the service manual).
- Install the valve cover with a new gasket, then the mounts, the drive belt, and all removed components in reverse order. Fill with fresh oil and install a new oil filter, then fill with coolant and bleed the air from the cooling system.
- Before starting, crank the engine with the starter for a few seconds with the coils removed to build oil pressure. Start the engine, let it warm up, and check for leaks, Check Engine codes (cam/crank correlation), and chain noise. If needed, clear the codes with a scan tool.
Common mistakes and warnings
- A timing mark error of even one tooth will cause the valves to hit the pistons and result in expensive repairs
- Before starting, always turn the crankshaft by hand for 2 revolutions and recheck the marks
- The exact disassembly sequence and all torque values for the K23A1 are not confirmed in publicly available service materials, so the values above are given as guidelines only
- Check them against the manufacturer's service manual
- If you have no experience with chain-driven engines, leave the job to a repair shop
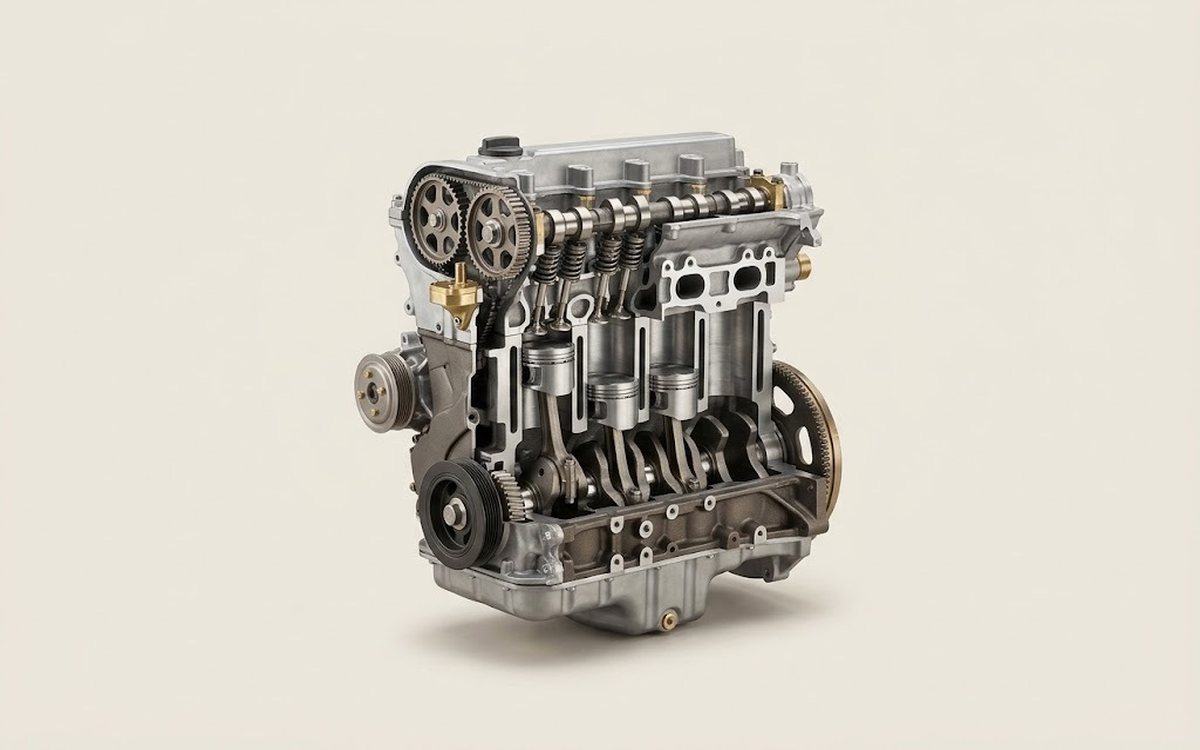 How it works · 3D
How a Car Engine Works
How the part you're working on actually works — in plain English, on a 3D model.
Open in 3D →