Autopapyrus · Chrysler 200 (2nd generation)
https://autopapyrus.com/guides/chrysler/200/front-strut-replacement/
https://autopapyrus.com/guides/chrysler/200/front-strut-replacement/
Compiled automatically from service literature and owner experience. Specs are for the typical configuration — check them against your exact car before you start.
Chrysler 200 (2nd generation): Front Strut Replacement
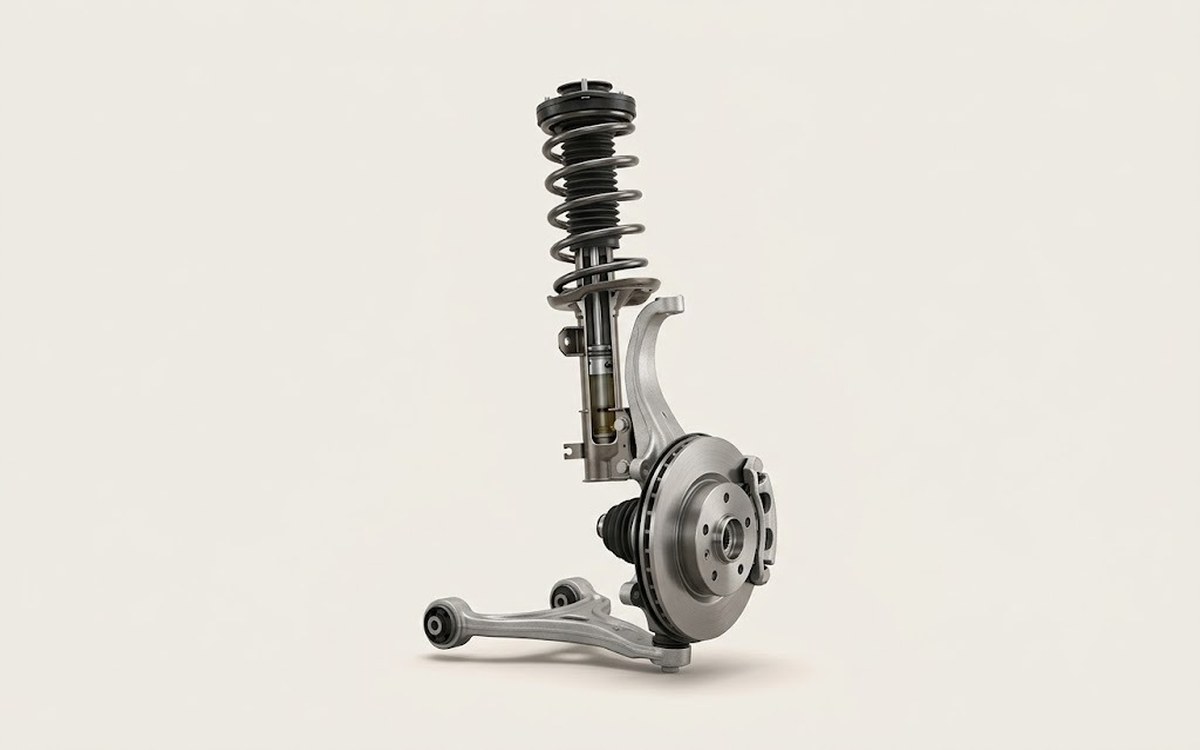
The front suspension is a MacPherson strut design. Struts are replaced in pairs, preferably as complete assemblies with the spring: this avoids working with a spring compressor under load. A wheel alignment check and adjustment is required after replacement.
Parts
4| № | Part | Alternatives |
|---|---|---|
| 01 | Complete front suspension strut assembly (with spring, mount and bump stop)left and right | Monroe, KYB, Sachs |
| 02 | Strut mount with bearingif worn | Monroe, KYB, Sachs |
| 03 | Dust boot with bump stopif worn | Monroe, KYB, Sachs |
| 04 | Sway bar linksif worn | Monroe, KYB, Sachs |
Tools
10- floor jack and jack stands
- lug wrench
- sockets and wrenches (approx. 15-21 mm)
- Torx and hex bit set for the strut rod
- torque wrench
- breaker bar
- spring compressor (if you are replacing a strut without the spring)
- penetrating oil
- hammer
- pry bar
 There's a full repair manual for this car
Every system, wiring diagrams and torque specs — not just this job. Chilton and 2 more.
See manuals →
Step by step
12 steps- Park the vehicle on level ground, set the parking brake, and loosen the front lug nuts half a turn. Jack up the front, support it on jack stands, and remove the wheels.
- Apply penetrating oil to the threads of the lower strut bolts and the upper mount nuts, and let it soak for 10-15 minutes.
- Disconnect the sway bar link from the strut (or remove the link's mounting bracket from the strut). Keep the ball joint from turning by holding the stud with a hex key or Torx bit. Do not damage the boot.
- If an ABS sensor wire or brake hose is attached to the strut, release it from the brackets on the strut body. The brake hose must not be stretched or twisted; if necessary, hang the caliper on a wire. Do not disconnect the hose.
- Support the steering knuckle with a jack or stand so that it does not drop. Remove the bolts that secure the strut to the knuckle. They may be seized; help them out with a hammer and a punch. Mark the position of the eccentric (cam) bolt, if there is one: this preserves the camber setting.
- Open the hood and remove the plastic cover or trim near the strut tower if it is in the way. While supporting the strut from below, remove the upper mount nuts (usually three). Do not turn the strut rod until the strut is removed.
- Lower the strut, move the knuckle slightly outward, and pull the assembly out of the wheel well.
- If you are assembling the strut yourself: compress the spring evenly with spring compressors, hold the rod with a hex key, and remove the rod nut. Remove the mount, bearing, spring, bump stop, and dust boot. Inspect the mount, bearing, bump stop, and dust boot, and replace them if there is play, noise, or cracks. Seat the spring's bottom coil in the spring seat without any misalignment. If you have no experience with spring compressors, leave this step to a repair shop: a compressed spring is dangerous.
- Install the new complete strut assembly: first guide the upper studs into the strut tower and start the nuts by hand, then align the bottom with the knuckle and insert the bolts (eccentric bolt on its mark).
- Tighten with a torque wrench: upper mount nuts approx. 40-60 N·m (30-44 lb-ft) (if in doubt, check the exact value in the manufacturer's service manual for your trim), strut-to-knuckle bolts approx. 100 N·m (74 lb-ft), sway bar link per the service manual (approx. 50-60 N·m (37-44 lb-ft) for the sway bar bracket mounting; ball joint nut to the torque specified for your link). Do the final tightening of the knuckle bolts with the vehicle resting on its wheels (or with the suspension supported), so the bushings are not preloaded in a twisted position.
- Reinstall the ABS wire, brake hose, and sway bar link. Install the wheels and tighten the lug nuts in a crisscross pattern; on the ground, torque them to approx. 135 N·m (100 lb-ft).
- Repeat on the other side. Take a test drive: check for knocking noises and make sure the vehicle tracks straight. Then have a wheel alignment done.
Common mistakes and warnings
- This is safety-critical work involving the suspension and steering
- A compressed spring under load can cause serious injury, so if you have no experience with spring compressors, use complete strut assemblies
- Support the vehicle only on jack stands, never on a jack alone
- If you have no experience, take the vehicle to a repair shop
- Verify the torque values marked "approx." against the manufacturer's service manual for your vehicle before tightening
 How it works · 3D
How Car Suspension Works
How the part you're working on actually works — in plain English, on a 3D model.
Open in 3D →