Autopapyrus · FAW Vita (1st generation)
https://autopapyrus.com/guides/faw/vita/rear-drum-brake-disassembly/
https://autopapyrus.com/guides/faw/vita/rear-drum-brake-disassembly/
Compiled automatically from service literature and owner experience. Specs are for the typical configuration — check them against your exact car before you start.
FAW Vita (1st generation): Rear Drum Brake Disassembly
The first-generation FAW Vita has drum brakes at the rear. Disassembly consists of removing the drum, taking off the brake shoes along with the hold-down and return springs, and inspecting the wheel cylinder and the parking brake mechanism. The procedure is simple in concept, but it takes care: the springs are under tension, and brake dust is harmful.
Parts
5| № | Part |
|---|---|
| 01 | Rear brake shoes (axle set, with springs) |
| 02 | Rear brake drumsif needed |
| 03 | Rear wheel cylindersif needed |
| 04 | Shoe return spring repair kitif needed |
| 05 | Shoe hold-down spring repair kitif needed |
Tools
12- jack
- jack stands
- wheel chocks
- lug wrench
- soft-faced mallet
- flat-blade screwdriver
- pliers
- brake shoe spring tool or fine-nose pliers
- socket for the hub nut (check the size against your nut)
- DOT 4 brake fluid
- brake cleaner
- gloves and a respirator
Step by step
11 steps- Park the vehicle on level ground, put it in first gear, and chock the front wheels. The parking brake must be released, or the drum won't come off.
- Loosen the lug nuts on the rear wheel half a turn, jack up the vehicle, set it on jack stands, and remove the wheel.
- If the drum has a retaining screw, remove it. Pull the drum off toward you. If it is stuck, tap the outer part of the drum with a mallet. If a wear ridge is in the way, back off the shoe adjustment: remove the plug on the backing plate and push the adjuster ratchet aside with a screwdriver, if your version has one.
- If the drum sits on a wheel bearing, pry off or unscrew the dust cap, remove the cotter pin, and take off the hub nut. Remove the washer and the outer bearing, then the drum. Remember the order of the parts.
- Take photos of how the springs, shoes, and parking brake lever are arranged so you can reassemble them the same way. Clean the mechanism with brake cleaner. Do not blow the dust off with compressed air.
- Remove the shoe hold-down springs: press down on the cup, turn it 90°, and remove the cup with the spring and pin.
- Using pliers or a spring tool, remove the upper and lower shoe return springs.
- Spread the shoes apart, disconnect the parking brake cable from the lever on the rear shoe, remove the strut (spacer bar) if there is one, and take out the shoes.
- Inspect the parts. The friction lining thickness must not be less than the minimum specified by the manufacturer (usually about 1 to 1.5 mm above the rivets, or about 2 mm for bonded shoes). The drum's friction surface must be free of deep scoring and a ridge. The wheel cylinder must be dry, and the dust boots must be intact.
- Check that the parking brake cable and lever move freely, and check the condition of the backing plate and the clearance adjuster.
- To reassemble, work in reverse order. Apply a thin layer of high-temperature brake grease only to the shoe contact points on the backing plate, and keep it off the friction linings. Install the wheel and tighten the nuts in a crisscross pattern to about 90 to 110 N·m (66 to 81 lb-ft) (verify against the service manual). Pump the brake pedal several times until it feels firm, and check the parking brake travel.
Common mistakes and warnings
- Brakes affect safety
- If you lack experience, have a repair shop do the work
- Always replace shoes and springs on both sides of the rear axle
- If the wheel cylinder is leaking, replace it and bleed the system
- Do not inhale brake dust
- Do not press the brake pedal with the drums removed, or the wheel cylinder pistons may be pushed out
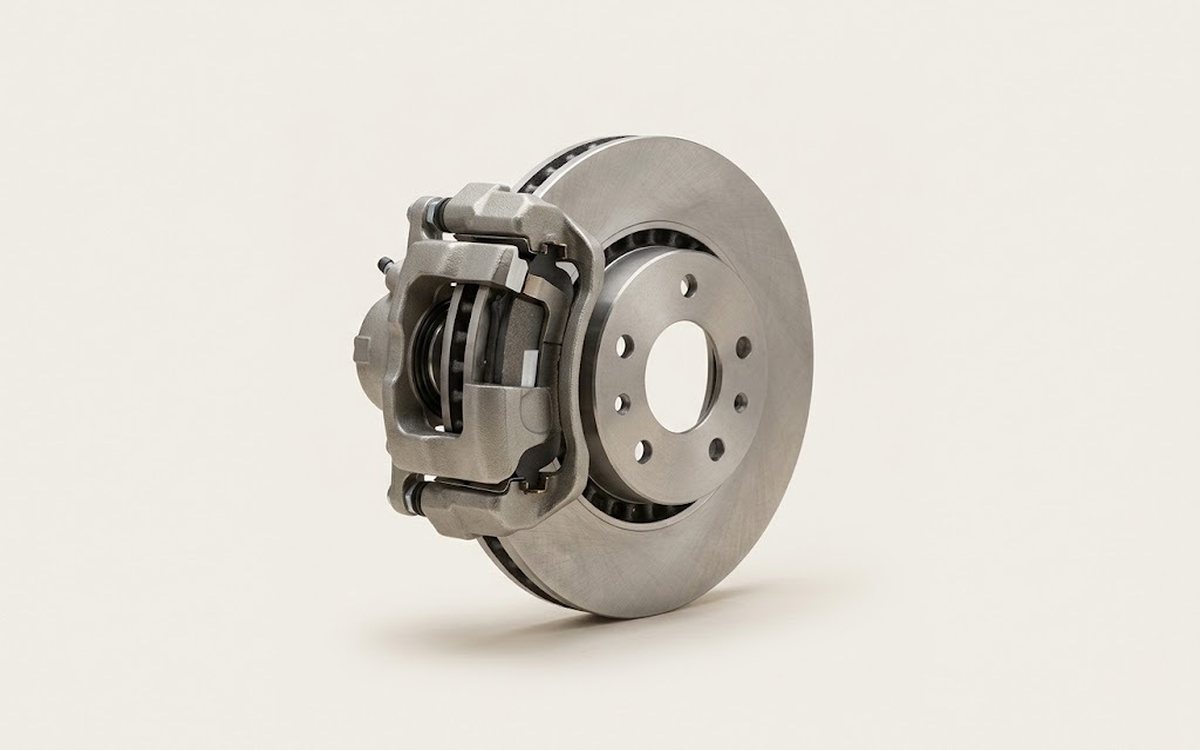 How it works · 3D
How Car Brakes Work
How the part you're working on actually works — in plain English, on a 3D model.
Open in 3D →