Autopapyrus · Geely Binyue 1.5T (2026)
https://autopapyrus.com/guides/geely/binyue/final-drive-differential-replacement-in-the-transmission/
https://autopapyrus.com/guides/geely/binyue/final-drive-differential-replacement-in-the-transmission/
Compiled automatically from service literature and owner experience. Specs are for the typical configuration — check them against your exact car before you start.
Geely Binyue 1.5T (2026): Final Drive (Differential) Replacement in the Transmission
The final drive on the Binyue 1.5T is located inside the housing of the dual-clutch transmission (DCT) and cannot be removed separately from the transmission. To replace or repair it, you must remove the transmission from the vehicle and partially disassemble it. The exact step-by-step procedure and torque specifications for this transmission are not documented in publicly available sources, so the sequence below is a general one. Check all torque values against the manufacturer's service manual.
Parts
6| № | Part |
|---|---|
| 01 | Final drive (differential) assemblyinstead of repair kit |
| 02 | Differential bearingsincluded in repair kit |
| 03 | Axle shaft sealsincluded in repair kit |
| 04 | Case O-ringincluded in repair kit |
| 05 | Case sealantincluded in repair kit |
| 06 | 7-speed dual-clutch transmission fluid (wet clutches) |
Tools
9- vehicle lift
- transmission jack
- socket and wrench set
- torque wrench
- bearing pullers
- press
- feeler gauge set and dial indicator for bearing preload adjustment
- oil drain pan
- scan tool
Step by step
12 steps- Determine the cause. A hum or whine while driving that gets louder with speed, metal shavings on the drain plug magnet, or oil leaking from the axle shaft seals are all signs of worn differential bearings or gears. If only an axle shaft seal is leaking, you do not need to remove the transmission: replace just that seal.
- Disconnect the negative battery terminal. Remove the underbody shield and drain the transmission fluid. Save the fluid so you can assess the amount of metal shavings.
- Remove the components that block transmission removal: the air filter with its ducts, the battery with its tray, the control unit, wiring bracket mounts, and the starter. Disconnect the sensor connectors and the shift cables or linkages, if fitted. Mark the position of everything you disconnect.
- Lift the vehicle. Remove the front wheels, then disconnect the tie rod ends and the sway bar links. Free the lower control arms from the steering knuckles or disconnect the ball joints. Pull the inner CV joints out of the transmission and hang the driveshafts without bending the joints too far.
- Position the transmission jack. Support the engine from above. Remove the bolts that secure the transmission to the engine and the transmission mount bolts, then lower the transmission and roll it out.
- On the workbench, clean the outside of the transmission. Remove the side cover and split the housing following the manufacturer's procedure. The clutch assembly sits next to the differential, so be careful not to damage it. Mark the position of the shafts.
- Remove the differential with the ring gear. Inspect the teeth and bearings. Pitting, scoring, heat discoloration, and play all mean replacement. Replace the ring gear only together with its mating gear, which is usually the whole differential assembly.
- Press the old bearings off with a puller. Press the new ones on using drivers sized to the inner race. Assembling the differential usually requires bearing preload adjustment and a clearance check with a dial indicator. See the manufacturer's service manual for the tolerances.
- Replace the axle shaft seals and the housing seals. Apply sealant only to cleaned and degreased surfaces. Assemble the housing and tighten the bolts in a crisscross pattern. The torque is not specified here, so use the value from the service manual for this transmission.
- Install the transmission in reverse order. Tighten all threaded fasteners with a torque wrench. Tighten the transmission-to-engine bolts, mounts, ball joints, and wheels to the values in the service manual. Wheel bolts are typically tightened in the range of 100-120 N·m (74-89 lb-ft); confirm the exact value in the service manual.
- Fill with fluid that meets the manufacturer's specification, up to the level given in the service manual for the level check procedure. On a DCT, the fluid level is checked at a specified fluid temperature using a scan tool.
- Connect the battery. Perform the transmission adaptation with a scan tool (clutch reset and self-learning). Check operation in all gears, warm up the vehicle, and take a short test drive. Inspect the seals for leaks.
Common mistakes and warnings
- This job is difficult and requires special equipment
- A 2026 model-year vehicle is usually still under warranty, and disassembling the transmission yourself voids warranty coverage for repairs
- Clutch adaptation after reassembly can only be done with a scan tool
- Without it, you may get jerky shifting and accelerated wear
- If you have no experience disassembling transmissions, leave the job to a repair shop
- Always secure the vehicle on the lift and the transmission on the jack with jack stands
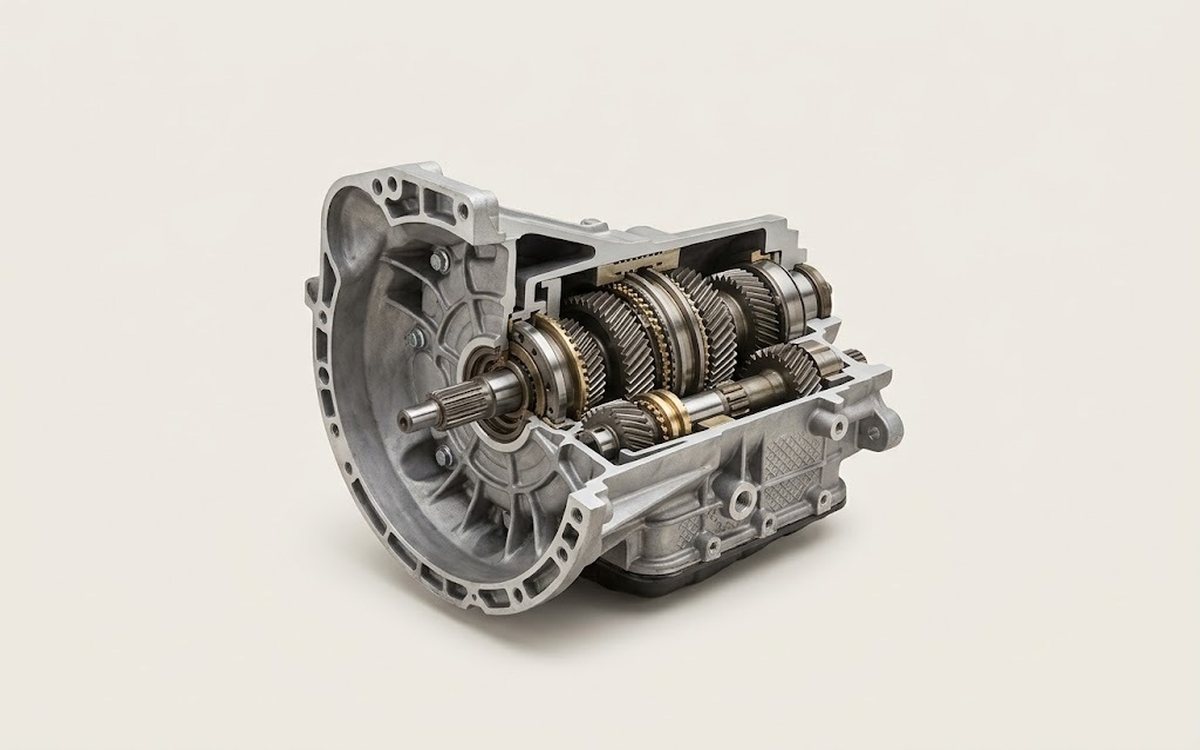 How it works · 3D
How a Manual Transmission Works
How the part you're working on actually works — in plain English, on a 3D model.
Open in 3D →