Autopapyrus · Geely Binyue (Coolray / Atlas Cool) 1.5T JLH-3G15TD (2018)
https://autopapyrus.com/guides/geely/binyue/coolant-pump-replacement/
https://autopapyrus.com/guides/geely/binyue/coolant-pump-replacement/
Compiled automatically from service literature and owner experience. Specs are for the typical configuration — check them against your exact car before you start.
Geely Binyue (Coolray / Atlas Cool) 1.5T JLH-3G15TD (2018): Coolant Pump Replacement
The pump on the 1.5T (JLH-3G15TD) circulates coolant through the small and large circuits. Signs of wear: leaks or coolant traces at the pump drive, a whine or hum from the bearing, play in the pulley, overheating. The exact removal sequence depends on the engine bay layout, so the following is a proven general procedure for a transverse-mounted turbocharged engine.
Parts
4| № | Part | Alternatives |
|---|---|---|
| 01 | Coolant pump (water pump), JLH-3G15TD engine | Febi, Gates, Graf |
| 02 | Pump gasket or O-ring | |
| 03 | Coolant G12/G12+for topping off | |
| 04 | Serpentine drive beltif needed |
Tools
9- Socket and wrench set (8-19 mm)
- torque wrench
- screwdrivers
- hose clamp pliers
- 6-8 L (6.3-8.5 qt) drain pan
- funnel
- rags
- gasket scraper for the mounting surface
- jack and jack stands
Step by step
13 steps- Let the engine cool down completely. Open the hood and disconnect the negative battery terminal. Hot, pressurized coolant causes serious burns.
- Park the vehicle on level ground and raise the front end on jack stands if needed. Remove the lower engine splash shield and any air ducts or plastic covers that block access to the pump.
- Open the coolant reservoir cap. Place a drain pan underneath and drain the coolant through the radiator drain plug, or disconnect the lower radiator hose. Drain the entire volume so it does not spill into the engine bay.
- Remove any components in the way: the intake air duct and hoses, and if necessary the protective cover and the serpentine drive belt (release the tensioner). Take a photo of the belt routing before removing the belt.
- If the pump pulley is bolted on, loosen the bolts before removing the belt, while the belt holds the pulley in place. Then remove the pulley.
- Disconnect the hoses from the pump housing (have rags ready, since residual coolant will run out) and the sensor connectors, if any. Note the position of the hoses and clamps.
- Remove the pump mounting bolts, noting their length and locations. Remove the pump. If it is stuck tightly, carefully pry it off with a screwdriver at the designated lugs, without damaging the engine block surface.
- Thoroughly clean the block mounting surface of any gasket remnants, carbon deposits and scale. Inspect it for cracks and corrosion. Check the condition of the coolant: rusty sediment or an oily film means the system needs to be flushed.
- Install the new gasket or O-ring without sealant unless the pump manufacturer specifies otherwise. Do not lubricate the rubber with oil. Install the pump and tighten the bolts in a crisscross pattern in two or three stages. The torque for the pump bolts is typically 8-25 N·m (6-18 lb-ft), depending on bolt diameter. Take the exact value from the manufacturer's service manual, and do not overtighten bolts threaded into aluminum.
- Install the pulley and tighten its bolts to spec, then fit the belt following the routing photo you took and check its tension and alignment on the pulleys. Reconnect the hoses, tighten the clamps and reconnect the connectors.
- Reinstall the removed intake components and shields. Make sure the drain plug is closed.
- Fill with coolant of the same brand and specification up to the MAX level. Turn the cabin heater to maximum. Warm up the engine at idle with the reservoir cap open, topping off the coolant periodically until the thermostat opens and the air bubbles are purged. Air pockets in a turbocharged engine lead to overheating.
- After the engine cools down, check the coolant level and inspect the connections for leaks. After 100-200 km (60-125 miles), check the level and look for leaks again. Top off if necessary.
Common mistakes and warnings
- Do not work on a hot engine
- If you notice play in the new pump, signs of overheating or a rapid drop in coolant level, stop work and take the vehicle to a repair shop
- Replacing the pump can lead to engine overheating if the system is bled incorrectly, and overheating a turbocharged engine with an aluminum cylinder head quickly damages the head gasket
- If the pump drive is located under the timing chain or behind the timing chain cover, it is better to leave the job to a professional: an assembly error will upset the valve timing
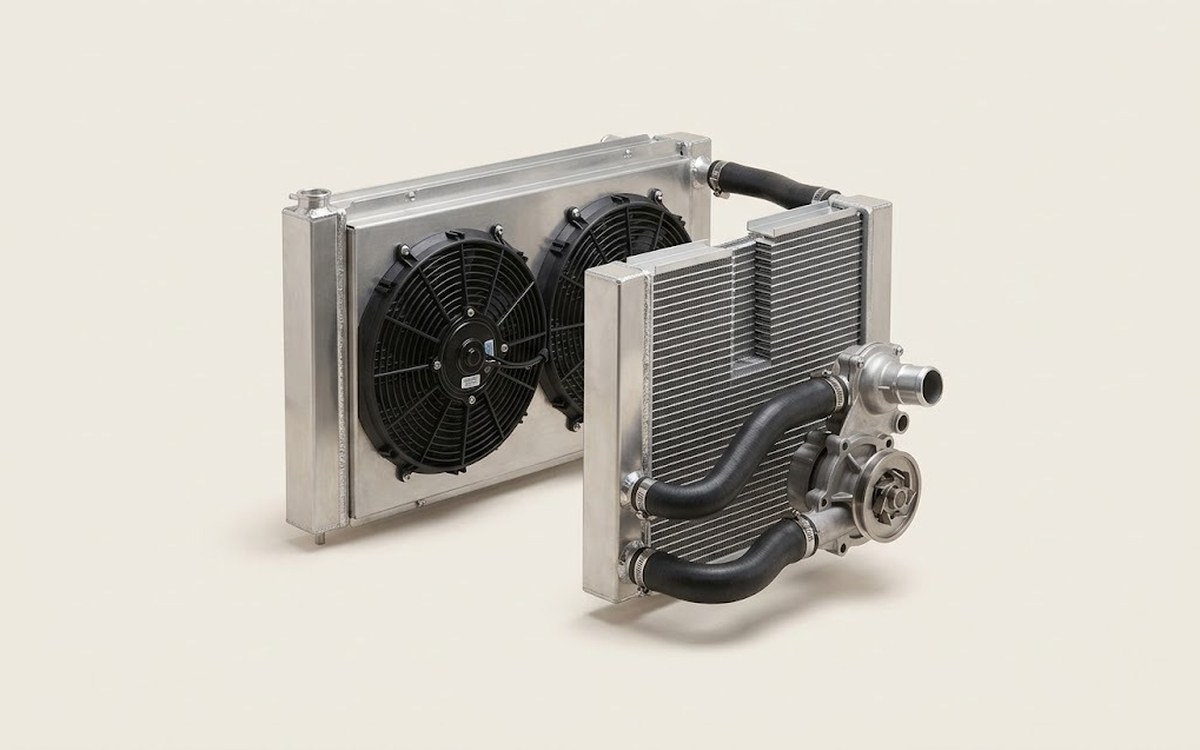 How it works · 3D
How the Engine Cooling System Works
How the part you're working on actually works — in plain English, on a 3D model.
Open in 3D →