Autopapyrus · Volkswagen Bora 2.0 (AZH) (1999)
https://autopapyrus.com/guides/volkswagen/bora/coolant-replacement/
https://autopapyrus.com/guides/volkswagen/bora/coolant-replacement/
Compiled automatically from service literature and owner experience. Specs are for the typical configuration — check them against your exact car before you start.
Volkswagen Bora 2.0 (AZH) (1999): Coolant Replacement
The coolant in the 2.0 (AZH) cooling system should be replaced about every 4-5 years, or sooner if it has darkened, turned cloudy or taken on a rusty tint. The job is simple. The main things are to remove all the air from the system and not to mix coolants of different classes.
Parts
2| № | Part | Alternatives |
|---|---|---|
| 01 | G12/G12+ coolant, VW TL 774-C/D, violet-pink (concentrate or ready-mixed -35 °C (-31 °F)) | Glysantin, Freecor, Hepu |
| 02 | Distilled waterfor diluting the concentrate |
Tools
6- Screwdriver or pliers for hose clamps
- 7-8 L (7.4-8.5 qt) drain pan
- funnel
- gloves
- jack with jack stands or an inspection pit
- wrench or bit for removing the plastic undercover (depending on the fasteners)
 There's a full repair manual for this car
Every system, wiring diagrams and torque specs — not just this job. Haynes and 4 more.
See manuals →
Step by step
14 steps- Shut off the engine and let it cool down completely. Do not open the expansion tank cap on a hot engine: the coolant is under pressure and will scald you.
- Park the car on level ground and, if necessary, raise the front end on jack stands. Remove the lower plastic undercover if it blocks access to the radiator.
- Inside the car, set the heater temperature control to maximum heat (there is no need to turn the fan on). This opens the heater core valve so the heater core drains as well.
- Unscrew the expansion tank cap so that air can enter the system.
- Place the drain pan under the lower radiator hose connection. Loosen the clamp and carefully pull the lower hose off the radiator outlet. The radiator may not have a drain plug, so the coolant drains through this hose.
- Wait until it has drained completely, about 5-6 L (5.3-6.3 qt). Take the old coolant to a recycling facility. It is toxic and must not be poured into the sewer or onto the ground.
- If the coolant was dirty or contained rust, flush the system with distilled water: fill it, warm up the engine with the heater on, let it cool and drain it. Repeat until clean water comes out of the system.
- Push the lower hose back onto the radiator outlet, put the clamp back in place and tighten it carefully. Check that the hose is seated all the way and has no cracks.
- Prepare the mixture. Dilute the concentrate with distilled water about 1:1 for protection down to about -35 °C (-31 °F) (in cold climates, up to 60% concentrate, no more). Ready-mixed coolant must not be diluted.
- Pour the coolant into the expansion tank slowly, in a thin stream, up to the MAX mark. This reduces the formation of air pockets.
- Close the tank cap. Start the engine with the heater at maximum and hold the engine speed at about 2000-2500 rpm. Warm it up until the radiator fan switches on and the thermostat opens. The upper radiator hose should become hot.
- Rev the engine gently a few times to push the air out. Hot air should come out of the heater. If it stays cool, an air pocket remains.
- Shut off the engine, let it cool completely and check the level. Top up to the MAX mark if necessary. Repeat the warm-up and check 1-2 times.
- Inspect the connections for leaks. Reinstall the undercover. After a couple of days, check the level again on a cold engine.
Common mistakes and warnings
- Do not mix coolants of different classes: old blue or green G11 mixed with G12/G12+ forms sludge that clogs the heater core
- If the old coolant was G11, it is better to flush the system before filling it with new coolant
- Do not work on a hot engine
- Air pockets lead to overheating, so watch the temperature gauge during the first drives
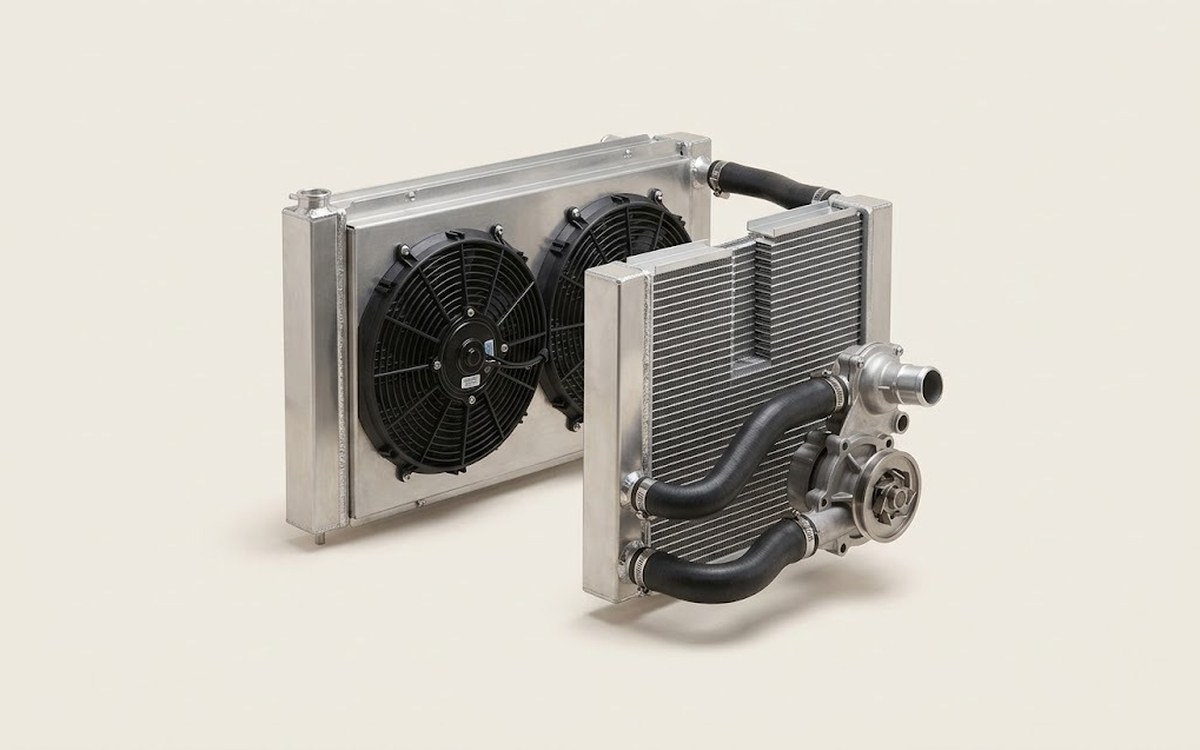 How it works · 3D
How the Engine Cooling System Works
How the part you're working on actually works — in plain English, on a 3D model.
Open in 3D →