Autopapyrus · Geely Tugella 2.0 Turbo JLH-4G20TDB (2023)
https://autopapyrus.com/guides/geely/tugella/rear-main-seal-replacement/
https://autopapyrus.com/guides/geely/tugella/rear-main-seal-replacement/
Compiled automatically from service literature and owner experience. Specs are for the typical configuration — check them against your exact car before you start.
Geely Tugella 2.0 Turbo JLH-4G20TDB (2023): Rear Main Seal Replacement
The rear main seal sits between the engine block and the flywheel (driveplate) on the automatic transmission side. The telltale sign of failure is oil traces at the bottom of the bellhousing (transmission housing) and on the front-lower part of the transmission. Confirm that the leak is actually coming from the seal and not from the oil pan gasket, the valve cover, or a transmission seal. The exact procedure for this model is not documented in publicly available service materials, so what follows is the general principle for a transverse-mounted engine with all-wheel drive and an 8-speed automatic transmission. Check the tightening torques against the manufacturer's specification.
Parts
4| № | Part | Alternatives |
|---|---|---|
| 01 | Rear main crankshaft seal, JLH-4G20TDB engine (complete with housing and gasket if built into a housing) | Corteco, Elring, Victor Reinz |
| 02 | Driveplate boltsnew, set | |
| 03 | Automatic transmission fluid (ATF) | |
| 04 | Engine oilif drained |
Tools
9- lift
- transmission jack
- socket and wrench set
- torque wrench
- flywheel (driveplate) holder
- seal installation tool (driver)
- seal puller or thin hook-type pick
- degreaser
- oil-resistant sealant (if the seal is mounted in a housing)
Step by step
14 steps- Put the car on a lift and disconnect the negative battery terminal. Remove the lower engine and oil pan skid plate.
- Drain the automatic transmission fluid (if the design requires it) and, if necessary, the engine oil. Save the fresh fluid for refilling.
- Remove everything that prevents lowering the powertrain or moving the transmission back: air ducts, the battery with its tray, the control unit on the housing, wiring harness brackets, the exhaust pipe and catalytic converter (if necessary), the driveshaft and the drive to the rear axle (all-wheel drive), the axle shafts or drive shafts, and the starter.
- Mark the position of, and remove, the joints, plugs, and transmission sensor connectors, as well as the transmission cooling hose itself. Prepare a container for the remaining fluid.
- Support the transmission with a transmission jack and support the engine. Remove the bolts securing the transmission to the engine and the transmission mount. Move the transmission back until the dowel sleeves clear, without putting load on the input shaft. Lower it carefully.
- Mark the position of the driveplate relative to the crankshaft (with a marker or paint). Lock the flywheel against rotation and remove the bolts in a diagonal pattern. Remove the plate and the washer. The bolts are, as a rule, single-use per the specification, so replace them with new ones.
- Inspect the area around the seal. If the seal is mounted in a housing, remove the housing bolts and take it off, then clean the mating surface of the block and the oil pan of old sealant. If the seal is pressed directly into the block, carefully pry it out with a hook, taking care not to damage the crankshaft journal or the seat bore.
- Thoroughly clean and degrease the crankshaft journal. Any scoring or groove left by the old seal is a reason to shift the working lip of the new seal (within what the design allows) or to consult an engine specialist.
- Lubricate the working lip of the new seal with clean engine oil (unless this model requires installing it dry; PTFE seals are, as a rule, installed dry and only with an installation sleeve). Install the seal evenly with the driver, all the way in or to the depth specified by the design. Do not let it cock.
- For a housing design, apply a thin, even layer of sealant to the mating surface (if there is no gasket), install the housing, and tighten the bolts in a crisscross pattern to the specification. Allow the sealant time to cure (per the instructions on the package).
- Install the driveplate according to the marks and tighten the new bolts in a diagonal pattern in several stages to the manufacturer's specified torque (typically for such bolts in the range of 60-100 N·m (44-74 lb-ft) plus an angle turn; confirm the exact values).
- Bring the transmission into position, align the splines and dowels, without putting load on the input shaft. Install the transmission and mount bolts and tighten them to the specification (typically 40-70 N·m (30-52 lb-ft) for transmission bolts; verify the exact values).
- Reassemble everything you removed in reverse order: starter, drive shafts, driveshaft, exhaust, hoses, connectors. Fill the engine with oil and the transmission with fluid to the correct level, following the procedure that includes temperature monitoring.
- Start the engine, let it warm up, and check that there are no leaks in the seal area and at the transmission. Take a test drive, then check the fluid level again and confirm the bellhousing is dry.
Common mistakes and warnings
- This is a complex job: removing an all-wheel-drive automatic transmission requires a lift, a jack, and experience
- Incorrect seating of the seal or cocking will quickly cause a repeat leak
- For vehicles under warranty, any such work is best done at a repair shop
- If this is your first time or you lack experience, contact a specialized repair shop
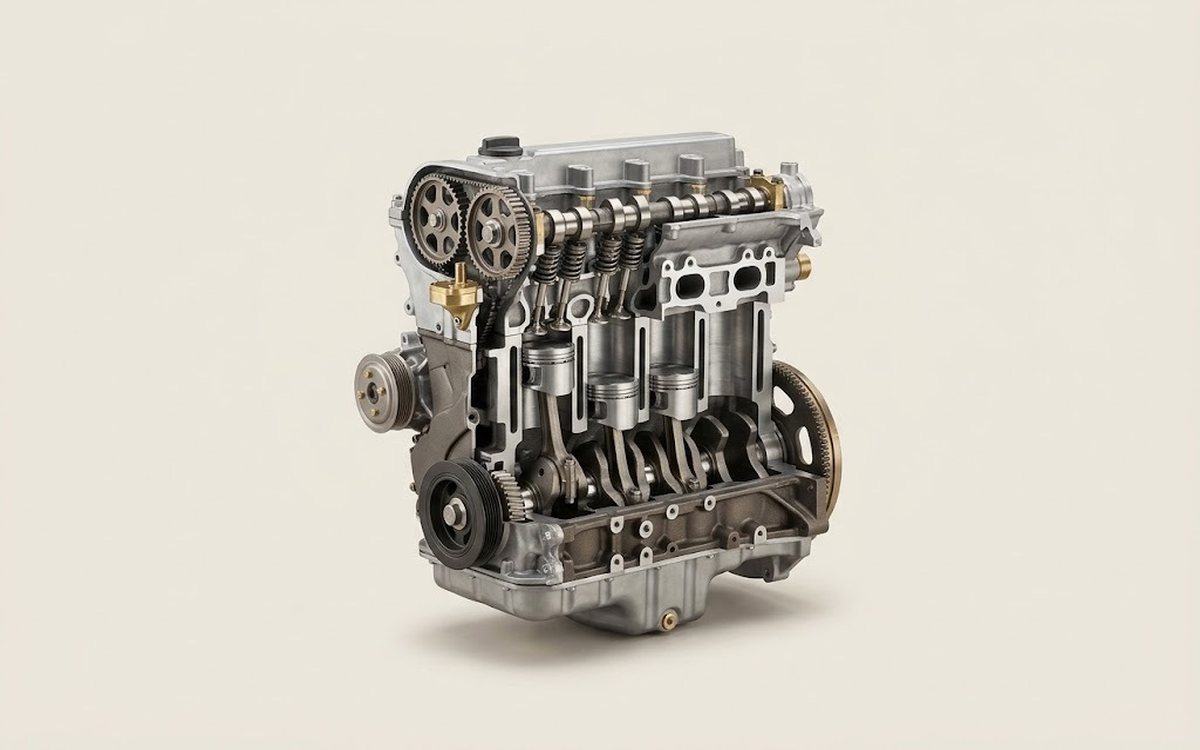 How it works · 3D
How a Car Engine Works
How the part you're working on actually works — in plain English, on a 3D model.
Open in 3D →