Autopapyrus · Honda Civic 1.8 i-VTEC R18Z1 (2012)
https://autopapyrus.com/guides/honda/civic/engine-control-module-ecm-replacement/
https://autopapyrus.com/guides/honda/civic/engine-control-module-ecm-replacement/
Compiled automatically from service literature and owner experience. Specs are for the typical configuration — check them against your exact car before you start.
Honda Civic 1.8 i-VTEC R18Z1 (2012): Engine Control Module (ECM) Replacement
Replace the ECM only after a confirmed failure: no communication on the diagnostic line, signs of water damage or overheating, or damaged connectors. The unit must have exactly the same code as the old one, and after installation it usually needs to be synchronized with the immobilizer. This often can only be done with dealer equipment or at a specialized shop.
Part
- 🔩 Honda 1.8 (R18Z1) ECM for your trim level. For the 2012 model year, part numbers in the 37820-R1A-… and 37820-R1Y-… families are common, but they differ by transmission (manual/automatic), market and emissions standard. Get the exact part number from the code on the housing of your old unit
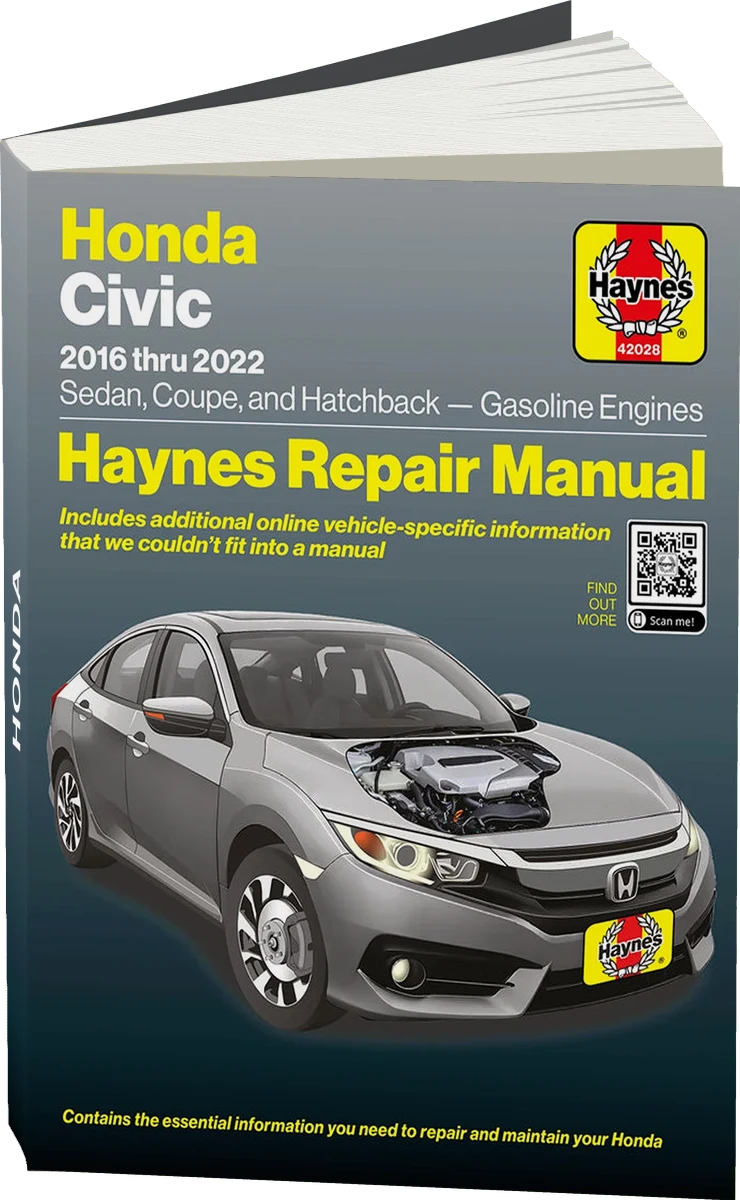 There's a full repair manual for this car
Every system, wiring diagrams and torque specs — not just this job. Haynes and 31 more.
See manuals →
Step by step
9 steps- Make sure the ECM is actually the faulty part. Check the ECM and power fuses, the grounds and the condition of the wiring harness. The cause is often corroded contacts rather than the unit itself. Read the trouble codes with a scan tool.
- Turn the ignition off, remove the key and disconnect the negative battery terminal. Wait 5-10 minutes so the capacitors discharge.
- Remove the plastic covers and shields that hide the unit, and locate the ECM. On your version it sits in the engine bay near the battery and the fuse box. Verify the location on the car.
- Take photos of the connector and harness positions. Press the connector locks and carefully disconnect the connectors without pulling on the wires. Check the terminals for corrosion, moisture and bent pins.
- Remove the bracket mounting bolts or nuts and take out the unit. Write down the full code from the label on the old unit and compare it with the code on the new one. They must match, including transmission type and market.
- Install the new unit in reverse order. The connectors must click into place. Tighten the fasteners only moderately, without much force, because the housing is thin-walled plastic or aluminum.
- Connect the battery. Turn the ignition on for 2-3 minutes without starting the engine. If the immobilizer light stays on or the engine does not start, the unit must be matched to the keys. This requires a dealer scan tool or a specialized shop. On a Honda, an ECM from another car will not start the engine without this procedure.
- After the engine starts, clear the codes with the scan tool and let the engine warm up at idle. The idle may fluctuate until the unit completes its self-learning procedure. If the idle speed does not stabilize, an idle relearn procedure with a scan tool is needed.
- Take a 15-20 minute test drive under varied driving conditions. Then check the unit again for trouble codes.
Common mistakes and warnings
- Do not install a unit from a different trim level "just to try it." A mismatch in code, transmission or market causes trouble codes and improper engine operation, and a unit matched to another car's immobilizer can block starting. Do not disconnect the connectors with the ignition on, and work only with the battery disconnected, or you may damage the electronics. If you lack experience or the necessary equipment, leave key matching and programming to a shop.