Autopapyrus · Iveco Daily 3.0 F1C 170 hp (2006)
https://autopapyrus.com/guides/iveco/daily/timing-chain-tensioner-and-guide-replacement/
https://autopapyrus.com/guides/iveco/daily/timing-chain-tensioner-and-guide-replacement/
Compiled automatically from service literature and owner experience. Specs are for the typical configuration — check them against your exact car before you start.
Iveco Daily 3.0 F1C 170 hp (2006): Timing Chain, Tensioner and Guide Replacement
On the Daily IV with the 3.0 F1C, the timing drive is at the front of the engine, and the chain is replaced together with the tensioners and guide shoes as a set. Chain service life is roughly 150,000 km, and the first sign of wear is chain noise and rattle on a cold engine. The job requires locking the shafts with special pins. Without them you can't reassemble the timing accurately, and a one-tooth error risks the valves hitting the pistons. The torque values for this engine are given below only as a guideline: check the exact values against the manufacturer's specifications.
Diagram: timing chain, tensioner, guide shoes and locking pins
Tap to enlarge
- 1Timing chain: replaced as a set with sprockets. Photograph its position and mark it with paint or a marker before removal.
- 2Hydraulic tensioner with retaining clip: release it per the manual before removal; the clip holds the compressed piston. Fit a new one.
- 3Chain guide shoes: curved, with a white sliding layer. Check for cracks and scoring, replace with new ones.
- 4Upper shoe on the top run of the chain between the camshafts: also replaced with a new one.
- 5Locking pins: one in the crankshaft and one in each camshaft. Do not remove the chain without them. After assembly the pins must go in freely.
- 6Camshaft sprockets: tighten the central bolt with a torque wrench while holding the sprocket with a holding tool.
- 7Crankshaft sprocket: replaced together with the chain; turn the crankshaft only in the direction of rotation.
Parts
6| № | Part |
|---|---|
| 01 | Timing chain kit for Iveco Daily 3.0 F1C (chain, sprockets, tensioners, guide shoes) |
| 02 | Coolant pump |
| 03 | Accessory drive belts |
| 04 | Coolant |
| 05 | Engine oilif the covers are opened or there are leaks |
| 06 | Oil filterif the covers are opened or there are leaks |
Tools
9- F1A/F1C engine timing locking tool set (crankshaft pin for engines from 2006 onward, two camshaft pins, camshaft gear alignment pin)
- torque wrench
- socket set and ratchet
- flat-blade screwdriver or pry bar
- pulley puller (if needed)
- camshaft gear holding tool
- coolant drain pan
- jack and jack stands
- timing drive sealant per the manufacturer's specification
 There's a full repair manual for this car
Every system, wiring diagrams and torque specs — not just this job. Haynes AutoFix (online) and 1 more.
See manuals →
Step by step
12 steps- Let the engine cool to ambient temperature. Disconnect the negative battery terminal. Raise the front of the vehicle, support it on jack stands, and remove the front wheels and the engine undercover (skid plate).
- Drain the coolant. To get access to the front of the engine, remove the air ducts, the grille, the bumper and the upper panel if necessary, then the radiator with the intercooler and the fan with its clutch. If the vehicle has air conditioning, remove the condenser without opening the refrigerant circuit. Do not disconnect the lines.
- Remove the accessory drive belts together with the tensioner and idler pulley. Loosen and move the alternator aside if it blocks access.
- Support the engine from below. Remove the crankshaft pulley, then the timing drive covers. Before doing so, photograph the locations of the bolts of different lengths and the line mounting points.
- Remove the plugs in the cylinder head cover and in the cylinder block that are provided for the locking pins. Turn the crankshaft only in its normal direction of rotation until the No. 1 cylinder piston is just before TDC. Install the crankshaft pin (for engines from 2006 onward, use this specific version of the pin) and bring the crankshaft up against the pin. Insert both pins into the camshafts.
- Photograph the position of the chain, the marks on the sprockets, and the layout of the tensioners, guide shoes and dampers. The chain and sprockets on older engines often have no visible marks, so mark their positions with paint or a marker.
- Release the chain tension: disable the hydraulic tensioner per the specification (the compressed piston is held with a locking pin). Then remove the tensioners, guide shoes and dampers. Remove the chain together with the sprockets if, according to the kit contents, they are replaced together.
- Inspect the mounting surfaces for scoring, check for cracks in the plastic of the guide shoes, and look for metal particles in the oil and on the covers. Replace the coolant pump while the timing drive is disassembled. Replace the old gaskets and seals with new ones. Clean the mating surfaces.
- Install the new sprockets and chain, observing the marks and the shaft positions locked by the pins. Install the new guide shoes, dampers and tensioners. Tighten the bolts with a torque wrench, using thread locker where necessary: torque values per the manufacturer's specification. The camshaft sprocket fasteners require high torque, so use a holding tool and do not rely on the locking pins alone.
- After preloading the tensioner, remove the locking pin and make sure the chain is evenly tensioned and does not sag on the drive side. Remove the pins and turn the crankshaft 2 full revolutions in its normal direction of rotation, never against it. Insert the crankshaft pin and the camshaft pins again: they should go in freely. If they do not, the chain is installed out of position, so disassemble and repeat the installation.
- Install the covers with new gaskets, the crankshaft pulley, the alternator, the new belts, the radiator, the intercooler and everything else you removed, in reverse order. Check the approximate tightening torque for the crankshaft pulley bolts against the manufacturer's specification.
- Fill with new coolant and bleed the air from the cooling system. Warm up the engine, check for leaks, check the coolant and oil levels, and read the codes with an OBD scanner. Avoid heavy loads for the first 100-200 km.
Common mistakes and warnings
- Do not remove the chain without locking the crankshaft and camshafts with pins, and never turn the shaft against its normal direction of rotation
- A timing mark error will cause the pistons to hit the valves
- If you have no experience working on timing drives, leave the job to a repair shop
- Torque values are not given in this guide because they are not confirmed for the F1C chain drive, so take values only from the manufacturer's specification
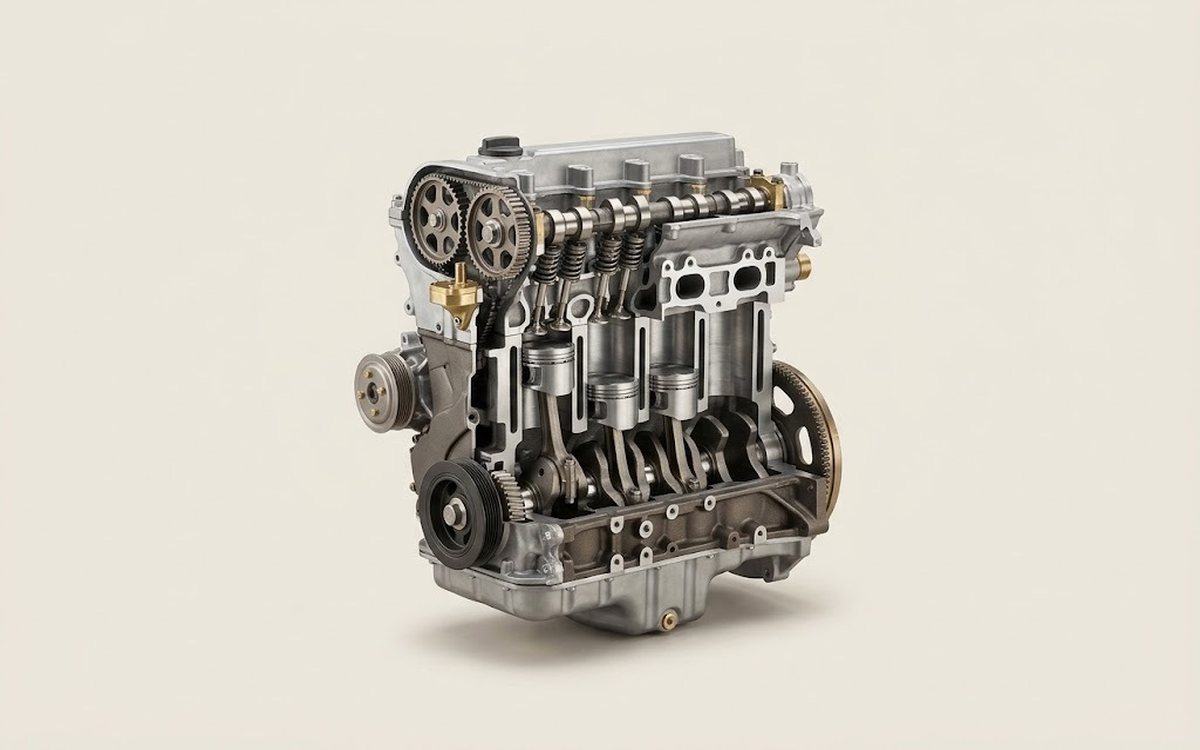 How it works · 3D
How a Car Engine Works
How the part you're working on actually works — in plain English, on a 3D model.
Open in 3D →