Autopapyrus · Nissan Juke 1.6 DIG-T MR16DDT (2012)
https://autopapyrus.com/guides/nissan/juke/timing-chain-replacement-with-tensioner-and-guides/
https://autopapyrus.com/guides/nissan/juke/timing-chain-replacement-with-tensioner-and-guides/
Compiled automatically from service literature and owner experience. Specs are for the typical configuration — check them against your exact car before you start.
Nissan Juke 1.6 DIG-T MR16DDT (2012): Timing Chain Replacement with Tensioner and Guides
On the turbocharged 2011-2013 MR16DDT, the timing chain tends to stretch, and the hydraulic tensioner and guides wear out prematurely. Symptoms: rattling on a cold start, camshaft/crankshaft correlation fault codes, and a chain stretch entry stored in the engine control unit. The job can be done without removing the engine, but it is labor-intensive: you need to remove a lot of ancillary equipment and the front cover. Exact torque values and fluid capacities for this variant are not fully available in open sources, so ranges are given below. Always verify the final figures against the manufacturer's service manual.
Parts
11| № | Part | Genuine part no. | Alternatives |
|---|---|---|---|
| 01 | MR16DDT timing chain kit (chain, crankshaft and camshaft sprockets, hydraulic tensioner, tensioner shoe, guides) | 13028-1KC0A | Febi, Ruville, Swag, DNJ |
| 13028-1KC1A | |||
| 02 | Oil pump drive chainif needed | ||
| 03 | Camshaft seals | 13042-6N200 | |
| 13042-3HD0A | |||
| 04 | Crankshaft seal | 13510-1KT0A | |
| 13510-1KC1A | |||
| 05 | Front cover gasket or sealant | KP710-00150 | |
| 06 | Valve cover gasket | 13270-00Q0C | |
| 07 | Intake manifold gaskets | 14035-1KT0A | |
| 14035-1KC0A | |||
| 08 | Exhaust manifold gaskets | ||
| 09 | Engine oil, Nissan-approved | ||
| 10 | Oil filter | ||
| 11 | Coolant |
Part numbers are from the manufacturer's original catalogue. Check them against your VIN before ordering.
Tools
10- Socket and wrench set
- torque wrench (covering 10 to 200 N·m)
- camshaft sprocket and pulley holding tool
- crankshaft pulley puller
- Torx and E-Torx sockets
- jack and jack stands
- engine support bar or engine hoist
- oil and coolant drain pans
- sealant for the front cover mating surface (liquid gasket approved by Nissan)
- paint or marker for timing marks
 There's a full repair manual for this car
Every system, wiring diagrams and torque specs — not just this job. Haynes and 3 more.
See manuals →
Step by step
14 steps- Disconnect the negative battery terminal. Raise the vehicle on a lift or jack stands, then remove the engine undercover and the right front wheel along with the fender liner.
- Drain the engine oil and coolant. Remove the air ducts, intercooler pipes, and the air filter with its housing to gain access to the front of the engine and the valve cover.
- Remove the accessory drive belt along with the tensioner. Remove the right engine mount in the belt area, first supporting the engine from below with a jack and a wooden block, or securing it with a support bar.
- Remove the ignition coils, spark plugs, and valve cover. Set the engine to TDC on cylinder 1: the marks on the camshaft sprockets must line up with the colored links on the chain and the marks on the housing. If the chain has no marks, make your own with paint on the sprockets and links.
- Remove the crankshaft pulley. The pulley bolt is tightened very firmly: use a pulley holding tool, and do not turn the engine by the camshaft bolt. Use a puller to remove the damper pulley if it is seated on a key.
- Remove the oil pan if it is joined to the front cover (on the MR16DDT this is required for full access). Before loosening, check all the pan and cover bolts and mark them by length so you can reinstall them in the right places.
- Remove the front engine cover. Do not damage the mating surfaces: pry the cover only at the designated points, and clean off the old sealant without scratching the aluminum.
- Lock the hydraulic tensioner if it has extended, then remove it, the tensioner shoe, and the guides. Remove the chain and the camshaft sprockets. While doing so, hold the camshafts with a wrench on the flats so they cannot rotate under valve spring load. Inspect the sprocket teeth and the crankshaft gear: replace them if there is noticeable wear.
- Install the new sprockets, chain, guides, shoe, and tensioner. Fit the chain strictly by the marks: the colored links must line up with the marks on the camshaft and crankshaft sprockets. Double-check the alignment before tightening all the bolts, then release the tensioner lock.
- Torque specifications: camshaft sprocket bolts, tensioner mounting bolts, and guide bolts must be tightened per the manufacturer's specification (a rough guide: from 10-12 N·m (7-9 lb-ft) for the small guide bolts to 100-130 N·m (74-96 lb-ft) for the sprocket bolts; verify the final value against the service manual). The crankshaft pulley bolt is usually tightened in two stages, followed by an angle turn. Tighten the front cover and oil pan bolts in 2-3 passes from the center outward following the pattern; as a guide, 10-25 N·m (7-18 lb-ft) depending on bolt diameter.
- Apply a thin, even layer of sealant to the mating surfaces of the front cover and oil pan, and let it set before tightening (the time is specified by the sealant manufacturer). Install new crankshaft and camshaft seals using drivers, without cocking them.
- Reassemble in reverse order: pulley, belt, engine mount, coils, and pipes. Turn the crankshaft by hand two full revolutions in the direction of rotation, then set the marks again and confirm that they line up. If the camshafts have not returned to their original position, disassemble and find the error.
- Fill with new oil and coolant, and replace the oil filter. Bleed the cooling system until bubbles stop coming out in the reservoir. Crank the engine with the starter without starting it for 10-15 seconds (with the fuel system disabled or the relay removed) to build oil pressure and fill the hydraulic tensioner.
- Start the engine and check for oil and coolant leaks, chain rattle, and fault codes. Clear the codes with a scan tool and take a test drive. After 500-1000 km, check the oil level and the tightness of the joints.
Common mistakes and warnings
- If the chain has jumped one or more teeth, or the work is being done on an engine showing signs of heavy wear, check the valves and pistons for contact before disassembly: bent valves are possible on DIG-T turbocharged engines
- If you have no experience disassembling engines, or you do not have holding tools and a torque wrench, leave the job to a repair shop: a mistake in the timing could lead to a major repair
- A service campaign for timing chain replacement existed for 2011-2013 vehicles: ask an official Nissan dealer to check your VIN to see whether it covers your car
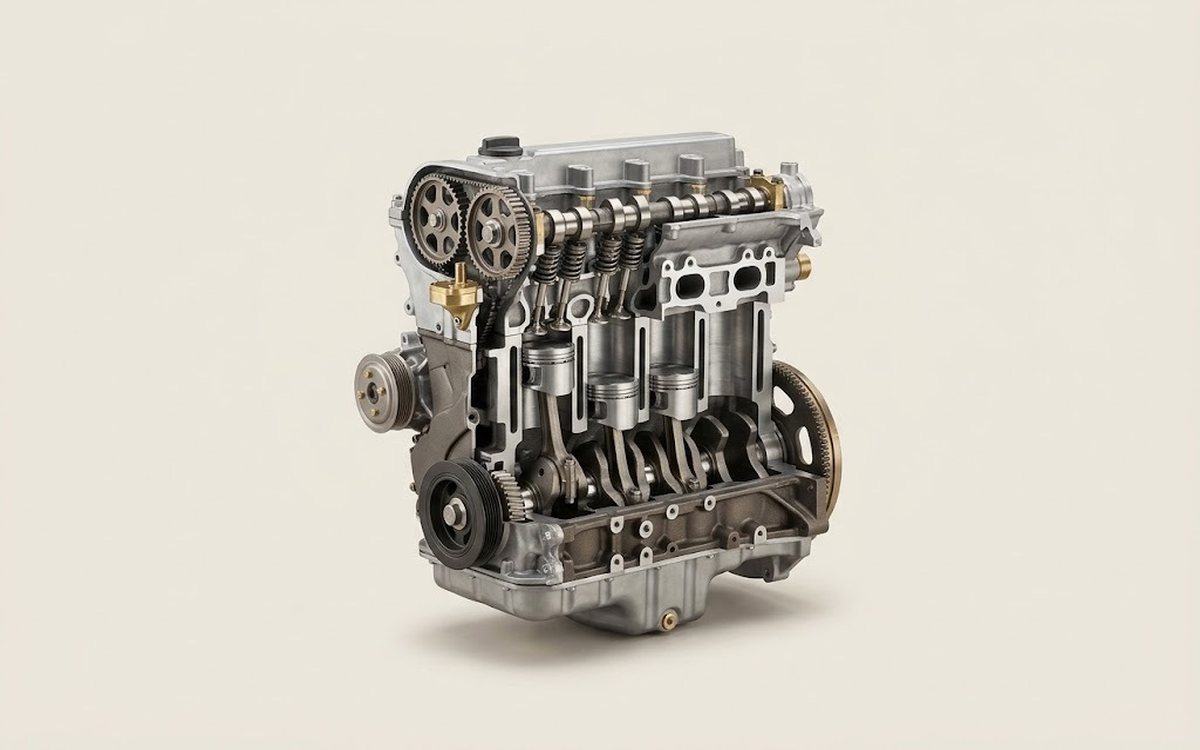 How it works · 3D
How a Car Engine Works
How the part you're working on actually works — in plain English, on a 3D model.
Open in 3D →