Autopapyrus · Nissan Primera (P11)
https://autopapyrus.com/guides/nissan/primera/replacing-the-interior-fuse-and-relay-block/
https://autopapyrus.com/guides/nissan/primera/replacing-the-interior-fuse-and-relay-block/
Compiled automatically from service literature and owner experience. Specs are for the typical configuration — check them against your exact car before you start.
Nissan Primera (P11): Replacing the Interior Fuse and Relay Block
The interior block distributes power to many circuits, and it should be replaced as a whole only when the housing, contact pads or internal traces are damaged. Before replacing it, rule out external causes: oxidized connectors, chafed or overheated wiring harness, or a faulty relay. An exact step-by-step procedure for the P11 is not documented in publicly available sources, so what follows is a general work sequence. Tightening torques are not specified, and you should check the fasteners and connector locations against the manufacturer's service manual.
Diagram: where the interior fuse box is and how to remove it
Tap to enlarge
- 1Interior fuse and relay box under the dash by the driver's feet. Replace it whole only if the case, pads or tracks are damaged.
- 2Fuses and relays in the box sockets. Remove them before taking the box out and photograph which sat where.
- 3Harness connectors at the back of the box. Release the latch and pull by the connector body, not by the wires.
- 4Box fasteners (screws, bolts or nuts). Undo them and remove the box; hand-tighten on install without over-torquing.
- 5Harness wires near the box. Check them for oxidation and damaged insulation; replacing the box will not help then.
Parts
3| № | Part |
|---|---|
| 01 | Complete interior fuse and relay block1 pc |
| 02 | Blade fuse setin case of failure |
| 03 | Relaysin case of failure |
Tools
7- Screwdriver set (Phillips and flat-head)
- sockets and ratchet (for the battery terminal and mounting nuts/bolts)
- plastic trim removal tools
- flashlight
- multimeter
- marker and masking tape for labeling connectors
- contact grease
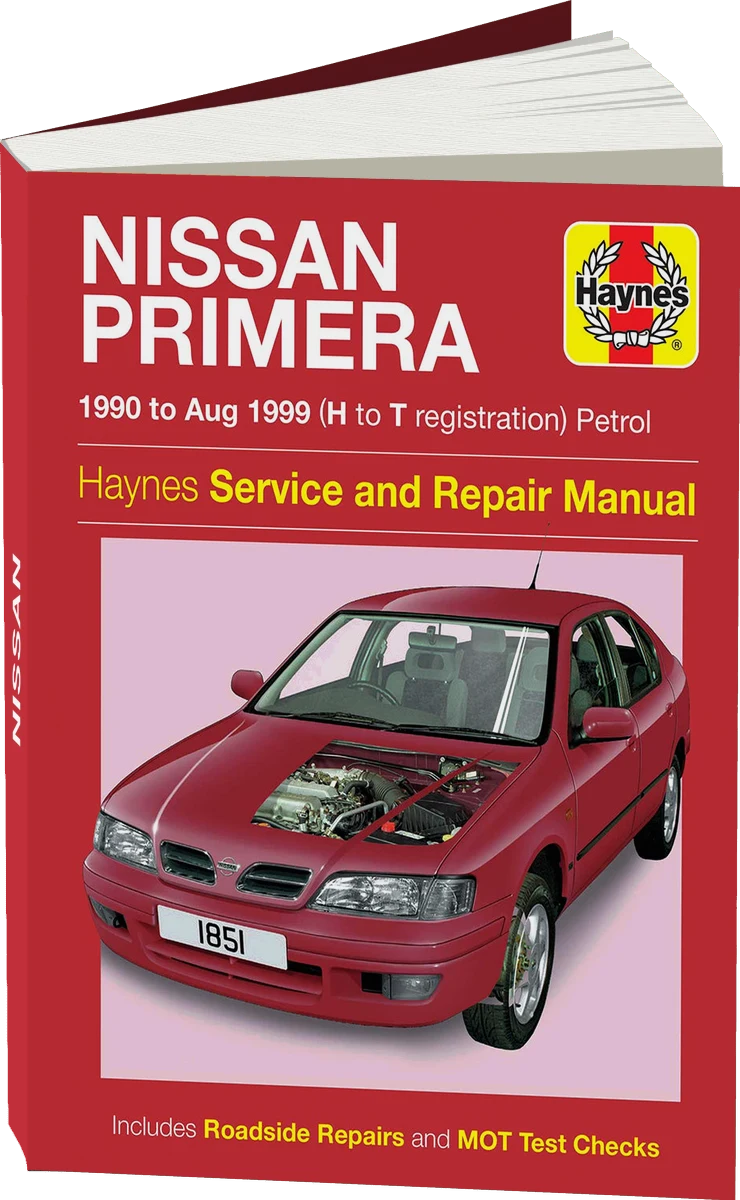 There's a full repair manual for this car
Every system, wiring diagrams and torque specs — not just this job. Haynes and 2 more.
See manuals →
Step by step
14 steps- Park the car on a level surface, turn the ignition off and remove the key. Disconnect the negative battery terminal and wait 5-10 minutes. The car has airbags, so work only with the power disconnected.
- First, confirm the diagnosis. Inspect the block's contact pads for soot, melting and corrosion. Wiggle the block and the harness with the power on. If the fault goes away, check the harness near the block: on this generation, oxidation and damaged insulation are common in the wiring next to the block. If the harness is the cause, replacing the block will not help.
- Locate the block inside the cabin. It is under the dash in the driver's footwell. Remove the lower trim panel or cover that hides the block by releasing the clips with plastic trim tools. If needed, remove the plugs and trim pieces near the steering column to get access to the block.
- Take photos of the block and all connectors attached to it. Label each connector with tape and a marker so you do not mix them up later.
- Pull all fuses and relays out of the old block. Remember which relay and which fuse was in which slot, or photograph them.
- Press the connector locks and disconnect the harness connectors from the back of the block. Pull on the connector body, not on the wires. If a connector will not come off, check whether a lock or lever is still engaged.
- Remove the block's mounting fasteners (screws, bolts or nuts; the number and size depend on trim level) and carefully take the block out. A tightening torque for these fasteners is not given in publicly available sources, so tighten by hand without overtightening to avoid cracking the plastic.
- Compare the new block with the old one: number and shape of connectors, ratings and layout of the slots, mounting tabs. If they do not match, it is a block for a different trim level and must not be installed.
- Before installing, inspect the harness connectors. Clean any oxidized or darkened contacts and treat them with contact grease. It is better to replace or re-solder burned terminals, otherwise the new block will fail quickly.
- Install the new block in place and secure it with the factory fasteners, without overtightening.
- Connect the connectors according to your labels. Each one must click and lock. Do not use force if a connector will not seat: check that it belongs in that socket.
- Install the fuses and relays in the same slots they came from, with the correct ratings. Replace any fuses that are melted or darkened with new ones of the same rating. Never install a fuse with a higher rating.
- Reconnect the battery terminal and test all the consumers: wipers and washer, turn signals and hazard lights, brake lights, fog lights, rear window defroster, heater blower, cigarette lighter, radio, power windows, interior lighting, and instrument cluster lamps. Make sure there are no unwanted warning lights on the instrument cluster.
- After testing, put the trim panels and covers back, pressing the clips in until they click. Then start the CD20T engine and make sure it starts normally.
Common mistakes and warnings
- Always disconnect the battery before unplugging connectors
- If you have no experience with electrical systems, leave the replacement to a repair shop: a wiring mistake at the connectors can damage control units and airbags
- Do not use fuses rated higher than specified, as this risks a wiring fire
- Do not replace the block for faults that are actually caused by the harness, oxidized contacts or a faulty relay, or the problem will come back