Autopapyrus · Nissan Primera 2.0 CD20T (1998)
https://autopapyrus.com/guides/nissan/primera/fuel-filter-replacement/
https://autopapyrus.com/guides/nissan/primera/fuel-filter-replacement/
Compiled automatically from service literature and owner experience. Specs are for the typical configuration — check them against your exact car before you start.
Nissan Primera 2.0 CD20T (1998): Fuel Filter Replacement
On the diesel Primera P11, the filter is bolted in the engine bay in front of the right-hand (passenger side in left-hand-drive markets, driver side in right-hand-drive markets) strut tower. It has a priming plunger button on top and a water drain valve on the bottom. The hard part of this job is not the replacement itself but bleeding the air out of the system afterward. Check the manufacturer's service manual for exact torque specs and the replacement interval.
Parts
2| № | Part | Genuine part no. | Alternatives |
|---|---|---|---|
| 01 | Diesel fuel filter, CD20T engine | 16403-59E00 | AlternativesMannBoschKnechtPurflux |
| 02 | Banjo bolt sealing washers, copper or aluminum, new |
Part numbers are from the manufacturer's original catalogue. Check them against your VIN before ordering.
Tools
5- Wrenches for the banjo bolts on the fuel lines and for the filter mounting bolts (check sizes on the car)
- fuel catch container
- rags
- gloves
- replacement sealing washer kit if needed
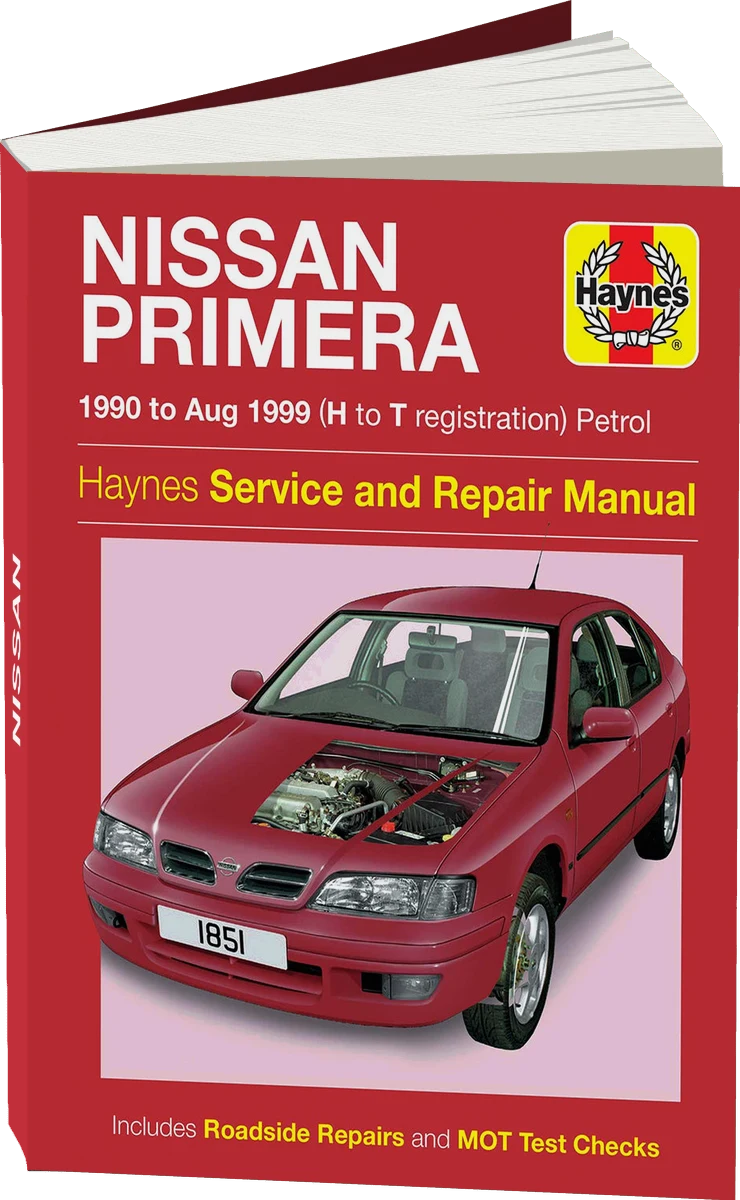 There's a full repair manual for this car
Every system, wiring diagrams and torque specs — not just this job. Haynes and 2 more.
See manuals →
Step by step
13 steps- Shut off the engine and let it cool down. Lay rags under the filter and have a container ready. Do not smoke, and keep all ignition sources away.
- Locate the filter: it sits on a bracket in front of the right strut tower, with a spring-loaded priming button on top. If plastic covers and hoses are in the way, remove them.
- Drain the fuel and water from the filter through the drain valve at the bottom into the container. If you see water or dirt coming out, that is a sign the filter was overdue for replacement.
- Disconnect the supply and return lines. They are secured with banjo bolts and washers. Note the line positions: the supply line runs from the filter to the pump, and the return line goes back to the tank. Cap the line ends with clean plugs or a bag to keep dirt out.
- Undo the filter mounting bolts and remove the filter from the bracket. If the filter has a separate sensor or drain valve, transfer them to the new filter and replace the seals.
- Compare the new filter with the old one: the dimensions, the position of the fittings, and the presence of the priming button and drain valve should all match. Do not fill the filter with dirty fuel.
- Install the filter on the bracket and secure it. Connect the lines with the banjo bolts using NEW washers (one on each side of the fitting). Tighten firmly but without excessive force, and use the torque specified by the manufacturer: banjo bolts are easily stripped.
- Close the drain valve.
- Bleed the air: press and release the priming button on the filter many times until you feel noticeable resistance. The button has a short stroke, so it takes many presses.
- If the engine does not start or the button gives no resistance, slightly loosen the supply banjo bolt, pump with the button until fuel appears around the bolt without bubbles, and tighten it. Then crank the engine with the starter for a few seconds. If needed, loosen the return bolt the same way.
- Start the engine. Older diesels of this type (indirect injection, with a pre-chamber) are not sensitive to small air bubbles, but the fuel must be clean. Let it idle for a couple of minutes.
- Inspect all connections for leaks. If anything leaks, tighten the bolt or replace the washer. Wipe away any fuel residue, take a short drive, and check again.
- Take the old filter and the drained fuel to a hazardous waste or used-materials collection point.
Common mistakes and warnings
- Work only on a cold engine and away from open flame
- Do not reuse old sealing washers: a leak on the supply side lets air in and causes hard starting
- If the engine still does not start after bleeding and there is no fuel at the injection pump, look for the cause in the circuit of the fuel shut-off solenoid on the pump or in the immobilizer: bleeding will not help here
- In that case, take the car to a repair shop