Autopapyrus · Omoda C5 1.5 Turbo (2024)
https://autopapyrus.com/guides/omoda/c5/complete-cvt-replacement/
https://autopapyrus.com/guides/omoda/c5/complete-cvt-replacement/
Compiled automatically from service literature and owner experience. Specs are for the typical configuration — check them against your exact car before you start.
Omoda C5 1.5 Turbo (2024): Complete CVT Replacement
The 2024 model year vehicle with the 1.5 Turbo engine (150 hp) is equipped with a CVT25 CVT and is front-wheel drive. The exact removal procedure for this model is not documented in publicly available service materials, so below is the general procedure for a transverse powertrain layout with a CVT. Check the tightening torques of the main fasteners against the manufacturer's specifications.
Parts
4| № | Part |
|---|---|
| 01 | CVT25 CVT assembly (new or used)configured for the 1.5 Turbo engine |
| 02 | CVT fluid |
| 03 | Seals and gasketsnew, as needed |
| 04 | CVT cooler or heat exchangerif there are metal shavings in the fluid, replace (or flush thoroughly) |
Tools
11- Two-post lift
- transmission jack or transmission stand
- engine support (support bar or engine support stand)
- socket and wrench set 10-21 mm
- Torx and E-Torx sockets
- torque wrench
- ball joint separator
- pry bar
- drain pan
- plugs for the CVT cooler lines
- scan tool for adaptation
Step by step
15 steps- Preparation. Put the vehicle on the lift, on a level surface. Disconnect the negative battery terminal. If the CVT is being removed because of a failure, note the symptoms (jerking, slipping, error codes, metal shavings in the fluid). This will help you determine whether the cooling system needs to be replaced.
- Remove the skid plate (underbody cover) and drain the fluid from the CVT through the drain plug. Note the color of the fluid and whether there are metal shavings in it and on the magnet.
- Remove the battery with its tray, the air filter with its ducts, and the control unit if it blocks access to the CVT. Disconnect the sensor connectors and the wiring harness on the CVT housing. Take photos of how the harnesses are routed.
- Disconnect the shift cable or selector linkage on the CVT housing. Disconnect the CVT cooler lines and plug them immediately to prevent fluid spills and keep dirt out.
- Remove the front wheels. Disconnect the lower ball joints or control arms from the steering knuckles and pull the drive axles (half-shafts) out of the CVT. Hang them with wire and do not let the joints bend too far. Replace the seals at the CVT output if they are damaged.
- Remove the subframe or part of it (if the design requires it) and the exhaust pipe. If the downpipe is in the way, disconnect it and replace the gasket.
- Support the engine from above with a support bar, or from below with a stand and a wooden block, so that it does not sag when the left mount is removed.
- Place a transmission jack under the CVT. Remove the left engine mount and the bracket on the CVT.
- Through the inspection window in the lower part of the bell housing, remove the bolts that secure the torque converter to the driveplate. Turn the crankshaft using the pulley bolt until all the fasteners are accessible.
- Remove the bolts that secure the CVT to the engine block. Move the CVT back slightly and make sure the torque converter has come off the splines and out of the pilot hole without binding. Lower it carefully.
- Before installing the new CVT, check the driveplate for cracks and the ring gear for warping. Check the locating dowel pins on the block. Make sure the torque converter is seated fully in the housing so that it is not pushed forward.
- Installation is done in reverse order. First tighten the bolts that secure the CVT to the engine, then the bolts that secure the torque converter to the driveplate, then the engine mount. Tighten using a torque wrench to the manufacturer's specifications. For wheel bolts, the guideline is 110-120 N·m (81-89 lb-ft); for skid plate bolts and small fasteners, usually 8-25 N·m (6-18 lb-ft).
- Connect the cooler lines, connectors, and the shift cable. Fill with CVT fluid in the amount specified for the assembly. If necessary, flush the cooling circuit; it must be clean.
- Start the engine and let it warm up. Cycle the selector through P-R-N-D with pauses. Check the fluid level using the procedure in the manufacturer's specifications (by temperature and vehicle position) and check for leaks.
- Perform the CVT control unit adaptation and learning procedure with a scan tool. Clear any codes if necessary. Take a test drive of 20-30 km (12-19 miles) in a gentle driving style, then re-check the fluid level and look for leaks.
Common mistakes and warnings
- This job is heavy and dangerous: the CVT weighs about 60-80 kg (130-175 lb), so use only a reliable transmission jack and secure the engine
- If you do not have experience and a lift, it is better to leave the job to a repair shop
- The new CVT requires adaptation of the control unit with a scan tool, otherwise jerking and accelerated belt wear are possible
- If the cause of the failure was overheating, be sure to check and clean the cooling circuit, otherwise the new CVT will fail again
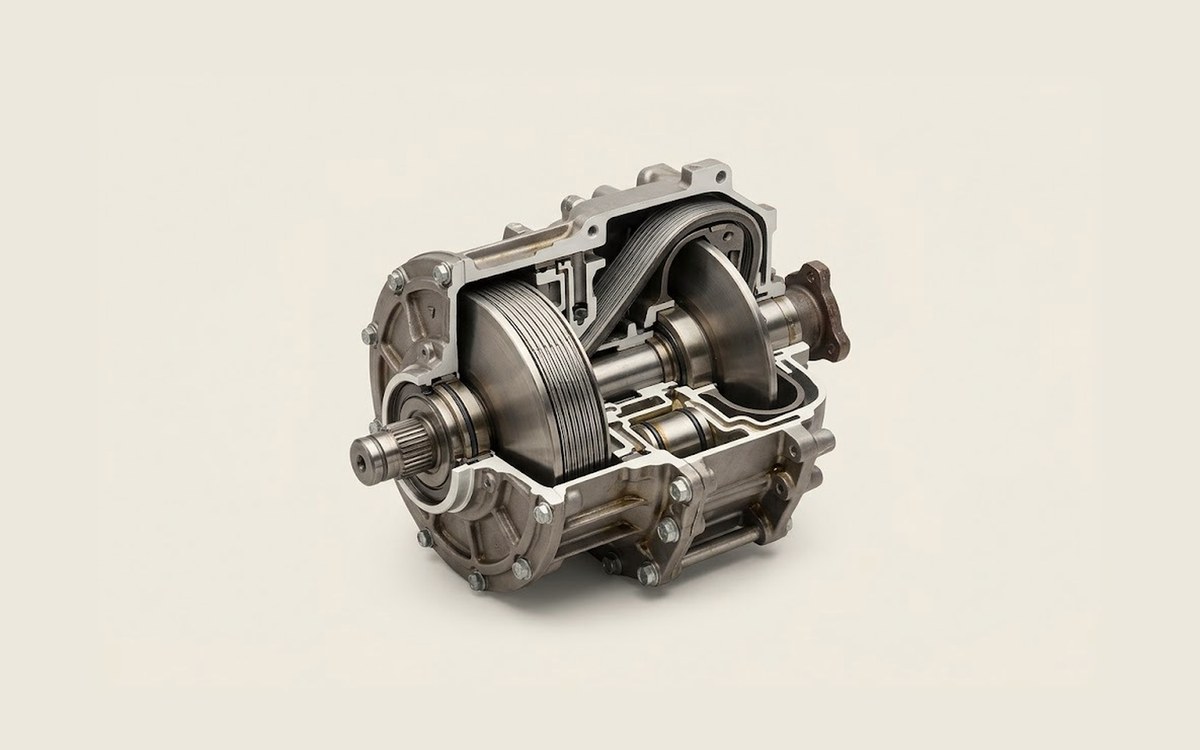 How it works · 3D
How a CVT Works
How the part you're working on actually works — in plain English, on a 3D model.
Open in 3D →