Autopapyrus · Opel Corsa (D generation)
https://autopapyrus.com/guides/opel/corsa/instrument-cluster-removal-and-replacement/
https://autopapyrus.com/guides/opel/corsa/instrument-cluster-removal-and-replacement/
Compiled automatically from service literature and owner experience. Specs are for the typical configuration — check them against your exact car before you start.
Opel Corsa (D generation): Instrument Cluster Removal and Replacement
The instrument cluster on the Corsa D is held by small screws behind the trim surround above the steering column and connects through a single multi-pin connector. It can be removed without disassembling the dashboard. A new or used complete cluster will need to be paired with the immobilizer and have the mileage adjusted, which requires diagnostic equipment.
Parts
4- 🔩 Instrument cluster assembly for Opel Corsa D 1.4 Z14XEP, gasoline, manual transmission
- 🔩 Instrument cluster lens (protective cover) if the outer part is damaged
- 🔩 Instrument cluster backlight bulbs if only the backlighting is faulty
- 🔩 Instrument cluster backlight LEDs if only the backlighting is faulty
Tools
5- small Torx screwdriver (usually T15-T20)
- Phillips screwdriver
- plastic trim removal tools
- battery terminal wrench
- soft cloth
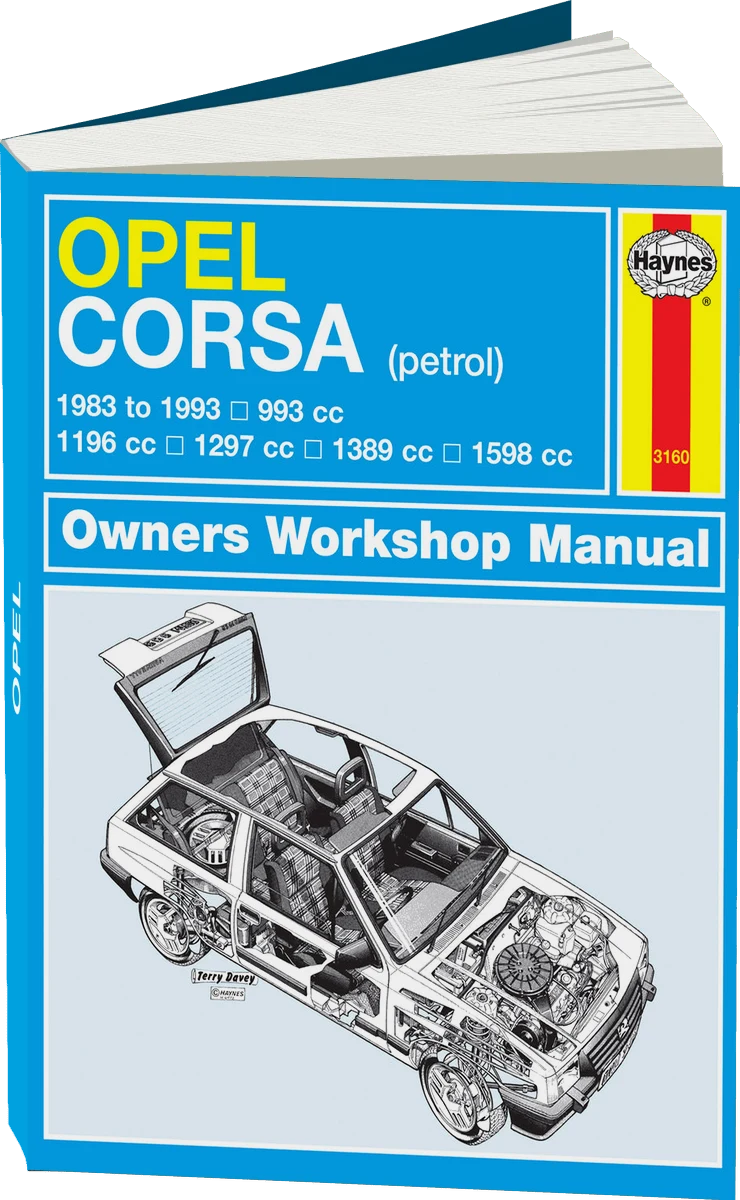 There's a full repair manual for this car
Every system, wiring diagrams and torque specs — not just this job. Haynes and 19 more.
See manuals →
Step by step
9 steps- Set the parking brake, turn off the engine and remove the key. Disconnect the negative battery terminal and wait 5-10 minutes so the capacitors of the safety system can discharge. Write down the radio code and any settings that may be reset.
- Set the steering column to its lowest and shortest position to free up space in front of the cluster. Do not remove the steering wheel and do not touch the airbag.
- Carefully remove the decorative trim surround (hood) around the instrument cluster. It is held by clips: pry along the edges with a plastic trim tool and pull toward you without jerking. Depending on the trim level, there may be additional screws or retainers underneath.
- Remove the cluster mounting screws (usually two at the top, small Torx or Phillips). Do not drop them into the gap in the dashboard, as they will be difficult to retrieve.
- Tilt the cluster slightly toward you and disconnect the multi-pin connector. To do this, press the locking tab on the connector housing and pull the connector off without tugging on the wires. Take out the cluster.
- Place the cluster face up on a soft cloth. If you only need to replace the backlight bulbs or inspect the cluster, the bulb sockets on the back come out with a quarter-turn. Do not disassemble the gauge needles and stepper motors unless you have experience.
- To install, first plug in the connector and make sure it clicks into place, then seat the cluster and tighten the screws. Tighten them gently, since they thread into plastic, to about 1-2 N·m (0.7-1.5 lb-ft) (the exact value is not strictly specified; the main thing is not to strip the mounting points).
- Put the trim surround back onto its clips and reconnect the negative battery terminal. Turn on the ignition and check that all warning lights come on, the needles work, the backlighting works, and the fuel and temperature gauges move. After the engine starts, all warning lights should go out, except the parking brake light while the lever is raised.
- If a different cluster is installed (new or used), it will need to be paired with the immobilizer and have the VIN and mileage programmed. Without this, the engine may not start and the display may show errors. These operations can only be done with diagnostic equipment at a repair shop that has access to the Opel system.
Common mistakes and warnings
- The steering column with the airbag is located next to the cluster: do not work with the battery connected and do not apply force to any SRS components
- If you are not confident in your skills, contact a repair shop
- Do not install a used cluster without checking its compatibility (equipment level, transmission, immobilizer type): a mismatched cluster will not work correctly, and reprogramming it may not be possible