Autopapyrus · Toyota Corolla (E140/E150)
https://autopapyrus.com/guides/toyota/corolla/replacing-the-rear-metal-brake-lines/
https://autopapyrus.com/guides/toyota/corolla/replacing-the-rear-metal-brake-lines/
Compiled automatically from service literature and owner experience. Specs are for the typical configuration — check them against your exact car before you start.
Toyota Corolla (E140/E150): Replacing the Rear Metal Brake Lines
The rear brake lines run along the underbody from the junction near the body to the flexible hoses at the rear wheels. They corrode at the mounting points and under the protective coating. This is a safety-critical job, so correct flaring, leak-free connections and thorough bleeding are essential. The exact line routing and mounting layout for this model is not documented in publicly available sources, so what follows is a general procedure. Check each step against your original line.
Parts
3| № | Part |
|---|---|
| 01 | Copper-nickel or galvanized steel brake line, 4.75 mm (3/16") diameter, with pre-formed flares and fittings |
| 02 | DOT 4 brake fluid |
| 03 | Brake line clips and retaining bracketsif needed |
Tools
11- lift or car ramps with jack stands
- 10 mm and 12 mm flare nut (line) wrenches
- torque wrench
- tubing bender
- brake line flaring tool
- tubing cutter
- wire brush
- penetrating oil
- bleeder hose and catch container
- helper or pressure/vacuum bleeder
- gloves and safety glasses
 There's a full repair manual for this car
Every system, wiring diagrams and torque specs — not just this job. Haynes and 16 more.
See manuals →
Step by step
12 steps- Park the vehicle on a level surface, raise the rear on a lift or jack stands, and remove the rear wheels. When reinstalling, tighten the lug nuts to about 103 N·m (76 lb-ft) (acceptable range 100-110 N·m (74-81 lb-ft)).
- Disconnect the negative battery terminal. Inspect the entire path of the lines from the front of the underbody to the rear wheels, and photograph the routing, the clip and bracket locations, and the connections to the flexible hoses.
- Generously apply penetrating oil to all threaded connections and let it soak for 15-30 minutes. Clean the dirt from around the fittings with a brush so it does not get into the system.
- Minimize fluid loss: open the reservoir and tighten the cap over a layer of plastic film, or plug the open ends after removing the lines. Place a container under the connections, since brake fluid damages paint.
- Loosen the nuts at both ends of the line using only a flare nut wrench, not a regular open-end wrench, to avoid rounding off the flats. If a nut is seized, apply more oil and heat if needed, then wait; if the flats are rounded, the nut will have to be replaced along with the line.
- Remove the retaining brackets and clips along the line's path and take out the old line without bending the neighboring ones. Keep it as a template for length and bends.
- If you are buying a pre-made line, compare its length, diameter and flare type with the original. If you are making your own, cut the tubing with a tubing cutter, deburr the ends, slide on the nuts, form the same type of flare as on the original (Toyota typically uses a double flare, ISO), and bend the tubing to match the template with a tubing bender, without kinks.
- Install the new line: first thread the nuts onto both ends by hand to avoid cross-threading, then secure the brackets and clips. The line must not touch the body, brackets or moving parts.
- Tighten the fitting nuts with a flare nut torque wrench to about 15 N·m (11 lb-ft) (acceptable range 14-17 N·m (10-13 lb-ft)). Do not overtighten, as this can deform the flare and cause a leak.
- Top up the reservoir with DOT 4 brake fluid to the MAX mark and bleed the brakes, starting from the wheel farthest from the master cylinder, as specified by the manufacturer, until clean fluid without bubbles comes out. If the vehicle has ABS, conventional wheel-by-wheel bleeding is acceptable, but if air gets into the ABS unit, a scan tool service mode may be required.
- Check all connections for leaks with the brake pedal pressed (hold pressure for about 20-30 seconds). Check the pedal feel: it should be firm, with no sinking.
- Install the wheels, lower the vehicle, and take a test drive at low speed, checking braking performance in a safe location. Inspect the connections for leaks again afterward.
Common mistakes and warnings
- The brake system is a safety-critical system
- If you have no experience with flaring and bleeding, leave the job to a repair shop: a leaking or poorly flared connection can lead to brake failure
- Do not use copper or ordinary fuel lines, or lines without the proper flare
- If one line is badly corroded, inspect the others as well, along with the flexible hoses and brackets, because corrosion usually affects the whole run
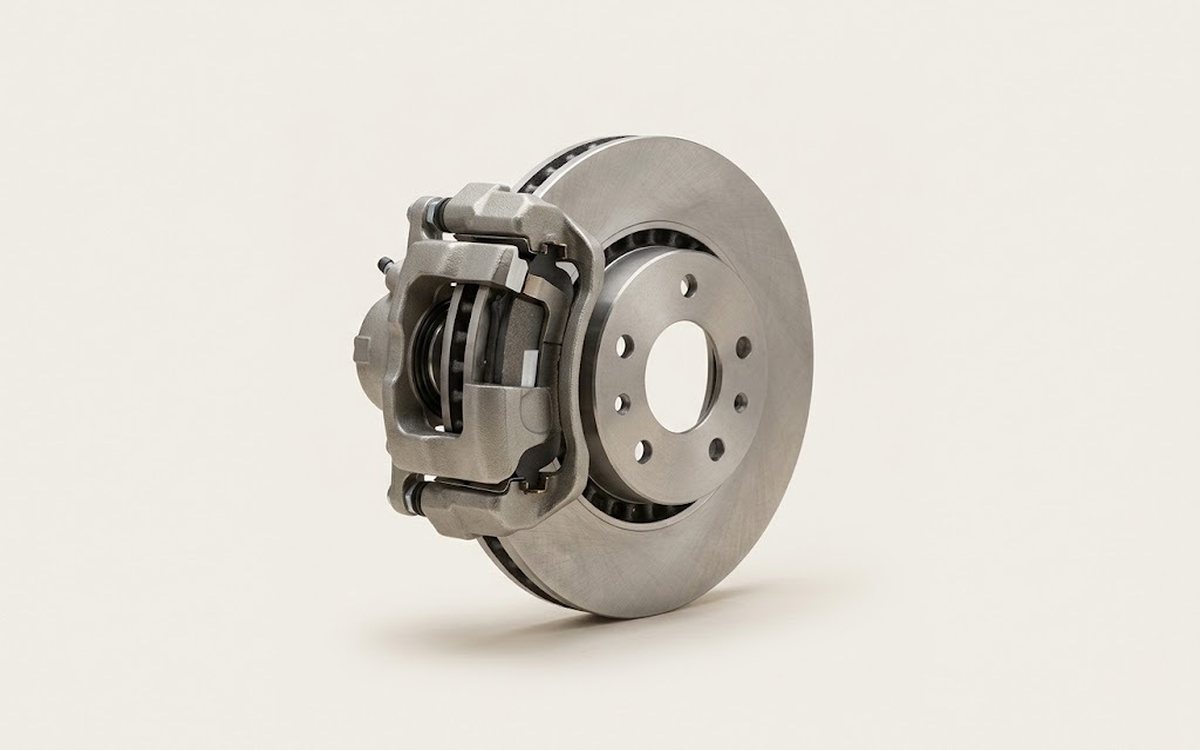 How it works · 3D
How Car Brakes Work
How the part you're working on actually works — in plain English, on a 3D model.
Open in 3D →