Autopapyrus · Toyota Land Cruiser 200 4.7 V8 2UZ-FE (2007)
https://autopapyrus.com/guides/toyota/land-cruiser/crankshaft-inspection-and-repair/
https://autopapyrus.com/guides/toyota/land-cruiser/crankshaft-inspection-and-repair/
Compiled automatically from service literature and owner experience. Specs are for the typical configuration — check them against your exact car before you start.
Toyota Land Cruiser 200 4.7 V8 2UZ-FE (2007): Crankshaft Inspection and Repair
The 2UZ-FE crankshaft is a forged steel, five-main-bearing unit with eight counterweights, installed in a cast iron block and running on aluminum-alloy bearings. The inspection includes measuring the journals, checking oil clearances and checking crankshaft end play. The job can only be done with the engine removed. Leave the crankshaft grinding to a machine shop.
Parts
11| № | Part | Genuine part no. | Alternatives |
|---|---|---|---|
| 01 | Crankshaft main bearing setstandard or undersize, per measurement results | 11071-50021-02 | |
| 11071-50021-03 | |||
| 11701-50032-03 | |||
| 11701-50032-04 | |||
| 02 | Connecting rod bearing set | 13041-50031-02 | |
| 13041-50031-03 | |||
| 13041-50031-04 | |||
| 03 | Crankshaft thrust washers | 11011-50010 | |
| 11012-50010 | |||
| 04 | Front crankshaft seal | ||
| 05 | Rear crankshaft seal | 90250-06003 | |
| 06 | Engine gasket set | 04111-50541 | |
| 04111-50540 | |||
| 07 | Main bearing cap boltsnew, if they are the stretch type | ||
| 08 | Engine oil | ||
| 09 | Oil filter | ||
| 10 | Coolant | ||
| 11 | Timing belt kit (timing belt, pulleys, water pump) | Aisin, Gates, Bosch |
Part numbers are from the manufacturer's original catalogue. Check them against your VIN before ordering.
Tools
14- Lift or pit
- engine hoist (with engine stand)
- socket set and ratchet
- torque wrench (20-100 N·m (15-74 lb-ft))
- angle gauge for torque-angle tightening
- micrometers 50-75 mm and 25-50 mm
- bore gauge or dial bore gauge
- dial indicator with stand
- Plastigauge plastic gauge strip
- crankshaft pulley puller
- rear main seal installation tool
- straightedge
- assembly lube
- oil pan sealant
 There's a full repair manual for this car
Every system, wiring diagrams and torque specs — not just this job. Haynes and 23 more.
See manuals →
Step by step
19 steps- Confirm that the job is needed: knocking on a cold and a warm engine, low oil pressure at warm idle, metal particles in the oil and filter, or crankshaft end play (the shaft shifting when you press the clutch pedal or shift gears). Before disassembly, measure the oil pressure with a gauge to rule out a faulty oil pump or pressure relief valve.
- Drain the oil and coolant. Remove the hood, battery, air intake, radiator with fan, drive belts, A/C compressor and alternator (do not open the A/C lines; if necessary, move the compressor aside). Disconnect the fuel lines (after relieving the pressure), wiring harnesses, cables, heater hoses and exhaust downpipes.
- Separate the transmission: remove the driveshafts, transfer case and automatic transmission following the standard procedure. Lift the engine out with the hoist and secure it on the engine stand. For the torque converter, mark its position relative to the flywheel.
- Remove the timing belt with its covers, the crankshaft pulley (use a puller, do not hit it) and the front seal. Do not remove the cylinder heads unless you plan to service them. To gain access to the pistons, set the engine to the appropriate positions. Turn the engine over with the oil pan facing up, then remove the oil pan, oil strainer and oil pump from the front cover.
- Remove the flywheel or drive plate (note its position and mark the bolts) and the rear seal with its retainer.
- Before removing the caps, measure the crankshaft end play with a dial indicator by pushing the shaft back and forth with a screwdriver. The typical tolerance for these engines is about 0.04-0.25 mm, with a limit of about 0.30 mm. Verify the exact limits against the manufacturer's specifications. Excess end play indicates worn thrust washers.
- Remove the connecting rod caps: mark the order and orientation of each cap and bearing. Remove the rod bearings without mixing up their positions.
- Loosen the main bearing cap bolts in several passes, working from the ends toward the center (the reverse of the tightening sequence). Remove the caps and mark their numbers and direction. Lift the crankshaft straight out without tilting it and place it on a flat support.
- Crankshaft inspection: examine the main and rod journals for scoring, scratches, heat discoloration (overheating) and flaking. Measure each journal with a micrometer in two planes and at two sections. Out-of-round and taper should generally not exceed a few hundredths of a millimeter (about 0.02 mm is a guideline; check the specifications for exact limits). Check the shaft runout on V-blocks at the center journal with a dial indicator: about 0.06 mm or less is acceptable. Check the keyways and the seal and pulley contact surfaces.
- Check the block: clean the oil galleries with a brush, then wash and blow them out with compressed air. Inspect the main bearing saddles for scoring and signs of bearing spin.
- Oil clearance measurement: lay the crankshaft on new bearings, place a strip of Plastigauge on each journal along its axis, install the caps and tighten the bolts without turning the shaft. Remove the caps and compare the width of the crushed strip with the scale. The typical clearance for the 2UZ-FE is about 0.03-0.06 mm, with a limit of about 0.07 mm. If the clearance exceeds the limit with standard bearings, you need undersize bearings and crankshaft grinding.
- Repair decision: if the journals are within tolerance and not scored, replacing the bearings and thrust washers is enough. If there are scratches, wear beyond tolerance or excessive clearance, send the crankshaft out for grinding to an undersize (undersize bearings are selected to match the size after grinding; undersize steps are given in the specifications). If there is severe damage or a crack, replace the crankshaft. After grinding, the crankshaft must have its oil passages cleaned and be inspected.
- Assembly: wipe the saddles and journals clean. Install the bearings in the block and caps (tabs in the notches, oil holes aligned) and the thrust washers in the recess of the center main bearing support with the grooves facing the crankshaft. Lubricate the bearings and journals with clean engine oil, then lay in the crankshaft.
- Install the caps according to the markings and arrows, and lubricate the bolt threads and bolt heads with engine oil. Tighten in several passes from the center toward the ends. The factory tightening procedure for the main bearing cap bolts is two-stage (the first pass is about 27 N·m (20 lb-ft), followed by an additional turn through a specified angle). Verify the final values, and whether the stretch-type bolts must be replaced, against the manufacturer's specifications. Check that the shaft turns freely after each pass.
- Check the end play again with a dial indicator (it must be within tolerance). Install the rod bearings and caps in their original positions and tighten them to specification (usually in two stages, torque and angle per the specifications), then check that the shaft turns freely.
- Install the new front and rear seals (lubricate the lips and use an installer tool, keeping the seal square), the rear seal retainer with sealant per the specifications, the oil pump with a new seal, the oil strainer with a new gasket, and the oil pan with sealant. Install the flywheel or drive plate according to the marks, with thread locker on the bolts, tightening in a crisscross pattern to specification (about 70-100 N·m (52-74 lb-ft) as a guideline; verify against the specifications).
- Install the crankshaft pulley and timing belt: align the camshaft and crankshaft marks following the standard procedure, and replace the idler/tensioner pulleys and the water pump at the same time. Turn the shaft two full revolutions by hand to check that it moves freely. Reinstall the cylinder head components, manifolds and accessories.
- Install the engine, reassemble the drivetrain, and reconnect all lines and harnesses. Fill with fresh oil (5W-30 or 0W-30 viscosity, per Toyota's approval) and coolant, and replace the oil filter. Before starting, crank the engine with the starter with the fuel system disabled (fuel pump fuse or relay removed) until oil pressure appears.
- Start the engine and check the oil pressure, leaks and any unusual noises. Warm it up to operating temperature and top off the fluids. For the first 1,000 km, avoid heavy loads and high revs, then change the oil and filter.
Common mistakes and warnings
- This job is difficult and requires precise measuring tools
- If you have no experience building engines, leave the inspection and assembly to a specialized engine shop
- The block and crankshaft are heavy, so lift them only with a hoist and secure straps
- Do not mix up bearings and caps between positions, and do not turn the shaft without lubrication
- Dispose of gasoline, coolant and used oil properly, and disconnect the battery before starting work
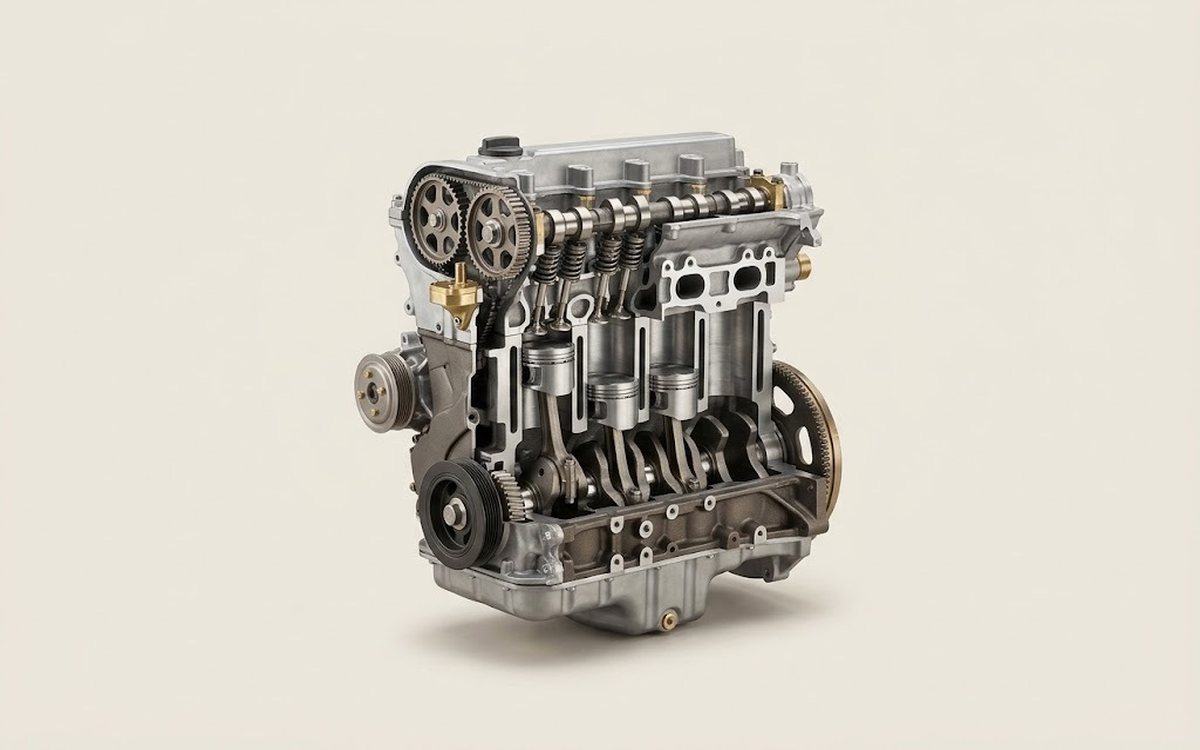 How it works · 3D
How a Car Engine Works
How the part you're working on actually works — in plain English, on a 3D model.
Open in 3D →