Autopapyrus · Volkswagen Touareg (3rd generation, CR)
https://autopapyrus.com/guides/volkswagen/touareg/front-suspension-ball-joint-replacement/
https://autopapyrus.com/guides/volkswagen/touareg/front-suspension-ball-joint-replacement/
Compiled automatically from service literature and owner experience. Specs are for the typical configuration — check them against your exact car before you start.
Volkswagen Touareg (3rd generation, CR): Front Suspension Ball Joint Replacement
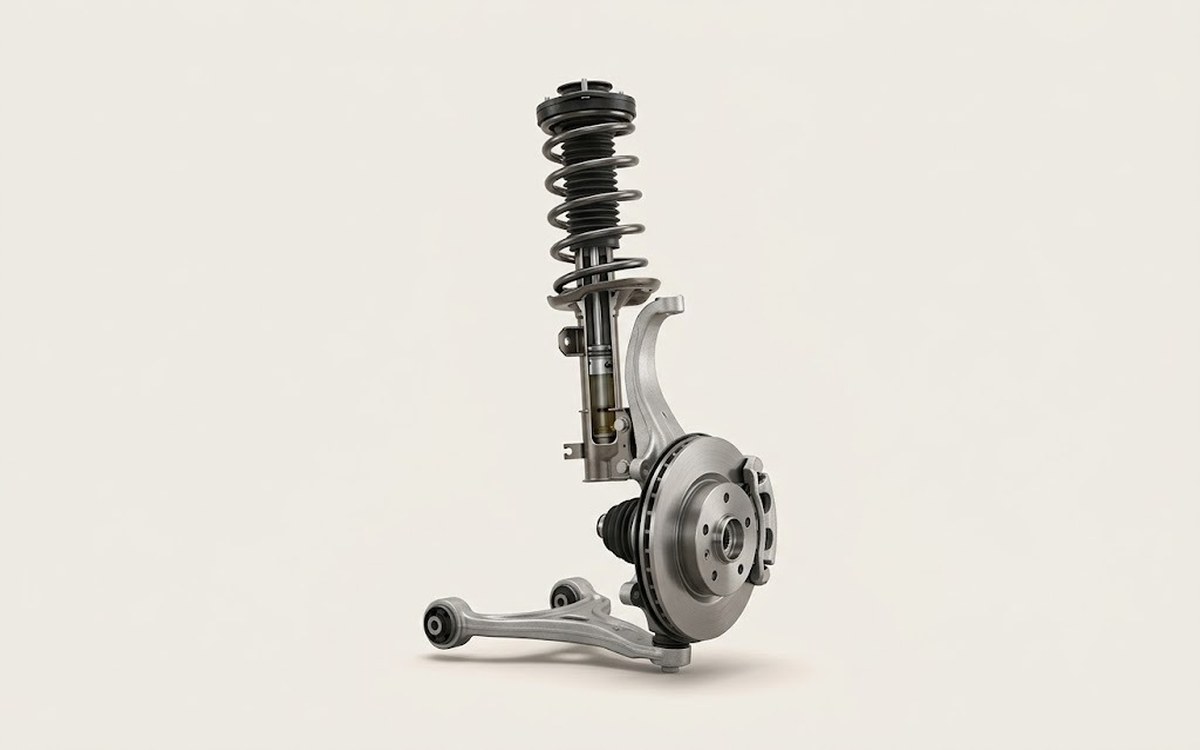
The Touareg III front suspension is a double-wishbone design with aluminum control arms, and vehicles with air suspension or active stabilizer bars have additional sensors and links. The ball joint is often permanently joined to the control arm, so when it wears out the whole arm is frequently replaced. If you are not confident in your skills, it is better to leave the job to a repair shop: this is a safety-critical component.
Parts
7| № | Part | Genuine part no. | Alternatives |
|---|---|---|---|
| 01 | Front suspension upper ball joint, leftif needed; 1 pc | 7P0407021 | Lemförder, TRW, Meyle, Moog |
| 02 | Front suspension upper ball joint, rightif needed; 1 pc | 7P0407021 | Lemförder, TRW, Meyle, Moog |
| 03 | Front suspension lower ball joint, leftif needed; 1 pc | 7P0407151E | Lemförder, TRW, Meyle, Moog |
| 04 | Front suspension lower ball joint, rightif needed; 1 pc | 7P0407152E | Lemförder, TRW, Meyle, Moog |
| 05 | Front control arm with ball joint assemblyalternative to a separate ball joint where the joint is supplied with the arm | 7P0407151E | Lemförder, TRW, Meyle, Moog |
| 7P0407152E | |||
| 7P0407021 | |||
| 06 | Self-locking ball joint nutsnew | ||
| 07 | Ball joint boltsnew, if single-use |
Part numbers are from the manufacturer's original catalogue. Check them against your VIN before ordering.
Tools
10- Jack and jack stands or a lift
- lug wrench
- torque wrench
- socket and wrench set (including TORX)
- ball joint separator (fork or screw type)
- hammer
- pry bar
- penetrating oil
- brass wire brush
- thread locker (if specified by the manufacturer)
 There's a full repair manual for this car
Every system, wiring diagrams and torque specs — not just this job. Haynes AutoFix (online) and 2 more.
See manuals →
Step by step
13 steps- Park the vehicle on a level surface, apply the parking brake, and place wheel chocks behind the rear wheels. If the vehicle has air suspension, put it into jacking or service mode through the vehicle menu so the air springs do not sag during the work. Disconnect the negative battery terminal if sensor wiring harnesses run nearby.
- Loosen the wheel bolts, raise the front axle, and set the vehicle on jack stands at the designated lifting points (not on the aluminum control arms). Remove the wheel.
- Diagnosis: use a pry bar to move the control arm and check the ball joint for play. Inspect the boot for tears and grease leakage. Vertical or side-to-side play, or a torn boot, means the joint must be replaced.
- Remove the underbody shield if it blocks access. Clean the threaded connections with a brass wire brush and treat them with penetrating oil, then let it soak for 10-15 minutes.
- Disconnect the body position sensor (suspension level sensor) and its bracket from the control arm if it is mounted there. Disconnect the stabilizer link from the control arm if it is in the way. When loosening the stud nut, hold the stud with a hex key or TORX bit so it does not spin.
- Remove the nut from the ball joint stud in the steering knuckle. Press the stud out of the knuckle with a separator. Do not strike the stud without the nut installed to protect the threads, as this can damage the threads and the boot.
- If the ball joint is bolted to the control arm, remove the bolts. If the joint is pressed into the arm, replace the arm as an assembly: pressing the joint out and in outside a workshop is not advisable and weakens the fit.
- To replace the control arm as an assembly, remove the bolts securing the arm to the subframe or body and take the arm off. Before loosening, mark the position of the eccentric bolts (if present) to preserve camber and toe.
- Compare the new part with the old one: side, length, shape, number of holes. Install the new ball joint or control arm assembly and insert the bolts, but do the final tightening with the suspension loaded (vehicle weight on the wheels) so the bushings are not preloaded in a twisted position.
- Insert the ball joint stud into the knuckle and tighten a new nut. Torque specifications for the ball joint, control arm, and stabilizer link on this generation vary by position and may include an additional turn by angle; take the exact values from the manufacturer's service manual and do not tighten by feel. Tighten the wheel bolts in a crisscross pattern; the VW reference is about 160 N·m (118 lb-ft).
- Install the shield, the suspension level sensor, and the connectors, and reconnect the battery. Return the suspension to normal ride height.
- Have a wheel alignment performed: it is mandatory after replacing ball joints or control arms. On vehicles with driver assistance systems (camera, radar, adaptive cruise control), a check or calibration of the sensors at a shop may be needed after the geometry changes.
- Check the result: drive 5-10 km (3-6 miles), listen for knocking noises, then recheck the wheel bolt torque after the drive.
Common mistakes and warnings
- Ball joints are a safety-critical component: a joint failure while driving leads to loss of control
- If you have no experience, leave the replacement to a repair shop
- Always replace ball joints in pairs on the same axle, and replace self-locking nuts and single-use bolts with new ones
- Verify the exact torque specifications for your trim level (especially with air suspension) against the manufacturer's service manual
 How it works · 3D
How Car Suspension Works
How the part you're working on actually works — in plain English, on a 3D model.
Open in 3D →