Car care & driving
How to Repair a Windshield Yourself
Autopapyrus
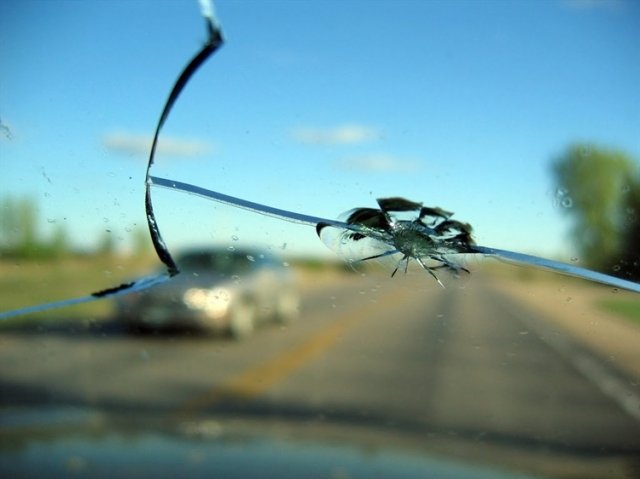
Most drivers won't enjoy learning that they caused the crack in their windshield themselves. There are only two cases where the owner can't influence the outcome: a crack from a flying stone or a factory defect. It also doesn't matter whether you drive a Mitsubishi, a Volkswagen or any other brand, because nobody is immune to bad luck.
A large crack can't be fixed by any repair, but small problems can easily be dealt with yourself. If you wait too long, a DIY repair may no longer be possible, which means extra expense and a trip to a professional auto glass shop.
How can you tell it's time to repair your windshield?
For many drivers this will be news, but a windshield can be repaired right in your own garage without professional equipment or materials. Your owner's manual or repair manual can help a lot here. Just remember that you should only repair small chips, scratches and short cracks yourself. One example is a hazed or scuffed windshield. This kind of damage can appear when the wipers are not adjusted properly. You can polish the glass and it will look clear again. The same goes for a chip, which can be fixed with simple tools. All the materials for chip repair are available at any auto parts store. But if you don't deal with the damage in time, it can spread into deep cracks across the whole windshield. Now let's talk about cracks caused by a stone thrown up by a tire or by a factory defect. This problem is much more serious and requires special tools, but it is still fixable.
What do you need for a DIY repair?
• Polymer resin. Pay close attention to the transparency (refractive index) of the resin so that it suits your glass. We recommend choosing a fast-curing resin. • An injector and a bridge (pedestal). They are needed to inject the resin into the damaged area. These tools come in metal and plastic versions. Metal ones will last longer, but for a single use plastic ones are enough. • A pump (vacuum tool) is needed to remove air from the cracked area. • An electric drill with a diamond bit, used to relieve stress in the damaged glass. • A mirror and a flashlight help you judge the size of the damage and spot unwanted air bubbles in the resin. • A scriber (or razor blade) is used to clean and smooth the damage on the surface. • An ultraviolet lamp, which helps the resin cure faster. • Liquids for removing moisture and cleaning the surface.
With your repair manual and all the tools listed above on hand, you can start repairing your car's windshield.
Repair procedure
First, relieve the stress in the glass. To do this, find the end of the crack and, about 1–2 mm (0.04–0.08 in) beyond it, drill a hole. Dry and clean the hole. Then install the bridge with the injector and inject the polymer resin into the crack. The UV lamp helps the resin harden as quickly as possible, and then you can polish the area so the repair is nearly invisible.
As you can see, getting your windshield back in shape isn't difficult. Good luck!
What next