Autopapyrus · Chery Tiggo 2.0 SQR484 (2014)
https://autopapyrus.com/catalog/chery/tiggo/guides/coolant-replacement/
https://autopapyrus.com/catalog/chery/tiggo/guides/coolant-replacement/
Compiled automatically from service literature and owner experience. Specs are for the typical configuration — check them against your exact car before you start.
Chery Tiggo 2.0 SQR484 (2014): Coolant Replacement
Replace the coolant completely, not partially: leftover old antifreeze in the engine block and heater core shortens the life of the new coolant. The cooling system capacity per the Tiggo owner's manual is about 7.5 L (7.9 qt). In practice, draining through the radiator removes less than that, and the rest stays in the block and heater core.
Key figures
- Cooling system capacityabout 7.5 L (7.9 qt). This is roughly how much coolant you need for a full refill, so get 8-10 L (8.5-10.5 qt) to have a reserve (see the "Part" section)
Check these values against the manufacturer’s specification for your vehicle before you start.
Diagram: where the radiator drain cock is and where to put the container
Tap to enlarge
- 1Drain cock at the bottom of the radiator tank on the driver's side: unscrew it counterclockwise by hand only, no lever, it is plastic. Close it after draining.
- 2Lower radiator tank: the cock sits at its bottom. It is dark plastic, next to the radiator core.
- 3Lower radiator hose with clamp: if there is no cock or it will not open, loosen the clamp and remove the hose.
- 4Bracket with bolt on the radiator: a landmark that helps find the right spot.
- 5Flat container for 8-10 L: put it under the cock and wait until the coolant drains completely.
Parts
2| № | Part | Alternatives |
|---|---|---|
| 01 | Ethylene glycol antifreeze (ready-to-use or concentrate)8-10 L (8.5-10.5 qt); concentrate is diluted with distilled waterFind on Amazon → | AlternativesFelixSintecLukoilTotal |
| 02 | Distilled waterfor diluting the concentrateFind on Amazon → |
Amazon links search by the part name; use Amazon's fit check for your car before ordering. We may earn a commission from qualifying purchases.
Tools
6Step by step
20 steps · 5 stagesStage 1 of 5 Preparation 3 steps
- Park the car on level ground, shut off the engine, and wait until it has cooled down completely. Do not open the expansion tank cap on a hot engine: the system is under pressure and you may get burned.
- Open the hood and locate the expansion tank and the radiator. If necessary, remove the lower engine undercover so you can reach the lower hose and the radiator drain cock.
- Check the condition of the old coolant: a rusty color, an oily film, or flakes mean the system needs to be flushed (step 10).
Stage 2 of 5 Draining 6 steps
- Place the drain pan under the lower part of the radiator (the drain cock is at the bottom of the radiator, usually on the side).
- Open the expansion tank cap so the coolant drains faster.
- Unscrew the radiator drain cock counterclockwise. If there is no drain cock or it will not open, loosen the clamp and remove the lower radiator hose.
- Wait until the coolant has drained completely. You can also drain coolant from the cylinder block through the drain plug, if your engine version has one, and disconnect the lower heater hose.
- Close the drain cock, reconnect the hoses, and tighten the clamps. The radiator drain cock is plastic, so tighten it by hand only, without a lever.
- Dispose of the old antifreeze properly. It is toxic, so do not pour it onto the ground or down a drain.
Stage 3 of 5 Flushing (if the coolant is dirty) 1 step
- Fill the system with clean water (distilled is best), start the engine, and warm it up until the thermostat opens with the heater on maximum. Then shut it off, let it cool, and drain the water. Repeat until clean water runs out of the drain cock.
Stage 4 of 5 Filling and bleeding air 7 steps
- Make sure the drain cock is closed and all clamps are tight.
- Dilute the concentrate with distilled water according to the instructions on the package (ready-mixed antifreeze is not diluted).
- Slowly pour the coolant into the expansion tank up to the MAX mark so that air pockets do not form.
- Turn the ignition on without starting the engine and set the heater control to maximum temperature with the fan at minimum.
- Start the engine and leave the tank cap off or loosely set on. Hold the engine at 2000-2500 rpm until the thermostat opens (the upper radiator hose becomes hot). Top up the coolant as the level in the tank drops.
- Gently rev the engine a few times until bubbles stop coming out of the system and the radiator fan kicks in. The heater should become hot, which is a sign there are no air pockets.
- Shut off the engine and close the tank cap.
Stage 5 of 5 Checking 3 steps
- Let the engine cool and check the level: on a cold engine it should be between the MIN and MAX marks. Top up if necessary.
- Inspect the drain cock and hoses for leaks, then reinstall the engine undercover.
- After 1-2 days of driving, check the level again on a cold engine and top up the coolant, since the remaining air will work its way out of the system.
Common mistakes and warnings
- Do not open the tank cap on a hot engine: antifreeze spray causes burns
- Do not mix antifreezes of different types and colors unless they are compatible per the specification
- Antifreeze is poisonous and attractive to animals: do not leave an open container out and wipe up spills immediately
- Check the exact capacity for your engine version and the replacement interval against the manufacturer's maintenance schedule
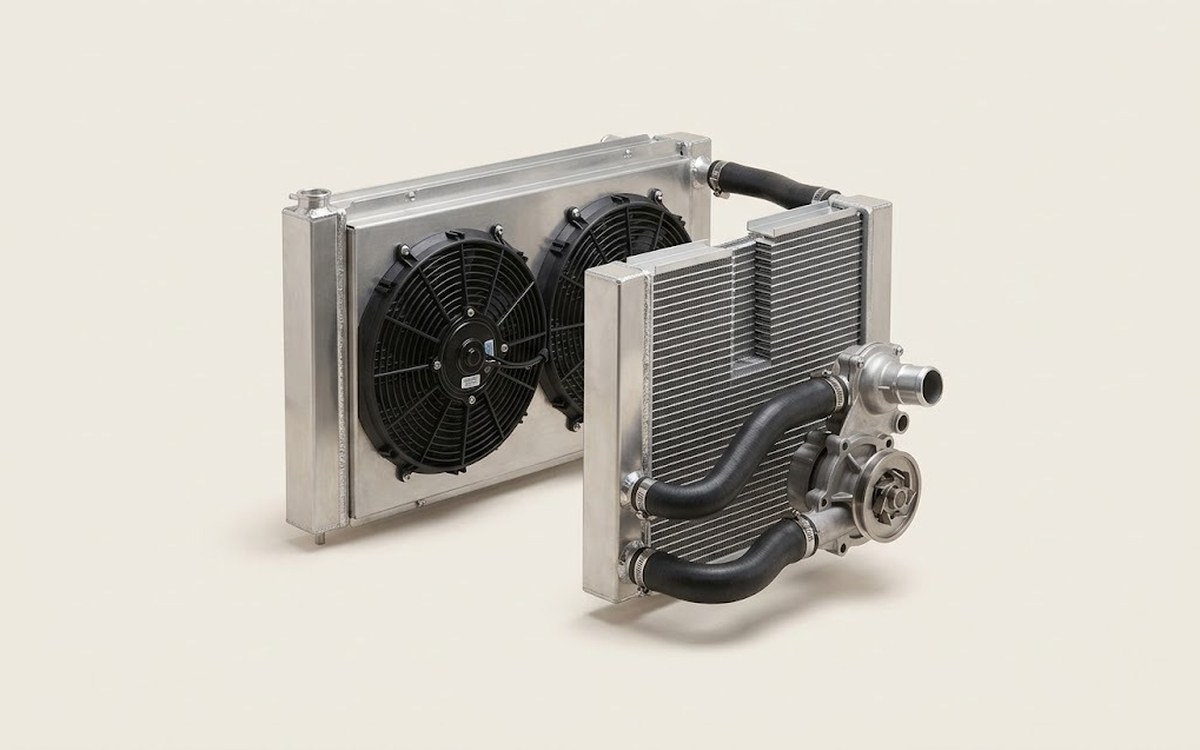 How it works · 3D
How the Engine Cooling System Works
How the part you're working on actually works — in plain English, on a 3D model.
Open in 3D →
Spotted a mistake? Tell us →
Our articles
 Before you buy
German Turbo Engines vs. Chinese Ones: Which Lasts Longer? An Honest Look at Engine Life
Volkswagen 1.4 and 2.0 TSI, BMW N20 and Mercedes M274 versus Haval, Chery and Geely engines: lifespan benchmarks…
Read →
 Garage
Fuel Quality Indicators: What Octane and Cetane Numbers Mean
What is an octane number? What about a cetane number? Which fuel should you choose for a high-compression engine?…
Read →
 Before you buy
How to Pick Up Your Car from the Dealership the Right Way
If you've decided to buy a car from a dealership, it isn't enough to simply choose a model you like, pay for it, and…
Read →