https://autopapyrus.com/catalog/ford/kuga/guides/diagnosing-a-coolant-leak/
Ford Kuga 1.6 EcoBoost JQMA (2013): Diagnosing a Coolant Leak
The 1.6 EcoBoost JQMA engine (2013-2014) has a documented design problem. Localized overheating causes micro-cracks in the cylinder head, so coolant gets into the combustion chamber or leaks outside. Other typical causes of coolant loss are a cracked expansion tank, worn heater hoses, and a failing water pump. Ford issued recall campaigns 13S12 and 17S09 to add a coolant level sensor and update the ECU software. An accurate diagnosis is critical before you start any repair.
Parts
5| № | Part |
|---|---|
| 01 | Expansion tankif faultyFind on Amazon → |
| 02 | Cooling system hosesif faultyFind on Amazon → |
| 03 | Water pumpif faultyFind on Amazon → |
| 04 | Head gasketif faultyFind on Amazon → |
| 05 | Cylinder head, completeif faultyFind on Amazon → |
Amazon links search by the part name; use Amazon's fit check for your car before ordering. We may earn a commission from qualifying purchases.
Tools
5Read the codes yourself
A scanner plugged into the OBD2 port under the dashboard shows which fault codes the car has stored, before you buy any parts. Cars sold in the US from 1996, and petrol cars in Europe from 2001 (diesels from 2004), have this port.
- Basic code reader, about $20–40: reads and clears engine codes Amazon →
- Bluetooth scanner with a phone app, about $30–100: live sensor data, and on many cars ABS and airbag codes too Amazon →
Check that the scanner lists your make and model year before you buy. We may earn a commission from qualifying purchases.
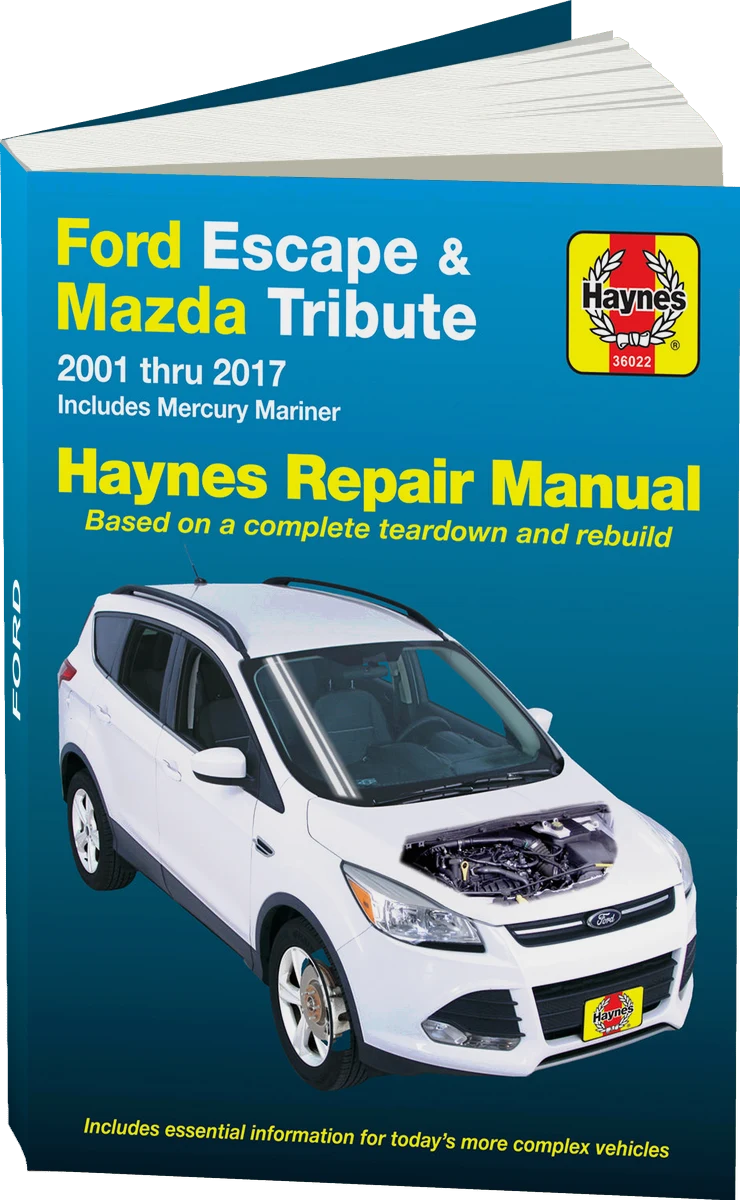 There's a full repair manual for this car
Every system, wiring diagrams and torque specs — not just this job. Haynes and 7 more.
See manuals →
Step by step
9 steps- Check the recall status by VIN. Contact an authorized Ford dealer, or use the GOV.UK portal (in the UK), and ask whether the work for campaigns 13S12 and 17S09 has been done. If not, have the defect fixed first under the manufacturer's warranty (even on a used car).
- Inspect the expansion tank and cap. Look for cracks on the tank body (especially along the seams) and check that the cap valve seals properly. A faulty cap does not hold pressure (1.2-1.4 bar), and coolant is forced out through the relief valve. Replace the tank and cap if you find any defects (ask the dealer for the OE tank part number).
- Inspect the cooling system hoses. Pay special attention to the heater hose that runs through the bulkhead on the left side and to the plastic return hose to the expansion tank. These parts crack over time. Look for drips, white crusty deposits, and wet spots. Replace any damaged hoses.
- Pressure test the cooling system. Let the engine cool down, connect the tester to the expansion tank neck, build up 15-20 psi (1.0-1.4 bar), and hold it for 15 minutes. A pressure drop of more than 2 psi indicates a leak. Check the engine bay and the underside of the car for visible leaks (water pump, thermostat, radiator, hose connections).
- Check the water pump. With the engine idling and warmed up to 90°C, inspect the pump housing for coolant seeping from the weep hole. The pump may leak only under pressure or load. If you find a leak, replace the pump (ask the dealer for the OE part number; aftermarket options include GWP and SKF).
- Diagnose an internal leak (coolant getting into the cylinders). If the level drops with no visible external leaks, check the exhaust for white smoke with a characteristic sweet smell (coolant burning in the chamber). Remove the spark plugs. Wet or unusually clean electrodes indicate fluid getting in. Use a borescope through the spark plug wells to inspect the piston crowns for droplets or white deposits.
- Measure compression. With the engine warm, spark plugs removed, and the throttle fully open, measure compression in all cylinders. The normal range is 10-12 bar, with no more than 1 bar difference between cylinders. If one cylinder reads significantly lower, or if compression rises only slightly when you retest after adding engine oil, a cracked cylinder head or a blown head gasket is likely.
- Check the engine oil. Open the oil filler cap and inspect its underside. White emulsion (like mayonnaise) means coolant is getting into the oil through a damaged head gasket or a crack in the head. Also check the dipstick, because emulsion on it is another sign of an internal leak.
- If a cracked cylinder head is confirmed, take the car to a specialist repair shop. Early 1.6 EcoBoost engines (2013-2014) have a weak cylinder head casting that cracks when overheated. The permanent fix is to replace the head with the revised version (G designation). Welding the cracks only gives a short-term result.
Common mistakes and warnings
- If you find a cracked cylinder head or coolant in the cylinders, stop driving the car immediately
- Continued driving will lead to hydrostatic lock, bent connecting rods, scored bearings, and complete engine destruction
- If the leak is caused by the design defect (micro-cracks in the head), contact an authorized Ford dealer to check whether you qualify for warranty repair under the recall campaign (even if you bought the car second-hand)
- Do not drive the car with a low coolant level, because overheating will make the defect worse
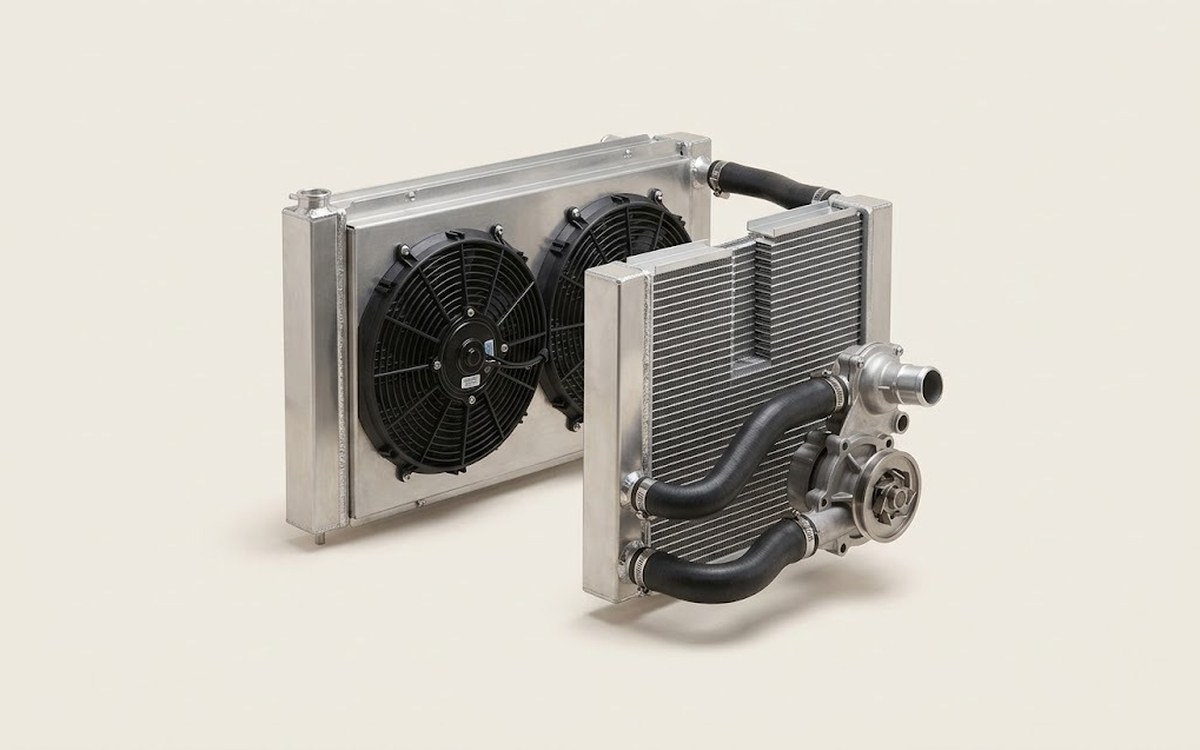 How it works · 3D
How the Engine Cooling System Works
How the part you're working on actually works — in plain English, on a 3D model.
Open in 3D →
Spotted a mistake? Tell us →
Our articles
 Brand stories
The History of Ford
Ford Motor Company is the largest American automaker by heritage and one of the most recognizable car brands in the…
Read →
 Garage
Fuel Quality Indicators: What Octane and Cetane Numbers Mean
What is an octane number? What about a cetane number? Which fuel should you choose for a high-compression engine?…
Read →
 Before you buy
How to Pick Up Your Car from the Dealership the Right Way
If you've decided to buy a car from a dealership, it isn't enough to simply choose a model you like, pay for it, and…
Read →