Autopapyrus · Opel Combo 1.4 Z14XEP (2010)
https://autopapyrus.com/catalog/opel/combo/guides/coolant-refill-and-air-bleeding/
https://autopapyrus.com/catalog/opel/combo/guides/coolant-refill-and-air-bleeding/
Compiled automatically from service literature and owner experience. Specs are for the typical configuration — check them against your exact car before you start.
Opel Combo 1.4 Z14XEP (2010): Coolant Refill and Air Bleeding
After the cooling system has been drained or opened, air stays in the circuits. This can cause the engine to overheat and the heater to blow weak heat. Pour the coolant in slowly through the expansion tank. Then warm up the engine at raised rpm, let it cool down, and top up to the COLD mark. The capacity of the system for this engine was not reliably confirmed, so go by the level in the tank, not by liters.
Key figures
- Coolant mixture50% antifreeze and 50% water. This is how you prepare the mixture for filling (step 6); unapproved antifreeze can damage the engine
- Rpm while bleeding air2000-2500 rpm. Hold for about 30 seconds, then 5 seconds at idle, for about 2 minutes total (step 10)
- Warm-up until the fan switches onup to 2500 rpm. Continue until the first stage of the radiator fan switches on (step 9)
- Final levelCOLD mark on the tank. Top up only on a fully cooled engine (step 13)
Check these values against the manufacturer’s specification for your vehicle before you start.
Diagram: where the radiator drain tap and hoses to check are
Tap to enlarge
- 1Drain tap at the bottom of the radiator: place a container, attach a hose to the spout, open the tap, close it after draining.
- 2Radiator, front view. The system is filled through the expansion tank, not through the radiator.
- 3Upper radiator hose goes to the engine: inspect, replace if damaged, tighten the clamps.
- 4Lower radiator hose goes to the engine: inspect, replace if damaged, tighten the clamps.
Part
| № | Part |
|---|---|
| 01 | Antifreeze (coolant) with Opel approvalmix 50% antifreeze and 50% drinking-quality water; if replacing the radiator, cylinder head or head gasket, fill with new coolantFind on Amazon → |
Amazon links search by the part name; use Amazon's fit check for your car before ordering. We may earn a commission from qualifying purchases.
Tools
5 There's a full repair manual for this car
Every system, wiring diagrams and torque specs — not just this job. Haynes and 11 more.
See manuals →
Step by step
14 steps- Work only on a fully cooled engine. Several hours should pass after driving. The system is under pressure. If the engine has not cooled down, wrap a rag around the tank cap and open it slowly to avoid burns.
- If the car has air conditioning, turn it off. If it has climate control, set it to ECO mode.
- If you drained the coolant, support the car on stands. Remove the engine undercover (if fitted), place a drain pan underneath, put a hose on the radiator drain fitting, and open the drain valve. After draining, close the valve and lower the car.
- Inspect the hoses and replace any damaged ones. Tighten the hose clamps. Make sure antifreeze does not get on the belts: glycol damages the timing belt and can cause it to break.
- Remove the expansion tank cap.
- Pour in the mixture slowly so that air pockets do not form. For the first fill, bring the level to the lower vent mark on the tank. If the system was completely empty, you can bring the level up to the COLD mark.
- If the coolant does not flow in well and the system was empty, you can bleed the air this way. Disconnect the wire from the coolant temperature sensor on the intake manifold and unscrew the sensor. Wait until coolant flows from the opening without bubbles, then screw the sensor back in and reconnect the wire. This procedure is acceptable for 1.4 and 1.6 engines, but on the Z14XEP, check the sensor location visually. Tighten the sensor to the manufacturer's specified torque.
- Screw on the tank cap.
- Start the engine and warm it up at idle, periodically raising the rpm to 2500 rpm, until the first stage of the radiator fan switches on.
- Bleed the air: for about 2 minutes, alternate running at 2000-2500 rpm for about 30 seconds with pauses at idle of about 5 seconds. The air escapes through the connecting hoses and the expansion tank return hose.
- Check for leaks at the connections and at the drain valve.
- Shut off the engine and let it cool down completely.
- Check the level and top up to the COLD mark on the tank, then tighten the cap firmly. Install the engine undercover if you removed it.
- Over the next few days, check the level with the engine cold. If the heater is still cold or the temperature gauge fluctuates, repeat the warm-up and bleeding procedure.
Common mistakes and warnings
- Do not open the tank cap on a hot engine
- Do not use unapproved antifreeze: it can damage the engine
- The tightening torques for the tank cap and the drain valve have not been confirmed, so tighten them by hand without excessive force, or follow the manufacturer's specification
- If overheating returns after refilling or the level drops, go to a repair shop, as there may be a leak or a damaged cylinder head gasket
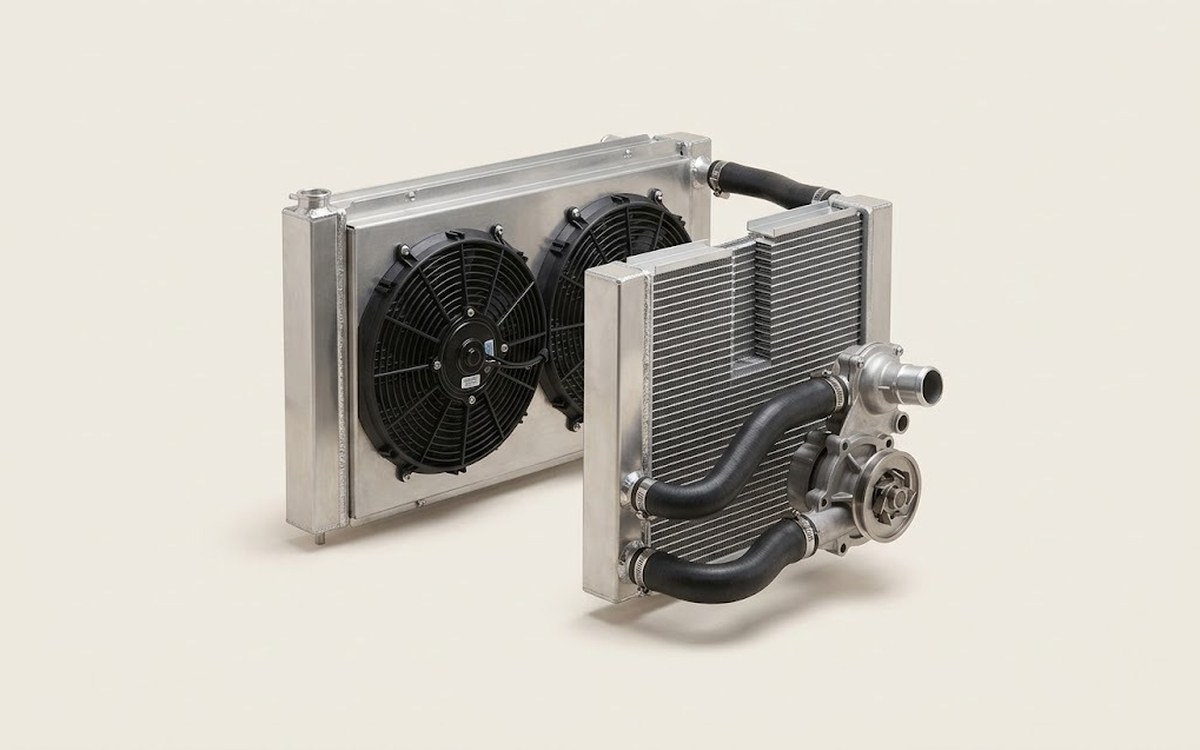 How it works · 3D
How the Engine Cooling System Works
How the part you're working on actually works — in plain English, on a 3D model.
Open in 3D →