Chevrolet Aveo I generation (T200) (2002–2007) — repair and maintenance
3 repair manuals
All generations
II generation (T300) · 2011–presentI generation FL (T250, facelift) · 2008–2010I generation (T200) · 2002–2007
Chevrolet Aveo I generation (T200) guides
378Engine69
- Diagnosing the engine condition
- Replacing the air filter
- Replacing the engine sealing parts
- Replacing the engine oil and oil filter
- Replacing the valve stem seals
- Replacing the intake manifold gasket
- Replacing the cylinder head gasket
- Replacing the crankshaft oil seals
61 more
- Replacing the camshaft oil seals
- Replacing the oil pan gasket
- Servicing the lubrication system
- Cleaning the crankcase ventilation system
- Lapping the valves
- Checking the cylinder compression
- Checking the lubrication system
- Adjusting the valve train clearances
- Engine repair
- Spark plugs
- Lubricating the hinges and locks
- Removing and installing the oil pump
- Engine knocking noises
- Setting the piston of cylinder No. 1
- Rear crankshaft oil seal - replacing
- Replacing the hydraulic lash adjusters
- Replacing the master cylinder
- Replacing the engine cylinder head
- Replacing the throttle body
- Replacing the engine oil and oil filter
- Replacing the engine mounts
- Replacing the actuator slave cylinder
- Replacing the accessory drive belts
- Replacing the drive belt
- Replacing the oil dipstick guide seal
- Starting the engine
- Timing belt
- Left mounting
- Oil pump
- Engine mechanical components
- Engine oil
- Engine compartment: cleaning
- Powertrain mountings: replacement
- Cleaning the air filter
- Replacing the front crankshaft oil seal
- Piston pin
- Piston rings
- Pistons and connecting rods
- Right-hand mount
- Checking the cylinder head
- Checking the engine oil pressure
- Checking the drive belt
- Checking the engine fuel system
- Checking the engine condition
- Checking the engine oil level
- Disassembling the engine
- Adjusting the valve timing mechanism
- Adjusting the valve clearance
- Adjusting the valve clearances in the valve train
- Timing belt
- Repairing the cylinder block
- Repairing the oil pump
- Removing and installing the air filter and air duct
- Removing and installing the intake manifold
- Removing and installing the catalytic exhaust manifold, replacing its gasket
- Removing and installing the EGR valve
- Removing and installing the oil filter housing
- Removing and installing the flywheel
- Removing and installing the powertrain
- Removing, inspecting and installing the camshafts
- Removing, checking and installing the valve
Suspension & steering47
- Rear suspension
- Front suspension repair
- Steering gear
- Replacing the rear suspension shock absorber
- Replacing the outer tie rod end
- Replacing the front wheel hub bearing
- Replacing the rear suspension spring
- Replacing the tie rod
39 more
- Replacing the tie rods
- Replacing the front suspension arm
- Replacing the front suspension ball joint
- Inspecting and checking the steering
- Adjusting the steering wheel position
- Repairing the steering
- Steering column
- Removing and installing the shock absorber strut
- Removing and installing the rear suspension beam
- Removing and installing the steering wheel
- Removing and installing the steering column
- Rear suspension beam
- Replacing the power steering reservoir
- Replacing the strut upper mount
- Replacing the anti-roll bar components
- Replacing the rear powertrain mount
- Replacing the rear wheel hub
- Replacing the tie rod boot
- Replacing the left powertrain mount
- Replacing the tie rod end
- Replacing the power steering pump
- Replacing the suspension mounts
- Replacing the system suspension cushions
- Replacing the right powertrain mount
- Steering knuckle
- Checking the steering wheel free play
- Checking the steering condition
- Bleeding the power steering system
- Adjusting the wheel alignment angles
- Repairing the suspension
- Front suspension arm: replacement
- Removing and installing the steering wheel control units
- Removing and installing the steering knuckle
- Removing and installing the front suspension steering knuckle
- Removing and installing the front suspension crossmember
- Removing and installing the drive lever
- Removing, installing and repairing the shift lever gate
- Front suspension strut: repair
- Front wheel alignment angles
Electrical74
- Replacing the alternator
- Ignition switch (lock)
- Replacing the battery
- Diagnosing the engine management system
- Replacing and servicing the spark plugs
- Replacing the instrument cluster
- Replacing the steering column switches
- Vehicle keys
66 more
- Lighting and audible/visual signaling
- Checking the exterior lighting
- Checking and adjusting the headlight aim
- Checking the electrical equipment
- Repairing the ignition system
- Repairing the lighting system
- Repairing the windscreen wipers and washers
- Removing and installing the starter
- Diagnosing starter faults
- Diagnosing wiper faults
- Rear light: removal, bulb replacement and installation
- Replacing the exterior lighting control unit
- Replacing the side turn signal lamp
- Replacing the instrument panel switches
- Replacing the control switches
- Replacing the indicator lamp switch
- Replacing the warning lamp sensor
- Replacing the fuel level sensor
- Replacing the control joystick
- Replacing the high-mounted stop lamp
- Replacing the rear light
- Replacing the information sensors
- Replacing the ignition switch contact assembly
- Replacing the headlight unit bulbs
- Replacing the rear door window regulator motor
- Replacing the front door window regulator motor
- Replacing the outside handle and lock switch
- Replacing the fuses
- Replacing the headlight levelling adjuster
- Replacing the wipers
- Replacing the license plate lights
- Replacing the luggage compartment light
- Replacing the central control unit
- Replacing the ignition switch lock cylinder
- Replacing the battery in the remote control unit
- Charging the battery
- Fuse and relay boxes
- Battery maintenance
- Servicing the additional electrical equipment
- Cleaning the battery terminals
- Polishing the headlights
- Instrument panel
- Checking the high-tension cables
- Checking the immobilizer
- Checking the ignition system
- Checking the engine starting system
- Checking the state of charge
- Checking and replacing the spark plugs
- Adjusting the headlight unit
- Adjusting the headlight aim
- Repairing the charging system
- Repairing the starter
- Repairing the power windows
- Starting system
- Removing and installing the USB socket
- Removing and installing the headlight unit
- Removing and installing the ignition coil pack
- Removing and installing the on-board computer
- Removing and installing the audio system head unit
- Removing and installing the speakers
- Removing and installing the horn
- Removing and installing the interior light lens
- Removing and installing the radiator electric fan
- Removing and installing the fan electric motor
- Removing and installing the electronic control unit
- Instrument panel – removal and installation
Fuel system19
- Replacing the fuel tank and its filler pipe
- Refueling the vehicle
- Filling with gasoline
- Checking the fuel system pressure
- Checking the fuel injectors
- Repairing the fuel vapor recovery system
- Relieving the fuel system pressure
- Removing and installing the throttle body
11 more
- Removing and installing the fuel rail
- Replacing the canister purge valve
- Replacing the fuel tank
- Replacing the fuel filter
- Replacing the fuel injector
- Checking the fuel lines for leaks
- Checking the condition of the fuel system
- Repairing the fuel system
- Removing and installing the evaporative emission system canister
- Removing and installing the fuel pump module
- Fuel pump
Body & glass37
- Side doors
- Filling the washer fluid
- Replacing the rear-view mirrors
- Cleaning and washing the body
- Polishing the body
- Repairing the trunk
- Repairing the window regulators
- Windshield – replacement
29 more
- Rear bumper – removal and installation
- Replacing the front door lock inner handle
- Replacing the front door lock
- Replacing the crossmember
- Replacing the front door window glass
- Trunk lid
- Body: checking the condition and maintenance
- Body: repairing minor paint damage
- Replacing the exterior rear door handle
- Rear door trim – removal and installation
- Front door trim – removal and installation
- Treating the door seals
- Cleaning the engine and the engine compartment
- Cleaning the body drain holes
- Front bumper – removal and installation
- Checking the level and topping up the washer fluid reservoir
- Cleaning the drain holes
- Adjusting the rear-view mirrors
- Lubricating the body fittings
- Removing and installing the bumpers
- Removing and installing the mud flaps
- Removing and installing the rear bumper
- Removing and installing the hood
- Removing and installing the front bumper
- Removing and installing the front fender
- Removing and installing the wheel arch liners
- Removing and installing the air intake box grille
- Removing and installing the hood insulation
- Installing the roof rack
Wheels & tires13
Brakes47
- Adjusting the parking brake
- Brake master cylinder
- Diagnosing the anti-lock braking system
- Replacing the brake vacuum booster
- Replacing the brake master cylinder
- Replacing the brake disc
- Replacing the brake lines
- Checking the hydraulic actuator for leaks
39 more
- Checking the operation of the brake vacuum booster
- Checking the parking brake
- Checking the brake system
- Bleeding the clutch hydraulic release system
- Bleeding the brake system
- Service brake system
- Repairing the parking brake system
- Removing and installing the brake pedal
- Removing and installing the brake drum
- Rear wheel brake assemblies
- Front wheel brake assemblies
- Hydraulic brake drive — replacing the brake fluid
- Rear brake pads — replacement
- Rear brake assembly
- Replacing the vacuum pump
- Replacing the brake wheel cylinder
- Replacing the brake caliper
- Replacing the front brake caliper
- Replacing the brake fluid
- Replacing the brake pads of the brake mechanism
- Replacing the parking brake cables
- Replacing the hydraulic line
- Replacing the hydraulic drive hose and line
- Brake pedal
- Front brake discs: replacement
- Front brake pads - replacement
- Front brake assembly
- Checking the rear brake mechanism
- Checking the front brake mechanism
- Checking the brake pedal position
- Checking the service brake system actuator
- Checking the brake pedal free play
- Checking the technical condition of the brake system
- Checking the brake fluid level
- Bleeding the brake hydraulic system
- Brake system repair
- Parking brake lever
- Removing and installing the parking brake lever
- Brake hoses – replacement
Transmission34
- Replacing the clutch
- Manual transmission repair
- Replacing the front wheel drive shafts
- Automatic transmission repair
- Gear shift lever
- Removing and installing the clutch pedal
- Clutch master cylinder
- Replacing the release bearing and fork
26 more
- Replacing the automatic transmission oil seals
- Replacing the transmission oil seals
- Replacing the manual transmission oil seals
- Replacing the automatic transmission selector
- Replacing the manual transmission control cables
- Adjusting the transmission control
- Clutch pedal
- Checking and replacing the clutch
- Checking the clutch pedal free play
- Checking the technical condition of the clutch
- Checking the automatic transmission fluid level
- Checking the transmission fluid level
- Flushing the transmission oil cooler
- Disassembling and assembling the gearbox
- Adjusting the clutch release point (hydraulic type)
- Adjusting the clutch pedal (hydraulic type)
- Repairing the transmission output shaft
- Repairing the differential
- Repairing the transmission
- Repairing the gear shift mechanism
- Repairing the synchronizer
- Repairing the driveshaft joints
- Transmission control lever
- Powertrain
- Removing and installing the selector control link
- Removing and installing the front wheel drive shaft
Cooling system14
Exhaust system9
Interior15
Need a job that isn't listed? A full repair manual for the Chevrolet Aveo I generation (T200) covers every system: wiring diagrams, torque specs, step-by-step photos.
Find a repair manual →Need a part? Search Amazon for Chevrolet Aveo I generation (T200) parts: filters, brakes, sensors, belts. Check the fit for your year and engine before you buy.
Find parts on Amazon →Chevrolet Aveo I generation (T200) repair manuals
3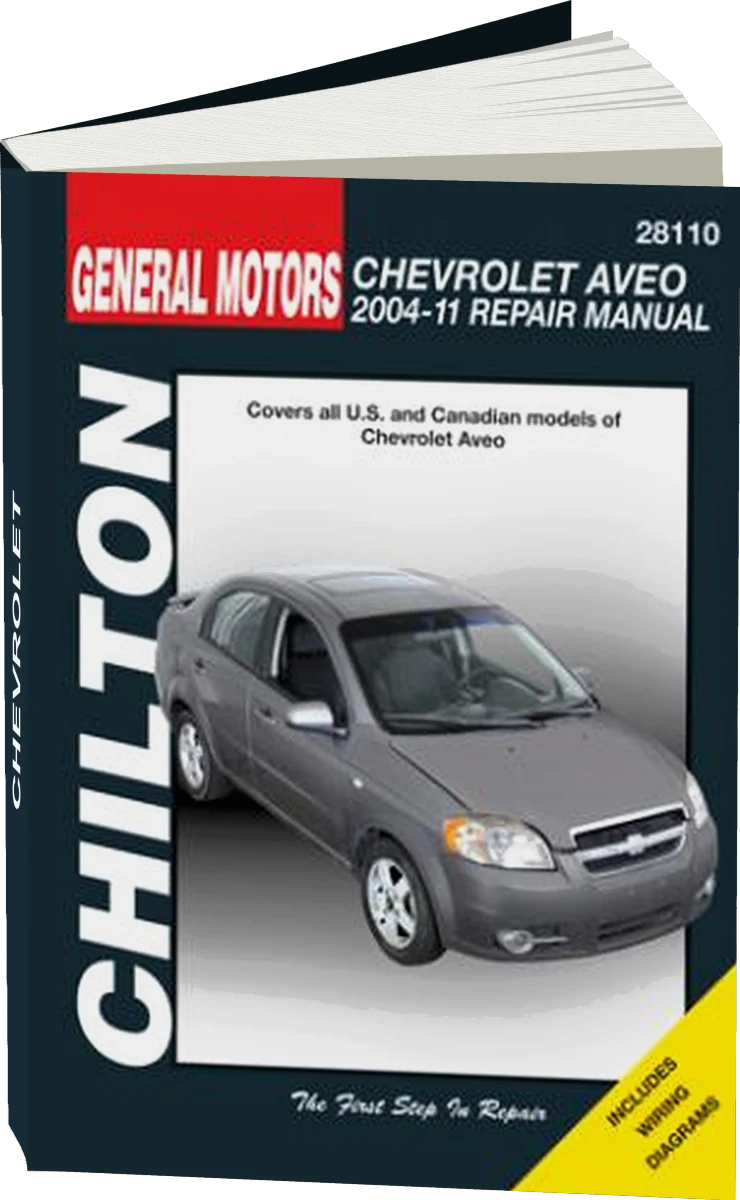
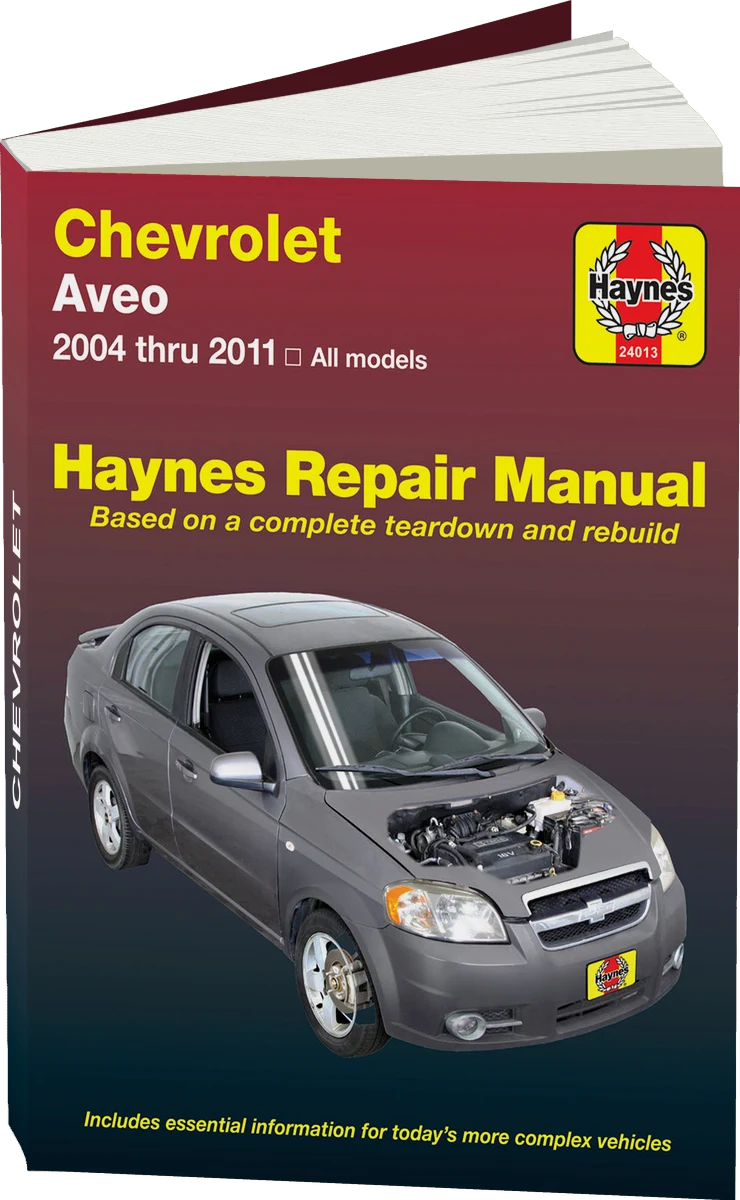
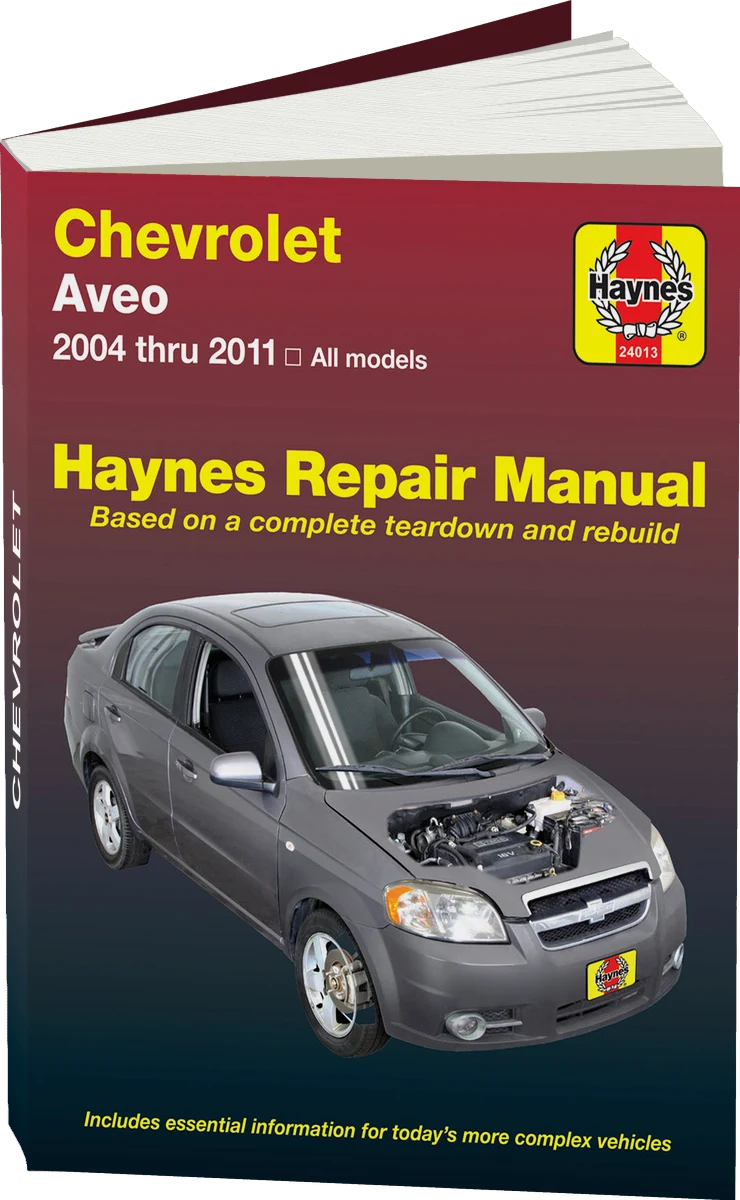
Manuals are written for specific model years — check that the years match your car. Prices are set by the seller.
How well do you know the Chevrolet Aveo? Ten questions on its history, engines and records, with the answer explained after each pick.
Take the quiz →Our articles
 Brand stories
The History of the Chevrolet Brand
Chevrolet (Chevrolet Motor Division), a name known around the world, is a division of General Motors that builds…
Read →
 Garage
Fuel Quality Indicators: What Octane and Cetane Numbers Mean
What is an octane number? What about a cetane number? Which fuel should you choose for a high-compression engine?…
Read →
 Before you buy
How to Pick Up Your Car from the Dealership the Right Way
If you've decided to buy a car from a dealership, it isn't enough to simply choose a model you like, pay for it, and…
Read →