Autopapyrus · Chevrolet Lanos 1.5 (2008)
https://autopapyrus.com/catalog/chevrolet/lanos/guides/coolant-replacement/
https://autopapyrus.com/catalog/chevrolet/lanos/guides/coolant-replacement/
Compiled automatically from service literature and owner experience. Specs are for the typical configuration — check them against your exact car before you start.
Chevrolet Lanos 1.5 (2008): Coolant Replacement
The Lanos cooling system holds about 7 L (7.4 qt) of coolant. Dilute concentrate with distilled water so the antifreeze content is 50-60% (no more than 60%). Drain the coolant through the radiator drain valve and refill through the expansion tank. Replacement is recommended about every 3-5 years.
Key figures
- Cooling system capacitythis is how much coolant you need for a full refill, so buy a little extra (steps 2, 15)about 7 L (7.4 qt)
- Antifreeze share in the mixturea higher share makes the coolant freeze more easily, not less (steps 2, 15)50-60%, no more than 60%
- Level in the tanktop up to this mark on a cold engine (steps 15, 19)up to the MAX mark on the tank body
- Replacement intervala guideline for when to change the coolantevery 3-5 years
Check these values against the manufacturer’s specification for your vehicle before you start.
Parts
2| № | Part |
|---|---|
| 01 | Ethylene glycol antifreeze G11/G12 (premixed or concentrate)about 7 L (7.4 qt)Find on Amazon → |
| 02 | Distilled waterfor flushing; also for diluting concentrateFind on Amazon → |
Amazon links search by the part name; use Amazon's fit check for your car before ordering. We may earn a commission from qualifying purchases.
Tools
7Step by step
21 steps · 5 stagesStage 1 of 5 Preparation 3 steps
- Park the car on level ground and let the engine cool completely. Never open the tank cap on a hot engine: you can be burned by steam and hot coolant.
- Open the hood and locate the expansion tank. Get the antifreeze and distilled water ready. If you have concentrate, dilute it in a clean container beforehand to 50-60% antifreeze.
- If the car has an engine skid plate, remove it to reach the lower radiator hose and the drain valve.
Stage 2 of 5 Draining 6 steps
- Place an 8-10 L (8.4-10.6 qt) drain pan under the radiator.
- Remove the expansion tank cap.
- Set the cabin heater to maximum temperature so the heater core opens and drains along with the rest of the system. To do this, you can turn the key to the ignition position for a minute.
- Unscrew the drain valve (plug) at the bottom of the radiator. If the plug won't budge, carefully loosen the clamp and remove the lower radiator hose. Let the coolant drain completely.
- For better draining, you can remove the lower radiator hose and squeeze the upper one to push out the remaining coolant.
- Clean the inside of the tank of sediment and dirt, and rinse it with water.
Stage 3 of 5 Flushing 4 steps
- Close the drain valve. Tighten the threaded plug without excessive force, to about 10-15 N·m (7-11 lb-ft) (use the exact value from the manufacturer's specification).
- Pour clean water into the tank. Pour slowly: the tank's upper hose should stay above the water level so the air can escape.
- Start the engine and warm it up until the thermostat opens: both radiator hoses should become hot. Shut off the engine and let it cool.
- Drain the water. Repeat the flush until clean water with no traces of antifreeze or rust comes out of the system.
Stage 4 of 5 Refilling 3 steps
- Make sure the drain valve is closed and the hoses and clamps are in place.
- Slowly pour the prepared mixture into the expansion tank up to the MAX mark on the tank body. Do not exceed 60% antifreeze in the mixture.
- Close the tank cap.
Stage 5 of 5 Air bleeding and check 5 steps
- Start the engine with the heater set to maximum. Warm it up until both radiator hoses are hot and the fan switches on.
- While the engine is running, smoothly rev the engine several times between 2000 and 3000 rpm to push out air pockets. Make sure hot air comes out of the heater.
- Shut off the engine and let it cool completely. Check the level in the tank and top up to the MAX mark if necessary.
- Inspect the drain valve and clamps for leaks. Reinstall the skid plate.
- After a few days of driving, check the level again on a cold engine.
Common mistakes and warnings
- Antifreeze is toxic and dangerous to animals (it has a sweet taste): do not leave open containers around, and take the drained coolant to a recycling facility rather than pouring it on the ground
- Do not open the tank cap on a hot engine
- Do not use a mixture with more than 60% antifreeze: the freezing point will rise
- Do not mix antifreezes of different types and colors unless they are compatible
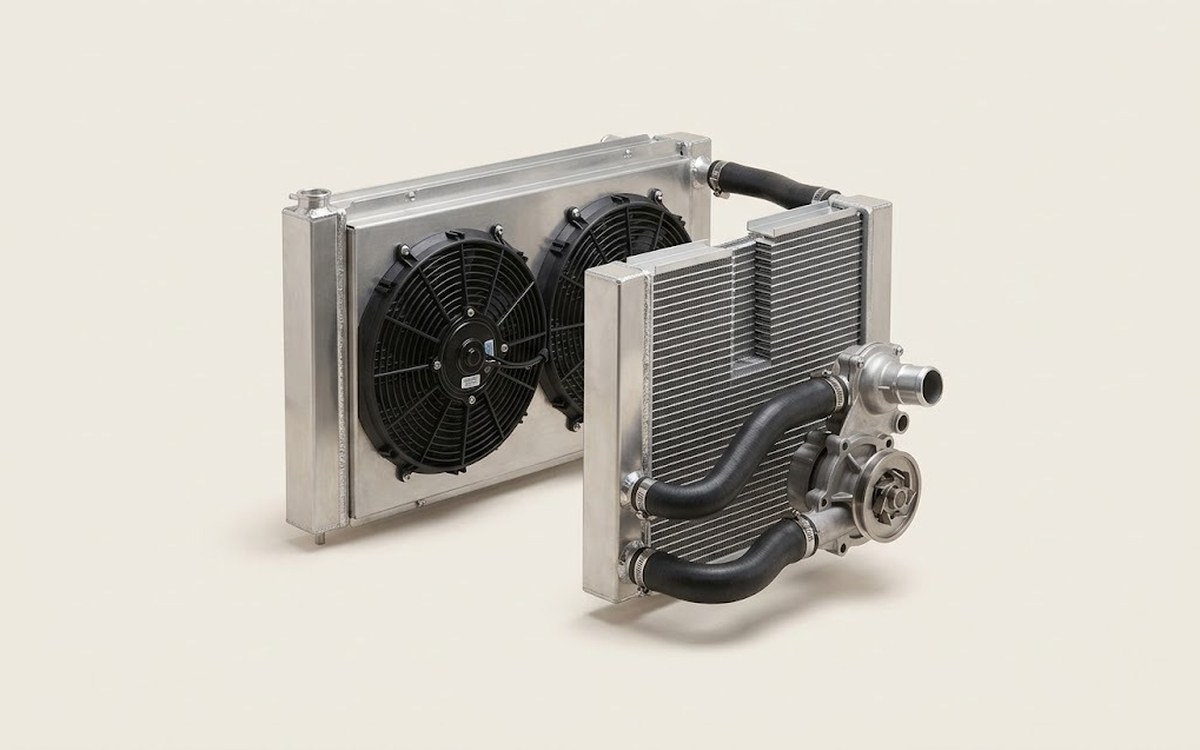 How it works · 3D
How the Engine Cooling System Works
How the part you're working on actually works — in plain English, on a 3D model.
Open in 3D →
Spotted a mistake? Tell us →
Our articles
 Brand stories
The History of the Chevrolet Brand
Chevrolet (Chevrolet Motor Division), a name known around the world, is a division of General Motors that builds…
Read →
 Garage
Fuel Quality Indicators: What Octane and Cetane Numbers Mean
What is an octane number? What about a cetane number? Which fuel should you choose for a high-compression engine?…
Read →
 Before you buy
How to Pick Up Your Car from the Dealership the Right Way
If you've decided to buy a car from a dealership, it isn't enough to simply choose a model you like, pay for it, and…
Read →