Chrysler 300C II generation (2011-2023) (2011–present) — repair and maintenance
6 repair manuals
Chrysler 300C II generation (2011-2023) guides
152Engine29
- Diagnosing the engine management system
- Replacing the engine oil and oil filter
- Replacing the AT fluid and its filter
- Replacing the rocker arm shafts
- Replacing the crankshaft oil seals, removing and installing the drive plate
- Replacing the air filter element
- Checking the engine oil pressure
- Checking the engine with a vacuum gauge
21 more
- Checking the compression pressure
- Checking the condition of the auxiliary drive belt
- Disassembling and assembling the cylinder block
- Removing and installing the cylinder heads
- Removing and installing the PCV valve
- Removing and installing the cylinder head covers
- Removing and installing the timing belt covers.112
- Removing and installing the timing chain cover
- Removing and installing the oil cooler
- Removing and installing the oil pump
- Removing and installing the lower engine compartment protective covers
- Removing and installing the powertrain mounts
- Removing and installing the engine compartment front crossmember
- Removing and installing the engine oil pan
- Removing and installing the camshaft
- Removing and installing the A/C expansion valve
- Removing and installing the timing belt, its tensioner and the sprockets
- Removing and installing the A/C receiver-drier
- Removing and installing the timing chain, its tensioner and the crankshaft sprocket
- Removing and installing the timing drive chain, its tensioner and sprockets
- Removing and installing the crankshaft pulley
Suspension & steering22
- Checking the condition of and replacing the wiper blades; adjusting the wiper arms
- Checking the condition of the suspension and steering components
- Disassembling and assembling the suspension strut
- Adjusting the seats, steering column and pedal assembly
- Removing and installing the shock absorber
- Removing and installing the upper arm
- Removing and installing the wheel hub assembly carrier
- Removing and installing the steering column covers
14 more
- Removing and installing the power steering fluid pump
- Removing and installing the lower suspension arm
- Removing and installing the steering knuckle
- Removing and installing the trailing arm
- Removing and installing the spring
- Removing and installing the power steering fluid cooler
- Removing and installing the power steering fluid reservoir
- Removing and installing the steering gear and tie rod ends
- Removing and installing the steering column
- Removing and installing the camber adjustment arm and the tension arm
- Removing and installing the anti-roll bar
- Removing and installing the suspension strut
- Removing/installing and adjusting the selector lever lock cable
- Part B: Rear suspension
Electrical29
- Diagnosing faults in the on-board electrical system
- Replacing the climate control unit
- Replacing the instrument cluster
- Replacing the fuses
- Replacing the spark plugs, removing and installing the ignition coils
- Replacing the starter motor
- Replacing the Tempostat
- Checking the parking assist system
21 more
- Removing and installing the battery and its holder
- Removing and installing the flap actuators
- Removing and installing the audio and navigation system
- Removing and installing the headlight assembly and replacing its bulbs and other components
- Removing and installing the alternator
- Removing and installing the engine oil pressure sensor (variant)
- Removing and installing the refrigerant pressure sensor
- Removing and installing the sunload sensor
- Removing and installing the evaporator temperature sensor
- Removing and installing the knock sensors
- Removing and installing the horn
- Removing and installing the parking assist system components
- Removing and installing the A/C condenser
- Removing and installing the control modules
- Removing and installing the instrument panel
- Removing and installing the lighting control switches
- Removing and installing other lighting units, replacing their bulbs
- Removing and installing the HVAC blower resistor/module
- Removing and installing the headlight washer nozzles
- Removing and installing the clock, replacing the clock illumination bulbs
- Removing and installing the airbag components
Fuel system6
Body & glass18
- Diagnosing the heating and air conditioning systems
- Disassembling and assembling the heater unit
- Removing and installing the side doors and their components
- Removing and installing the roof rack
- Removing and installing the upper spoiler (Wagon models)
- Removing and installing the air ducts
- Removing and installing the tailgate and its components (Wagon models)
- Removing and installing the deflectors
10 more
- Removing and installing the rear bumper and its cover
- Removing and installing the hood and its related components
- Removing and installing the window regulator control and drive components
- Removing and installing the sunroof panel and its components
- Removing and installing the outer rear-view mirror assemblies, replacing the mirrors
- Removing and installing the lower side molding
- Removing and installing the windshield cowl
- Removing and installing the windshield wiper mechanism assembly
- Removing and installing the windscreen wiper motor
- Removing and installing the rear wiper motor (Wagon models)
Brakes12
- Replacing the brake fluid and bleeding the brake system
- Replacing the brake pads (except SRT8 models)
- Replacing the brake pads (SRT8 models)
- Checking the brake system
- Removing and installing the brake vacuum booster
- Removing and installing the ABS sensors
- Removing and installing the parking brake pedal
- Removing and installing the brake pedal and the brake light switch
Transmission9
- Replacing the rear differential oil
- Replacing the transfer case oil
- Checking and correcting the ATF level, replacing the ATF and its filter
- Removing and installing the rear propeller shaft
- Removing and installing the front propeller shaft (AWD models)
- Removing and installing the rear wheel driveshafts
- Removing and installing the front wheel driveshafts
- Removing and installing the ATF cooler
Cooling system8
- Replacing the coolant
- Removing and installing the HVAC blower
- Removing and installing the intake manifolds
- Removing and installing the air conditioning evaporator
- Removing and installing the A/C compressor
- Removing and installing the heater core
- Removing and installing the expansion tank
- Removing and installing the thermostat
Exhaust system6
- Checking the condition of the exhaust system
- Removing and installing the exhaust manifolds
- Removing and installing the oxygen sensors
- Removing and installing the muffler and resonator assembly
- Removing and installing the exhaust gas recirculation system
- Removing and installing the resonator assembly (V8 models)
Interior8
- Replacing the HVAC cabin filter
- Seat belts
- Removing and installing the rear seat components
- Removing and installing the console between the front seats
- Removing and installing the interior trim panels
- Removing and installing the front seats and their components
- Removing and installing the interior rear-view mirror
- Removing and installing the AT selector assembly in the passenger compartment
Need a job that isn't listed? A full repair manual for the Chrysler 300C II generation (2011-2023) covers every system: wiring diagrams, torque specs, step-by-step photos.
Find a repair manual →Need a part? Search Amazon for Chrysler 300C II generation (2011-2023) parts: filters, brakes, sensors, belts. Check the fit for your year and engine before you buy.
Find parts on Amazon →Chrysler 300C II generation (2011-2023) repair manuals
6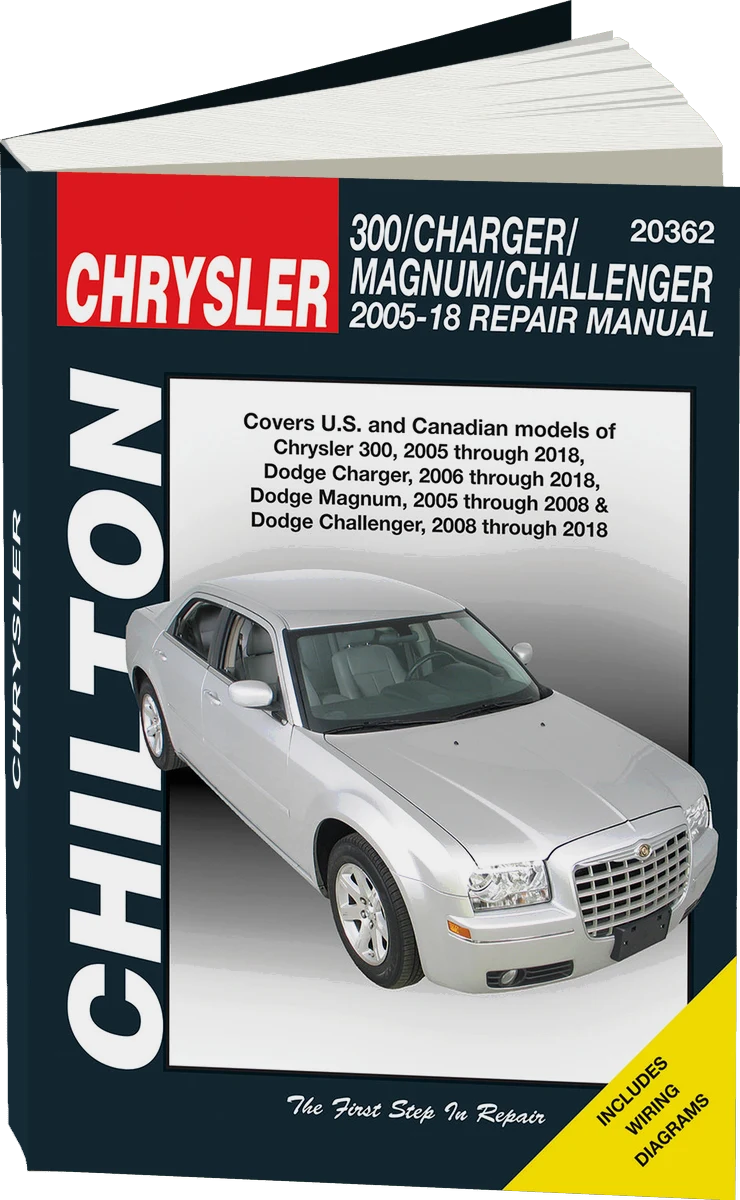
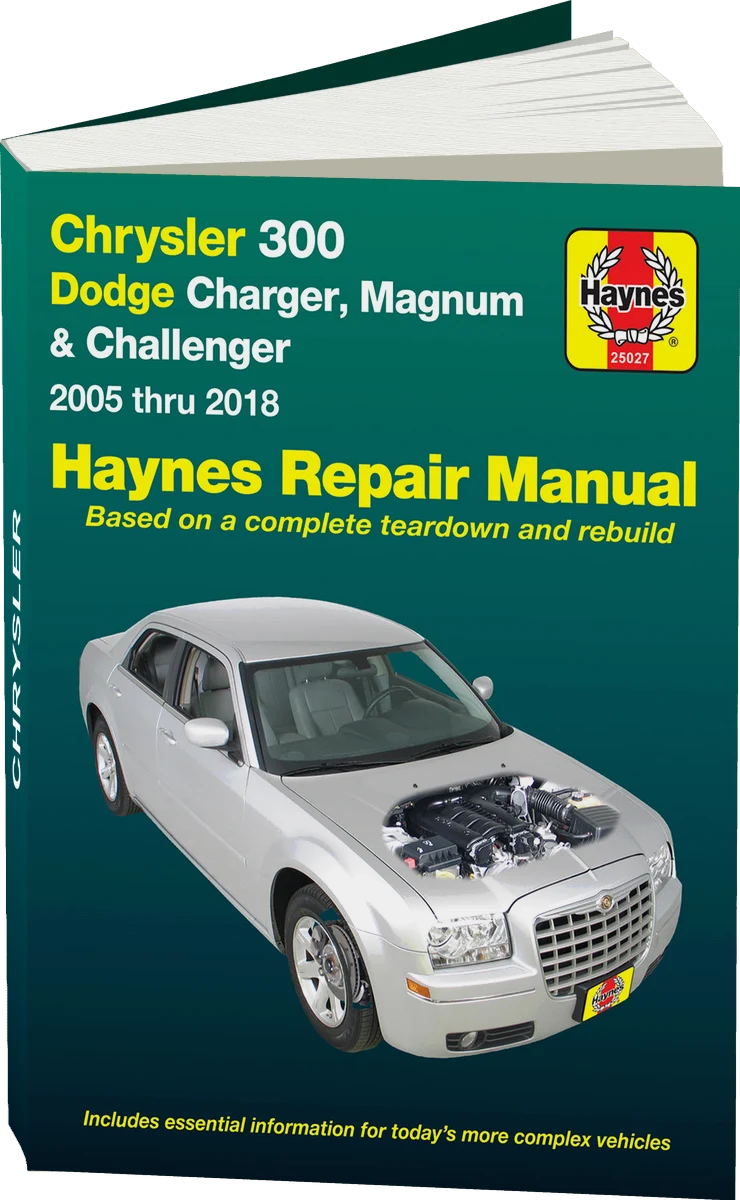
Chrysler 300 (05-18), Dodge Charger (06-18), Magnum (05-08) & Challenger (08-18) Haynes Repair Manual
US edition · print
$47.45
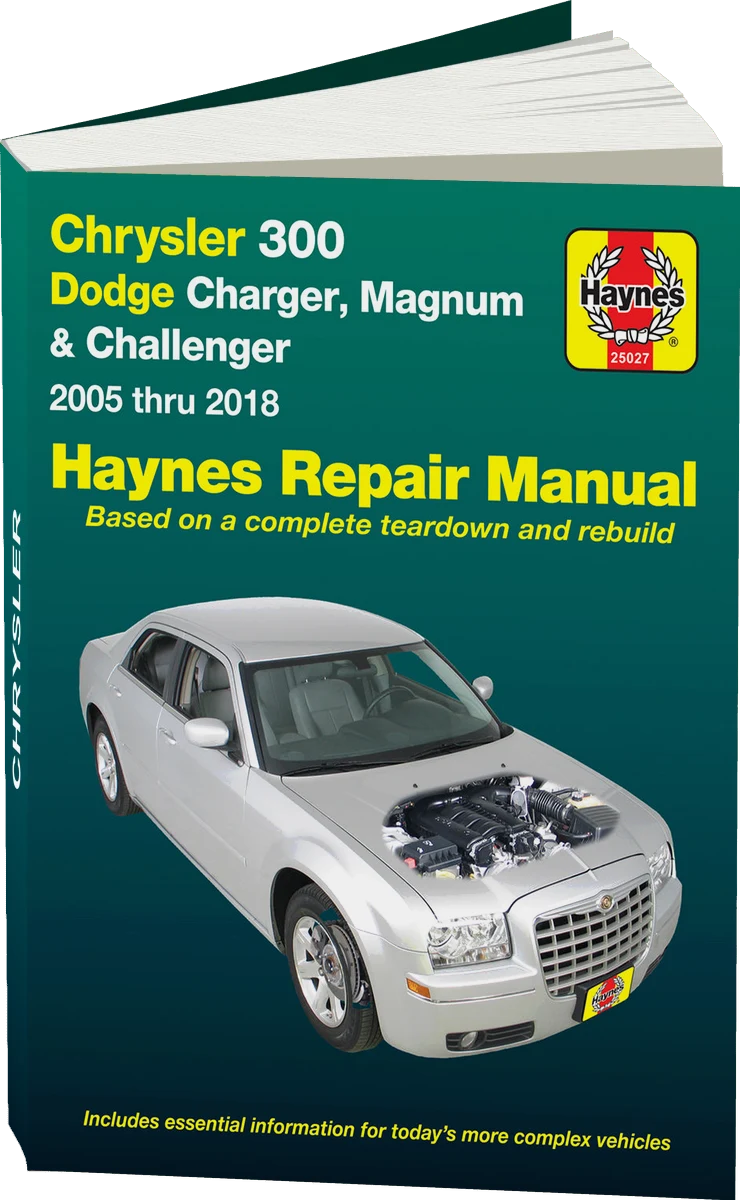
Chrysler 300 (2005-2018), Dodge Charger (2006-2018) & Magnum (2005-2008) Haynes Repair Manual (USA)
UK edition · print
£35.99


Chrysler 300 /300C (LX) 2011 to 2023 Haynes Online Diagnostics & Service Guide
UK edition · online access
£28.79

Chrysler 300 /300C (LE, LD) 2004 to 2011 Haynes Online Diagnostics & Service Guide
UK edition · online access
£28.79
Manuals are written for specific model years — check that the years match your car. Prices are set by the seller.
Our articles
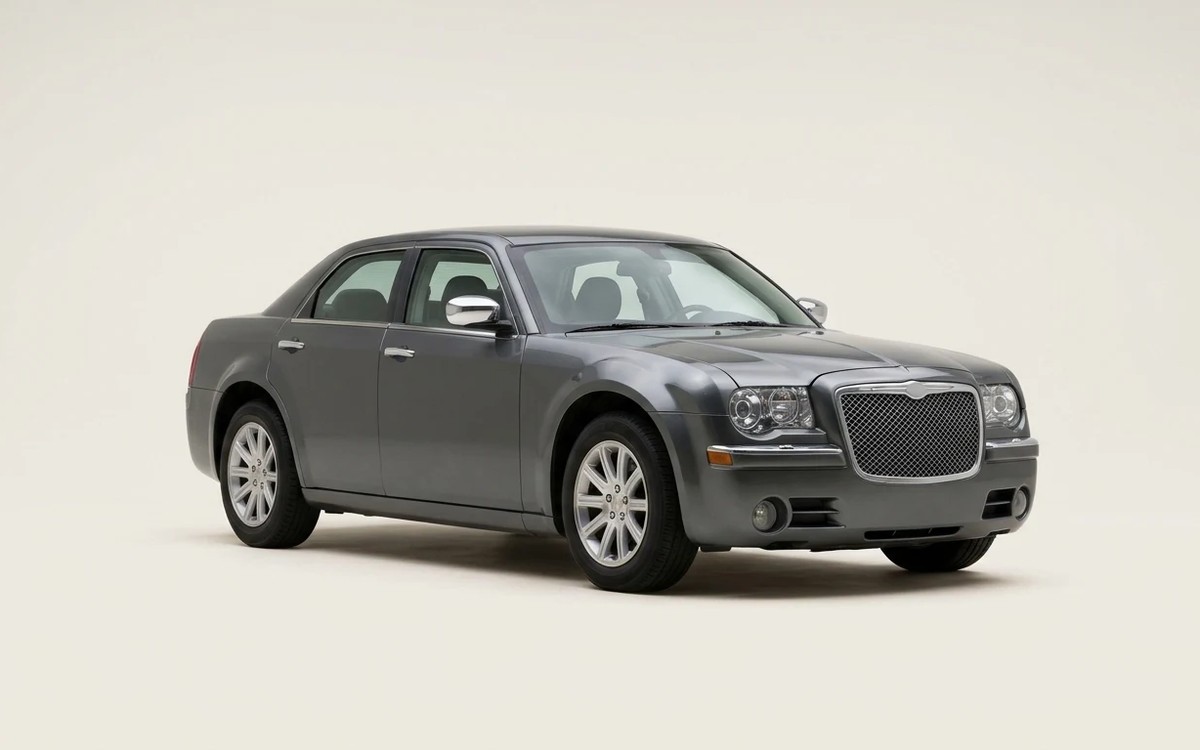 Brand stories
The History of the Chrysler Brand
Chrysler Corporation is an American automaker that builds vehicles in a range of categories, along with components and…
Read →
 Garage
Fuel Quality Indicators: What Octane and Cetane Numbers Mean
What is an octane number? What about a cetane number? Which fuel should you choose for a high-compression engine?…
Read →
 Before you buy
How to Pick Up Your Car from the Dealership the Right Way
If you've decided to buy a car from a dealership, it isn't enough to simply choose a model you like, pay for it, and…
Read →