Autopapyrus · Honda Accord 1.8 F18B (2000)
https://autopapyrus.com/catalog/honda/accord/guides/coolant-antifreeze-replacement/
https://autopapyrus.com/catalog/honda/accord/guides/coolant-antifreeze-replacement/
Compiled automatically from service literature and owner experience. Specs are for the typical configuration — check them against your exact car before you start.
Honda Accord 1.8 F18B (2000): Coolant Replacement
On the Accord VI with the F18B engine, the coolant is replaced per the maintenance schedule about every 48,000 km or every 24 months. It drains through the drain plug at the bottom of the radiator, and the remaining coolant is removed from the engine block. After refilling, you must bleed the air out of the system. Work only on a completely cold engine.
Key figures
- Mixture ratioprotection down to about -30 °C (-22 °F), mixed before filling (step 15)50% coolant and 50% water (50 to 70% coolant is acceptable)
- System capacitybuy 6-7 L (6.3-7.4 qt) of mixture to have a reserve, and check the final level against the marks (steps 16-17, 22)about 5.7-5.8 L (6.0-6.1 qt)
- Replacement intervalwhichever comes first, per the factory scheduleevery 48,000 km or 24 months
- Thermostat opening temperaturethis tells you the engine has warmed up and the coolant is flowing through the main loop (step 18)about 79 °C starts to open, 91 °C fully open
Check these values against the manufacturer’s specification for your vehicle before you start.
Parts
4| № | Part | Alternatives |
|---|---|---|
| 01 | Long-life ethylene glycol coolant, Honda-compatible (concentrate or premixed)Find on Amazon → | AlternativesHondaIdemitsuTotal |
| 02 | Distilled waterfor diluting the concentrateFind on Amazon → | |
| 03 | Radiator drain plug with sealif neededFind on Amazon → | |
| 04 | Hose clampsif neededFind on Amazon → |
Amazon links search by the part name; use Amazon's fit check for your car before ordering. We may earn a commission from qualifying purchases.
Tools
6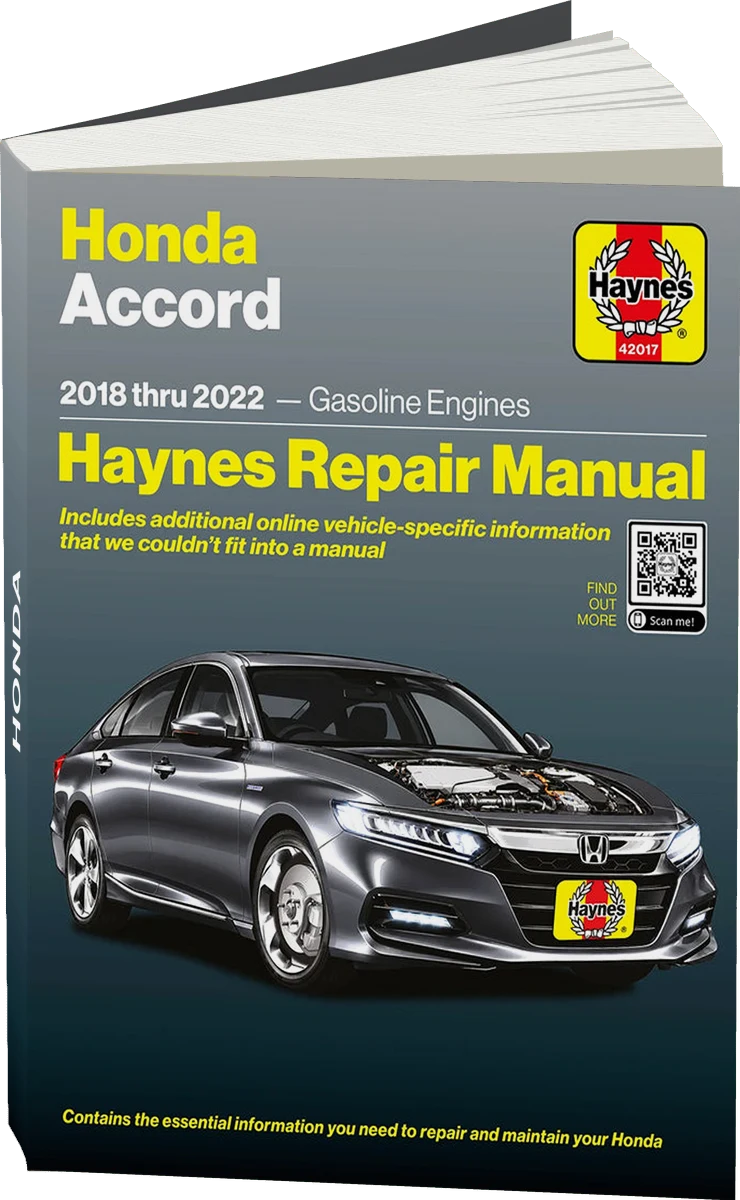 There's a full repair manual for this car
Every system, wiring diagrams and torque specs — not just this job. Haynes and 18 more.
See manuals →
Step by step
23 steps · 5 stagesStage 1 of 5 Preparation 4 steps
- Park the car on level ground, set the parking brake, and chock the wheels. Wait until the engine has cooled completely (several hours after driving). A hot pressurized system will scald you.
- Open the hood and find the radiator cap and the coolant reservoir cap.
- Turn the ignition on without starting the engine and set the heater control to maximum heat. This opens the heater valve so the coolant drains from the heater core. Turn the ignition off.
- Remove the lower engine splash shield if one is installed, and place the drain pan under the radiator.
Stage 2 of 5 Draining 5 steps
- Remove the radiator cap, then the coolant reservoir cap.
- Remove the drain plug at the bottom of the radiator. If the plug is seized or missing, remove the lower radiator hose and drain the coolant through it.
- When the radiator is empty, drain the remaining coolant from the lower part of the engine block (through the removed lower hose, or through the drain bolt on the block if there is one). If you remove the block bolt, apply non-hardening thread sealant to the threads when reinstalling and tighten it to the manufacturer's specification (the torque for this bolt is in the factory torque table).
- While the coolant drains, disconnect the reservoir hose, remove the reservoir, rinse it out, and clean the level marks.
- Inspect the radiator and heater hoses and the clamps. Replace any hoses that are cracked, swollen, or wet.
Stage 3 of 5 Flushing 4 steps
- Reinstall the lower hose and tighten the radiator drain plug (hand-tight plus a small extra turn, without overtightening: the plastic radiator tank breaks easily).
- Fill the radiator with distilled water, start the engine with the radiator cap off, and warm it up until the thermostat opens (the upper hose becomes hot). Then shut the engine off and drain the water. Repeat until clean water comes out of the radiator.
- For heavy deposits, use a chemical cooling system cleaner according to the manufacturer's instructions. With regular coolant changes, this is usually not needed.
- If the radiator is badly clogged, remove it and take it to a shop for flushing.
Stage 4 of 5 Refilling 4 steps
- Reinstall the coolant reservoir, connect all the hoses, tighten the clamps, and close all drain points.
- Prepare the mixture: ethylene glycol coolant with soft (distilled) water. The coolant share should be at least 50% and no more than 70%. A 50/50 mix is typical (protection down to about -30 °C (-22 °F)).
- Leave the heater control at maximum heat. Slowly pour the mixture into the radiator up to the bottom edge of the filler neck.
- Fill the coolant reservoir to the FULL (COLD) mark. Wait 5 minutes and check the level in the radiator, topping it up if needed.
Stage 5 of 5 Air bleeding and check 6 steps
- Do not install the radiator cap yet. Start the engine and warm it up until the thermostat opens (according to factory data it starts to open at about 79 °C and is fully open at 91 °C). The level in the filler neck will drop and the upper hose will become hot.
- Shut the engine off and let it cool. Top up the coolant in the radiator to the bottom edge of the filler neck.
- Squeeze the upper hose lightly by hand to push out air pockets. If needed, add a little coolant and close the radiator cap.
- Set the heater temperature and fan controls to maximum, start the engine, and warm it up to operating temperature. Check for leaks at the plug, hoses, and reservoir, and make sure the heater blows hot air.
- After the engine cools, check the level in the coolant reservoir (between the marks) and top up if needed. Check the level again after a few days of driving.
- Dispose of the old coolant at a collection point. It is toxic, so do not pour it on the ground or down a drain.
Common mistakes and warnings
- Do not open the radiator cap on a hot engine: the release of steam and boiling coolant causes severe burns. Coolant is toxic and dangerous to animals (it tastes sweet), so store and drain it in a way that no one can drink it. The factory capacity of the cooling system for 4-cylinder Accords of this generation is given only approximately (about 5.7-5.8 L (6.0-6.1 qt)), so go by the reservoir marks and the radiator filler neck, and keep a reserve of about 6-7 L (6.3-7.4 qt) of mixture. Check the exact tightening torques for the drain plugs and block bolts against the manufacturer's specifications.
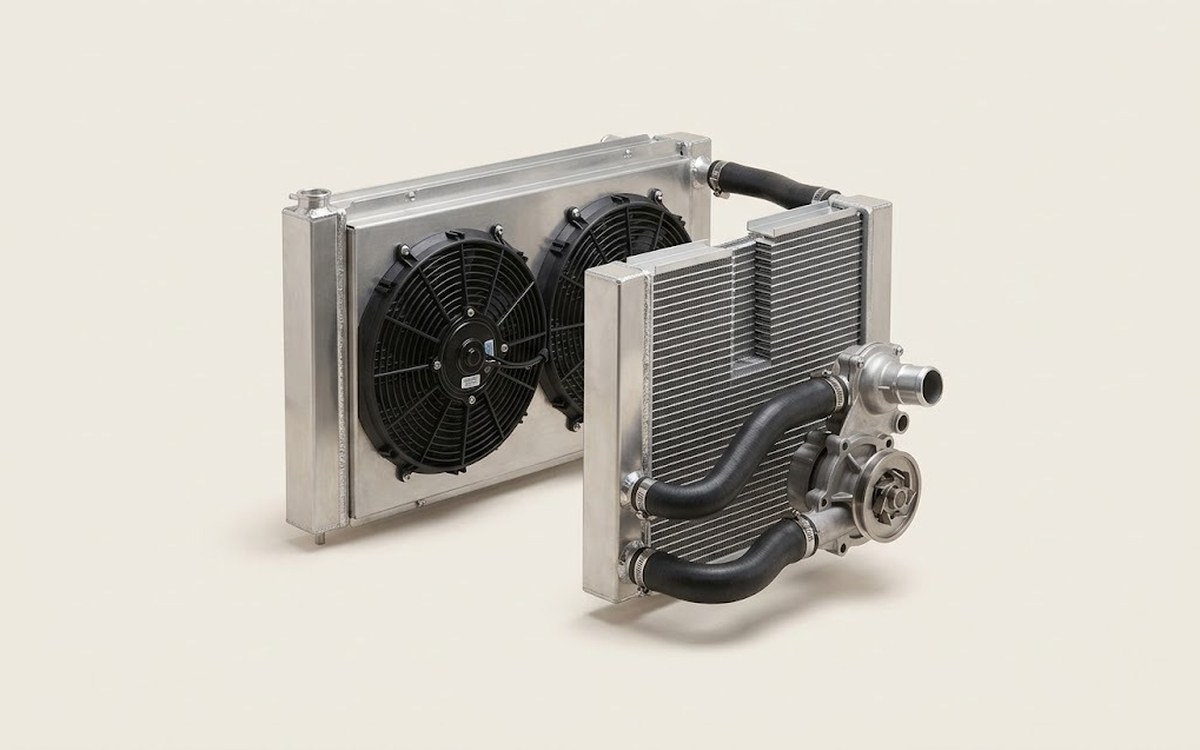 How it works · 3D
How the Engine Cooling System Works
How the part you're working on actually works — in plain English, on a 3D model.
Open in 3D →
Spotted a mistake? Tell us →
Our articles
 Brand stories
The History of Honda
The founder of the famous company, Japanese entrepreneur Soichiro Honda, was born in 1906 into the family of a poor…
Read →
 Garage
Fuel Quality Indicators: What Octane and Cetane Numbers Mean
What is an octane number? What about a cetane number? Which fuel should you choose for a high-compression engine?…
Read →
 Before you buy
How to Pick Up Your Car from the Dealership the Right Way
If you've decided to buy a car from a dealership, it isn't enough to simply choose a model you like, pay for it, and…
Read →