Autopapyrus · Honda Civic (8th generation, FK/FN)
https://autopapyrus.com/catalog/honda/civic/guides/front-brake-pad-replacement/
https://autopapyrus.com/catalog/honda/civic/guides/front-brake-pad-replacement/
Compiled automatically from service literature and owner experience. Specs are for the typical configuration — check them against your exact car before you start.
Honda Civic (8th generation, FK/FN): Front Brake Pad Replacement
On the Civic VIII, the front caliper is a floating type. It is attached to the bracket with two 12 mm bolts, and the bracket is attached to the steering knuckle with two 17 mm bolts. Pads are replaced as a set per axle. While you are at it, clean and lubricate the guide pins. Brakes are a safety system: if you lack experience, it is better to leave the job to a repair shop.
Key figures
- Caliper bracket bolt torqueabout 108 N·m (80 lb-ft), 17 mm socket with torque wrench, step 10
- Caliper guide pin bolt torqueabout 34 N·m (25 lb-ft), 12 mm socket, step 12
- Lug nut torqueabout 108 N·m (80 lb-ft), 19 mm wrench, crisscross pattern, step 13
- Minimum pad thickness2-3 mm of friction material; replace pads if thinner (step 7)
Check these values against the manufacturer’s specification for your vehicle before you start.
Parts
3| № | Part | Alternatives |
|---|---|---|
| 01 | Front brake pads, axle set (282 mm discs, Civic VIII 1.8 i-VTEC)1 set per axleFind on Amazon → | AlternativesBremboAteTextarBosch |
| 02 | Brake pad retaining clipsif neededFind on Amazon → | |
| 03 | Caliper guide pin bootsif neededFind on Amazon → |
Amazon links search by the part name; use Amazon's fit check for your car before ordering. We may earn a commission from qualifying purchases.
Tools
13- jack Amazon →
- two jack stands Amazon →
- wheel chocks Amazon →
- lug wrench or 19 mm socket Amazon →
- 12 mm socket (caliper guide pin bolts) Amazon →
- 17 mm socket (caliper bracket bolts) Amazon →
- torque wrench Amazon →
- pry bar or C-clamp (or a brake piston compression tool) Amazon →
- wire brush Amazon →
- brake cleaner Amazon →
- high-temperature caliper grease Amazon →
- copper anti-seize grease Amazon →
- wire or cord for hanging the caliper Amazon →
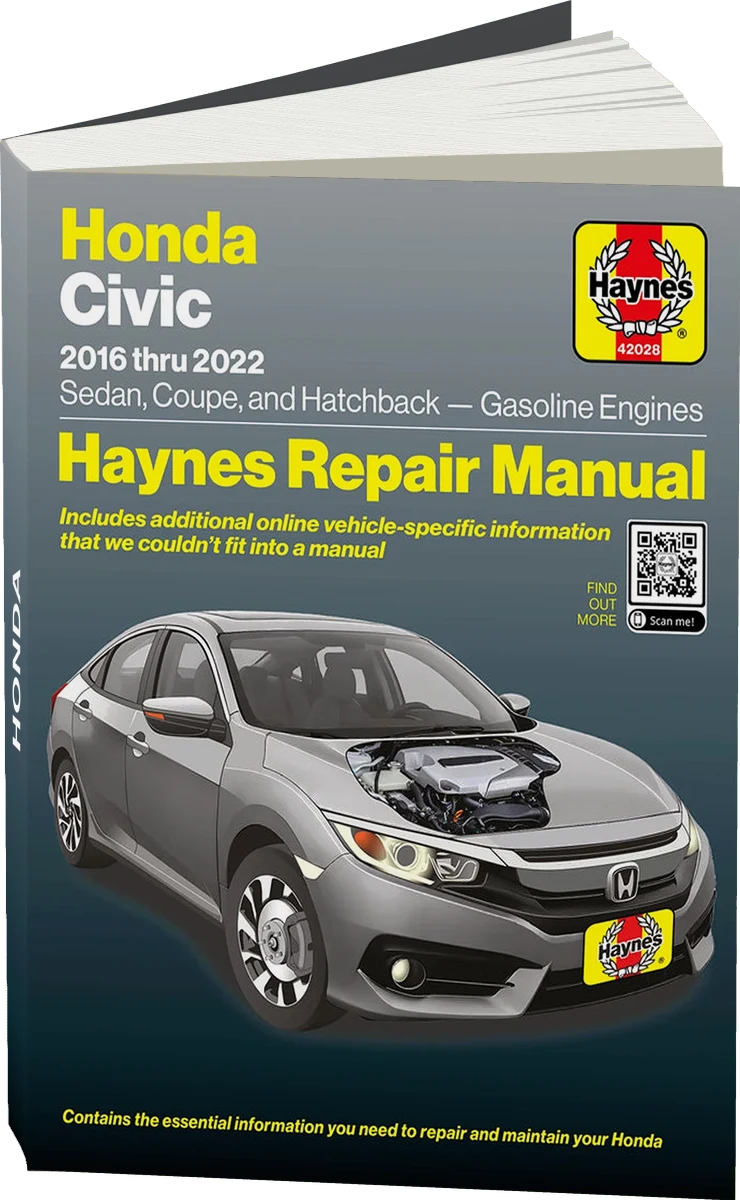 There's a full repair manual for this car
Every system, wiring diagrams and torque specs — not just this job. Haynes and 31 more.
See manuals →
Step by step
16 steps- Park the car on level ground, set the parking brake, and chock the rear wheels. Slightly loosen the lug nuts (five nuts, 19 mm wrench).
- Raise the front of the car with the jack, set it on jack stands, and remove the wheel. Jack stands are mandatory. Never work under a car supported only by a jack.
- Open the hood and check the brake fluid level in the reservoir. The level will rise as you push the piston back. If it is at "MAX", remove some fluid with a syringe.
- Carefully push the caliper piston back into the cylinder with a pry bar or C-clamp.
- Remove the two caliper guide pin bolts (12 mm socket). Lift the caliper and hang it with wire from the spring or a suspension arm. The brake hose must not be stretched; the caliper must not hang from it.
- Remove the old pads from the bracket. Note how the pads and clips are positioned: on the inner pad, the wear indicator faces down. Remove the old pad retaining clips (hardware).
- Inspect the rotor. If it has deep grooves, heavy wear, or a raised lip, replace the rotors along with the pads. The minimum pad friction material thickness is 2-3 mm. Check the minimum allowable rotor thickness against the figure stamped on the rotor edge or in the manufacturer's specifications.
- To clean and lubricate the guide pins, remove the bracket (two 17 mm bolts). Pull out the guide pins together with their boots. Note which hole holds the pin with the damping insert. Clean the bores with a wire brush and brake cleaner, inspect the boots, and replace any that are torn.
- Apply high-temperature caliper grease to the bores, pins, and boots. Install the new retaining clips in their seats on the bracket.
- Reinstall the bracket and tighten the two 17 mm bolts to about 108 N·m (80 lb-ft).
- Install the new pads. Apply a thin layer of grease to the metal part of the piston and to the pad "ears" (the tabs that slide in the bracket). Apply copper grease to the pad backing plates and anti-noise shims. No grease may get on the pad friction surface or the rotor. Wipe the rotor with brake cleaner.
- Lower the caliper over the pads and tighten the two guide pin bolts (12 mm socket) to about 34 N·m (25 lb-ft).
- Mount the wheel, snug the lug nuts in a crisscross pattern, lower the car, and tighten the nuts to about 108 N·m (80 lb-ft), also in a crisscross pattern.
- Repeat everything on the other wheel. Pads are always replaced on both sides of the same axle.
- Before driving off, pump the brake pedal several times until it feels firm; at first it will sink to the floor. Check the fluid level and top it up to the mark if necessary.
- Take a test drive at low speed and check braking. Carefully bed in the new pads over the first 200 km (about 125 miles), avoiding hard braking from high speed.
Common mistakes and warnings
- The brake system is critical for safety
- If you lack experience, or if the pedal stays soft after the job, the car pulls to one side, or you hear unusual noises, do not drive on the road and take the car to a repair shop
- Do not breathe brake dust, and treat the assembly with brake cleaner
- Do not let grease get on the rotor or the pad friction material
 How it works · 3D
How Car Brakes Work
How the part you're working on actually works — in plain English, on a 3D model.
Open in 3D →
Spotted a mistake? Tell us →
Our articles
 Brand stories
The History of Honda
The founder of the famous company, Japanese entrepreneur Soichiro Honda, was born in 1906 into the family of a poor…
Read →
 Garage
Fuel Quality Indicators: What Octane and Cetane Numbers Mean
What is an octane number? What about a cetane number? Which fuel should you choose for a high-compression engine?…
Read →
 Before you buy
How to Pick Up Your Car from the Dealership the Right Way
If you've decided to buy a car from a dealership, it isn't enough to simply choose a model you like, pay for it, and…
Read →