Autopapyrus · Honda Stream 1.7 D17A (2000)
https://autopapyrus.com/catalog/honda/stream/guides/coolant-replacement/
https://autopapyrus.com/catalog/honda/stream/guides/coolant-replacement/
Compiled automatically from service literature and owner experience. Specs are for the typical configuration — check them against your exact car before you start.
Honda Stream 1.7 D17A (2000): Coolant Replacement
The coolant is replaced by fully draining the radiator and refilling with a 50/50 mix. The key to the job is not leaving any air pockets: after filling, warm up the engine with the filler neck open and top off the coolant. The D17A cooling system capacity is roughly 6-7 L (6.3-7.4 qt). Check the exact value against the manufacturer's specification.
Key figures
- Antifreeze to water ratio50/50. Use this ratio of concentrate to distilled water if you do not have a premixed solution (step 8)
Check these values against the manufacturer’s specification for your vehicle before you start.
Diagram: where the radiator drain cock is and how to place the container
Tap to enlarge
- 1Radiator cap on the top tank: remove it so air can enter the system. Only on a cold engine.
- 2Drain cock at the bottom center of the radiator: open it slowly with pliers or a wrench and wait until it drains fully.
- 3Radiator hose: a landmark, check it for leaks after refilling.
- 4Drain container: place it under the cock, then dispose of the old coolant, do not pour it on the ground.
Parts
5| № | Part |
|---|---|
| 01 | Honda Long Life Coolant Type 2 (HOAT, silicate-free), premixed 50/50or concentrate with distilled waterFind on Amazon → |
| 02 | Honda Long Life Coolant Type 2 concentrate (HOAT, silicate-free)if not using premixedFind on Amazon → |
| 03 | Distilled waterfor diluting the concentrateFind on Amazon → |
| 04 | Radiator capif neededFind on Amazon → |
| 05 | Drain bolt washersif needed, newFind on Amazon → |
Amazon links search by the part name; use Amazon's fit check for your car before ordering. We may earn a commission from qualifying purchases.
Tools
6 There's a full repair manual for this car
Every system, wiring diagrams and torque specs — not just this job. Haynes AutoFix (online).
See manuals →
Step by step
13 steps- Park the vehicle on a level surface and let the engine cool down completely. Do not open a hot system: pressurized coolant causes burns.
- Turn the ignition on, set the cabin heater to maximum heat (temperature control at the "hot" position), and turn the ignition off. This lets coolant drain from the heater core as well.
- Place the drain pan under the radiator. The drain valve is on the bottom center of the radiator. Access it through the opening in the under-body shield or splash guard below the bumper. You do not need to remove the bumper.
- Remove the radiator cap so air can enter the system.
- Slowly unscrew the valve with pliers or a wrench. Wait until it has drained completely.
- If your engine has a drain bolt on the cylinder block, drain through it as well. A new washer is required. Tighten to the manufacturer's specified torque.
- Close the valve. Dispose of the old coolant properly and do not pour it on the ground: it is toxic.
- Prepare a 50/50 mix of antifreeze and distilled water if you do not have a premixed solution.
- If there is an air bleed bolt on the hose or thermostat housing, loosen it. Tighten it as soon as a steady stream of coolant without bubbles comes out.
- Pour coolant through the funnel into the radiator filler neck until it reaches about the bottom edge of the neck. Top off the expansion tank to the MAX mark.
- With the radiator cap off, start the engine with the cabin heater on maximum. Let it warm up until the thermostat opens and the fan turns on. Watch the level and add coolant as the air escapes.
- Shut off the engine and let it cool. Check the level in the radiator and in the tank, and top off if needed. Install the radiator cap.
- Inspect the valve, bolts and hoses for leaks. Check the tank level for several days after the replacement.
Common mistakes and warnings
- Do not open the radiator filler neck on a hot engine
- Use only coolant suitable for aluminum engines, and do not mix different types of antifreeze
- If the level drops after the replacement, bubbles appear, or the temperature gauge climbs, have the system checked for leaks and air at a repair shop
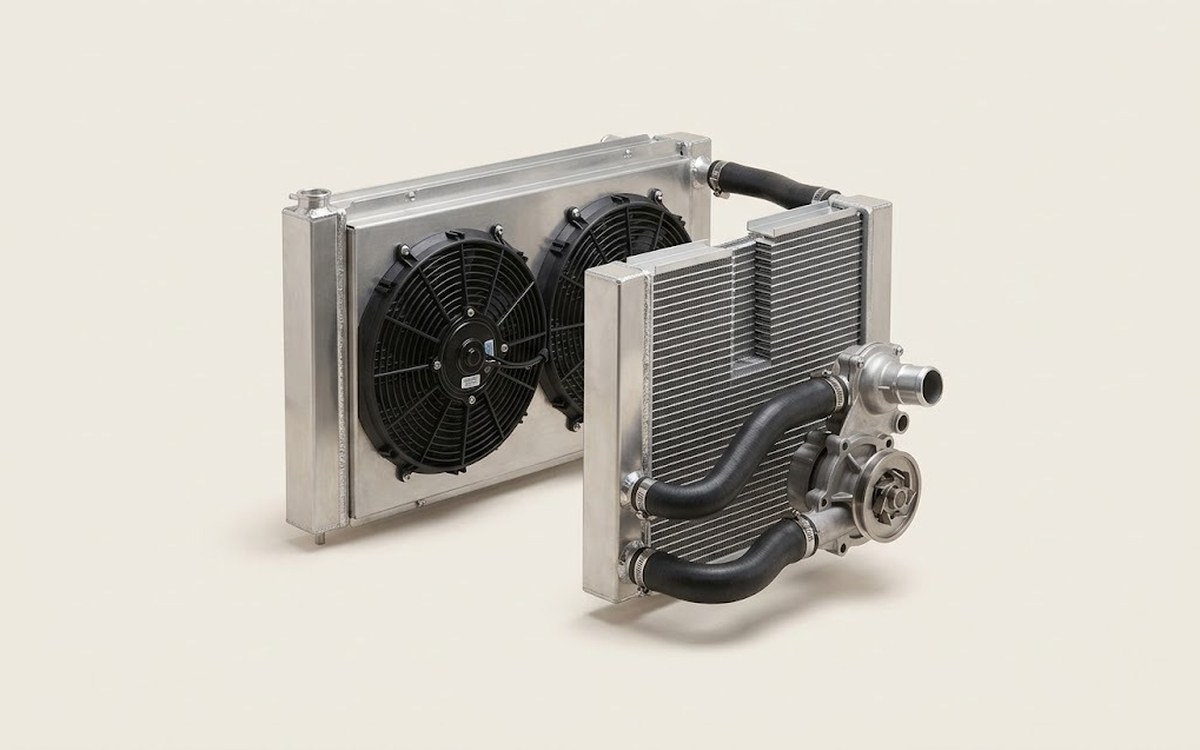 How it works · 3D
How the Engine Cooling System Works
How the part you're working on actually works — in plain English, on a 3D model.
Open in 3D →
Spotted a mistake? Tell us →
Our articles
 Brand stories
The History of Honda
The founder of the famous company, Japanese entrepreneur Soichiro Honda, was born in 1906 into the family of a poor…
Read →
 Garage
Fuel Quality Indicators: What Octane and Cetane Numbers Mean
What is an octane number? What about a cetane number? Which fuel should you choose for a high-compression engine?…
Read →
 Before you buy
How to Pick Up Your Car from the Dealership the Right Way
If you've decided to buy a car from a dealership, it isn't enough to simply choose a model you like, pay for it, and…
Read →