Autopapyrus · Hyundai Solaris I (RB) (Accent) 1.4/1.6 (2013)
https://autopapyrus.com/catalog/hyundai/solaris/guides/front-control-arm-bushing-replacement/
https://autopapyrus.com/catalog/hyundai/solaris/guides/front-control-arm-bushing-replacement/
Compiled automatically from service literature and owner experience. Specs are for the typical configuration — check them against your exact car before you start.
Hyundai Solaris I (RB) (Accent) 1.4/1.6 (2013): Front Control Arm Bushing Replacement
The Solaris lower front control arm bushings work together with the arm, which can be removed and taken to a shop for bushing pressing. Signs of wear: knocking and clunking over bumps, steering pull when braking, uneven tire wear. This guide covers the front lower control arms. The rear subframe (beam) bushings are replaced using a different procedure. The torque values below are approximate: check the exact values against the manufacturer's specifications.
Diagram: where the bushing sits in the lower arm and how the new one goes in
Tap to enlarge
- 1Removed lower arm: clean with a wire brush, check for cracks and bends, replace a bent or cracked arm.
- 2Bushing seat: clean off rust and burrs before pressing.
- 3Old bushing: press it out; chisel or carefully burn out stuck rubber.
- 4Hole in the arm: a landmark on the arm next to the bushing.
- 5New bushing: lubricate with silicone grease or soapy water and press in straight, force only on the outer shell.
Parts
3| № | Part | Alternatives |
|---|---|---|
| 01 | Front lower control arm bushing, front (small)1 per arm, both sides (left and right)Find on Amazon → | AlternativesCTRTrialliRBI |
| 02 | Front lower control arm bushing, rear (large)1 per arm, both sides (left and right)Find on Amazon → | AlternativesCTRTrialliRBI |
| 03 | Arm-to-subframe mounting boltsif threads or head are damagedFind on Amazon → |
Amazon links search by the part name; use Amazon's fit check for your car before ordering. We may earn a commission from qualifying purchases.
Tools
11- Jack and jack stands Amazon →
- lug wrench Amazon →
- socket and wrench set (12-22 mm) Amazon →
- torque wrench Amazon →
- ball joint separator or hammer with a pry bar Amazon →
- pry bar Amazon →
- press or clamp with drivers (mandrels) Amazon →
- air chisel or gas torch for burning out old rubber (as needed) Amazon →
- penetrating oil Amazon →
- wire brush Amazon →
- press-fit lubricant (silicone grease or soapy water) Amazon →
Step by step
28 steps · 5 stagesStage 1 of 5 Diagnosis and preparation 6 steps
- Park the car on level ground, put it in first gear, and place wheel chocks behind the rear wheels. Loosen the front wheel lug nuts half a turn.
- Lift the front of the car, place jack stands under the body, and remove the wheel.
- Check the condition of the bushings: cracks, extruded or separated rubber, and any shift of the inner sleeve relative to the outer one. Use a pry bar between the arm and the subframe to check for play.
- Liberally apply penetrating oil to the threads of the arm mounting bolts, the ball joint nut, and the sway bar mounting hardware. Let it sit for 10-15 minutes.
- If the plastic engine undercover is in the way, remove it (depends on trim level).
- Take photos of the arm position and the marks on the bolts, especially the bolt orientation (head toward the wheel or toward the center). Everything must go back the same way during assembly.
Stage 2 of 5 Arm removal 5 steps
- Unscrew the nut securing the sway bar link to the arm, holding the link's stud with a hex key, and move the link aside.
- Unscrew the ball joint nut (holding the stud with a hex key), and press the stud out of the steering knuckle with a separator or by tapping lightly with a hammer on the knuckle eye.
- Remove the bolt securing the rear (large) bushing of the arm to the body or subframe.
- Remove the bolt of the front (small) bushing from the subframe. Support the arm so it does not fall.
- Remove the arm downward and forward, moving the steering knuckle outward slightly if necessary. Do not pull on the driveshaft or bend the CV joint boot.
Stage 3 of 5 Bushing replacement 6 steps
- Clean the arm with a wire brush and inspect it for cracks and deformation. Replace a bent or cracked arm as a whole.
- Note and mark with a marker the position of the old bushings (the marks and orientation of the large bushing relative to the arm).
- Press out the old bushings on a press using a driver of the correct diameter. If a bushing has seized, cut the rubber out with an air chisel or carefully burn it out, without overheating the metal of the arm. Small bushings are often removed this way.
- Clean the seats of corrosion and burrs. If desired, treat the arm with rust converter and paint it, letting the paint dry.
- Lubricate the outer surface of the new bushings with silicone grease or soapy water (do not use mineral oils or gasoline, as they destroy rubber).
- Press in the new bushings evenly, applying force only to the outer sleeve, and align them using the marks made in step 13. The bushing must not protrude at an angle.
Stage 4 of 5 Reassembly 6 steps
- Install the arm in place and insert the ball joint stud into the knuckle.
- Insert the arm bushing bolts in their original orientation and thread the nuts on, but do not fully tighten them yet.
- Tighten the ball joint nut to approximately 70-110 N·m (52-81 lb-ft) (exact value per the manufacturer's specifications), and secure it with a new cotter pin if the design uses one.
- Reconnect the sway bar link and tighten the nut to approximately 40-60 N·m (30-44 lb-ft), holding the stud with a hex key.
- Repeat steps 3-21 on the other side.
- Install the wheel, thread on the lug nuts, and lower the car to the ground.
Stage 5 of 5 Final tightening and check 5 steps
- With the car on its wheels (arms under load), tighten the arm bushing bolts with a torque wrench to approximately 100-140 N·m (74-103 lb-ft) (exact value per the manufacturer's specifications). Tightening with the suspension unloaded twists the rubber and quickly ruins new bushings.
- Tighten the lug nuts in a crisscross pattern to approximately 90-110 N·m (66-81 lb-ft) (exact value per the manufacturer's specifications).
- Reinstall the engine undercover if you removed it.
- Take a test drive of 5-10 km on an uneven road: check for knocking, and the steering wheel should sit straight.
- Re-check the fasteners after 100-200 km and be sure to get a wheel alignment: the angles always change after replacing the bushings.
Common mistakes and warnings
- The suspension is a safety-critical assembly
- If you lack experience and a press, leave the bushing pressing and tightening to a professional
- An incorrectly tightened or under-tightened arm or ball joint can lead to loss of control
- Do not use damaged mounting bolts, and do not tighten the bushings with the wheels hanging in the air
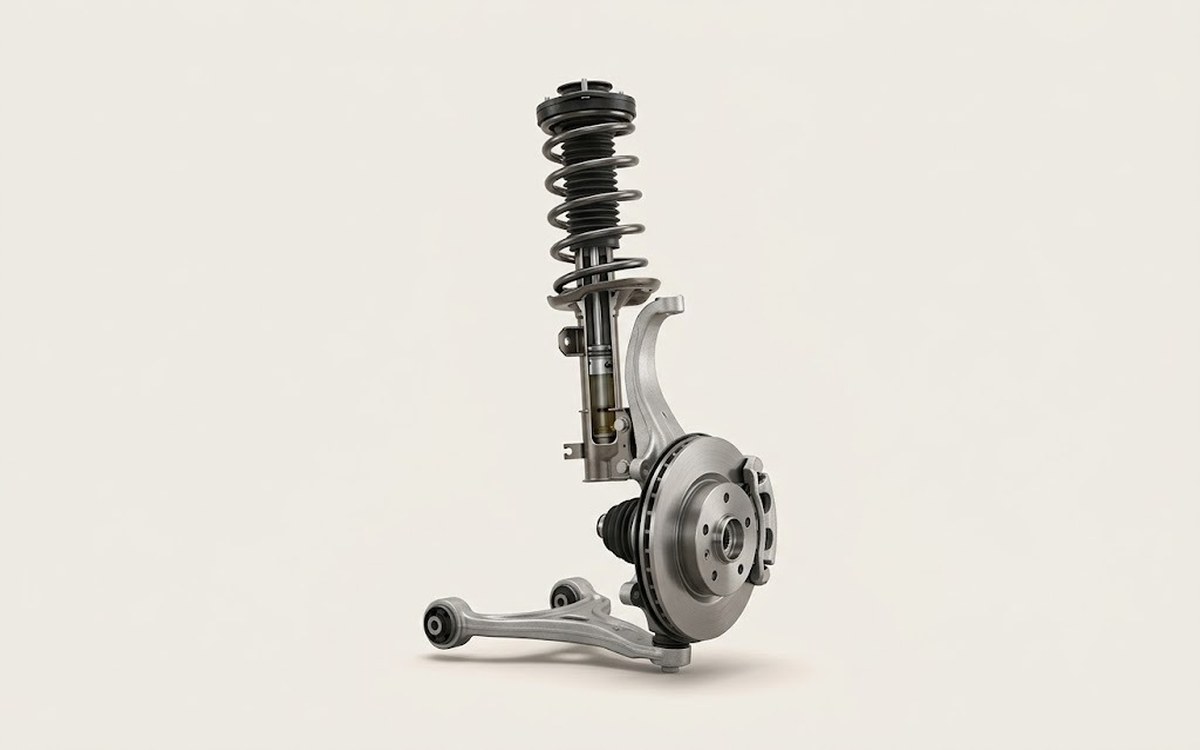 How it works · 3D
How Car Suspension Works
How the part you're working on actually works — in plain English, on a 3D model.
Open in 3D →
Spotted a mistake? Tell us →
Our articles
 Brand stories
The History of Hyundai
Hyundai Motor Company, whose name means "modernity" in Korean, is South Korea's largest automaker and one of the top…
Read →
 Garage
Fuel Quality Indicators: What Octane and Cetane Numbers Mean
What is an octane number? What about a cetane number? Which fuel should you choose for a high-compression engine?…
Read →
 Before you buy
How to Pick Up Your Car from the Dealership the Right Way
If you've decided to buy a car from a dealership, it isn't enough to simply choose a model you like, pay for it, and…
Read →