Autopapyrus · Haval F7 (1st generation)
https://autopapyrus.com/catalog/haval/f7/guides/rear-lower-control-arm-replacement/
https://autopapyrus.com/catalog/haval/f7/guides/rear-lower-control-arm-replacement/
Compiled automatically from service literature and owner experience. Specs are for the typical configuration — check them against your exact car before you start.
Haval F7 (1st generation): Rear Lower Control Arm Replacement
The lower control arm of the Haval F7's rear multi-link suspension is replaced when it is bent after an impact, torn, or when the bushings are crumbling. Signs of wear include knocking and a "floating" rear end over bumps, uneven tire wear, and the car pulling during braking. The exact procedure for this model is not published in open service materials, so the general procedure for a rear multi-link suspension is given below. Check the tightening torques against the manufacturer's specifications.
Parts
3| № | Part |
|---|---|
| 01 | Rear lower control arm with bushings, completeleft or right, depending on the side being replacedFind on Amazon → |
| 02 | Rear control arm mounting bolts and nutsif single-use or heavily corrodedFind on Amazon → |
| 03 | Rear lower control arm bushingsif needed, when replacing only the bushings (pressed in with a press)Find on Amazon → |
Amazon links search by the part name; use Amazon's fit check for your car before ordering. We may earn a commission from qualifying purchases.
Tools
10- Lift or pit (or jack and jack stands) Amazon →
- wheel chocks Amazon →
- sockets and open-end wrenches (sizes depend on the bolts, usually 17-21 mm) Amazon →
- ratchet with a long breaker bar Amazon →
- torque wrench Amazon →
- pry bar Amazon →
- penetrating oil (WD-40) Amazon →
- wire brush Amazon →
- marker Amazon →
- jack to support the hub or arm Amazon →
Step by step
13 steps- Park the car on level ground and apply the parking brake (if you are working on the rear axle, chock the front wheels). Loosen the wheel nuts on the side you are working on by half a turn.
- Raise the rear of the car, place it on jack stands, and remove the wheel. Do not work under a car that is supported only by a jack.
- Inspect the arm and clean the bolt threads with a wire brush. Apply plenty of penetrating oil and let it soak for 10-15 minutes, because control arm bolts often seize.
- Use a marker to mark the position of the eccentric washers or adjusting bolts, if the arm has them. This will help you return the toe and camber angles close to their original values.
- Place a jack under the hub or steering knuckle and support it lightly, so that when the bolts are removed the arm and hub do not sag and stretch the brake hose and the ABS sensor. The brake hose must not be stretched.
- Remove the nut and drive out the bolt that secures the arm to the body or subframe, then remove the nut and bolt that secure it to the steering knuckle or hub. Hold the arm so it does not fall. Carefully drive out a seized bolt with a hammer and a drift, without damaging the threads.
- Remove the arm. Compare it with the new one for length, shape, and bushing locations: the left and right arms may differ.
- Install the new arm. Insert the bolts, thread the nuts on by hand, but do not tighten them fully.
- Important: the arm mounting nuts must be tightened only under load, with the car standing on its wheels (or with the suspension jacked up under the hub to its normal ride position). If you tighten them with the suspension hanging, the bushings will be twisted and will tear quickly.
- Install the wheel and tighten the nuts in a crisscross pattern. The approximate torque for the wheel nuts is 110-130 N·m (81-96 lb-ft); check the exact value in the specifications.
- Lower the car, bounce the body, and tighten the arm bolts with a torque wrench to the torque given in the specifications (for control arms in this class, usually 100-150 N·m (74-111 lb-ft); check the exact value against the specifications).
- Check that the brake hose and the ABS sensor wire are not stretched and do not rub against the arm. Take a test drive and then check the tightness again.
- After replacing the arm, be sure to get a wheel alignment: the bushings and the geometry of the new arm shift the rear wheel angles.
Common mistakes and warnings
- The rear suspension affects handling and safety
- If you have no experience working on suspensions, or you don't have a lift and a torque wrench, leave the job to a repair shop
- Do not tighten the arm bolts with the wheels hanging, and be sure to check the wheel alignment after replacement
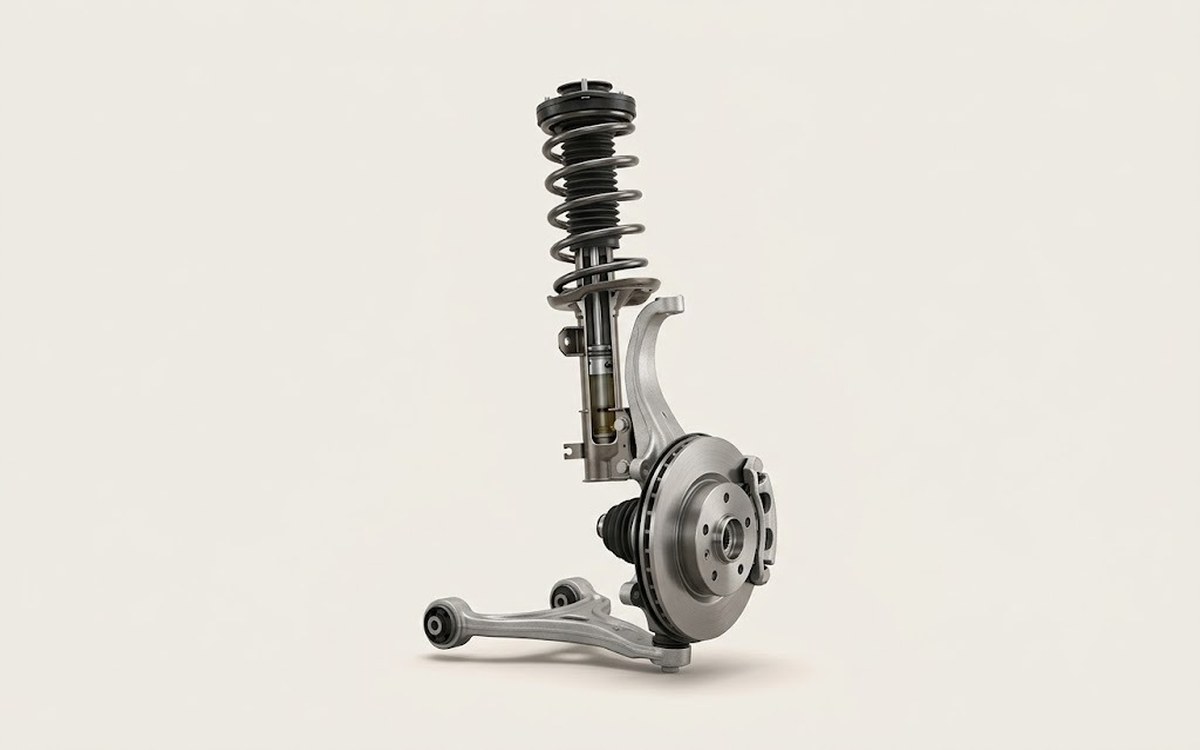 How it works · 3D
How Car Suspension Works
How the part you're working on actually works — in plain English, on a 3D model.
Open in 3D →
Spotted a mistake? Tell us →
Our articles
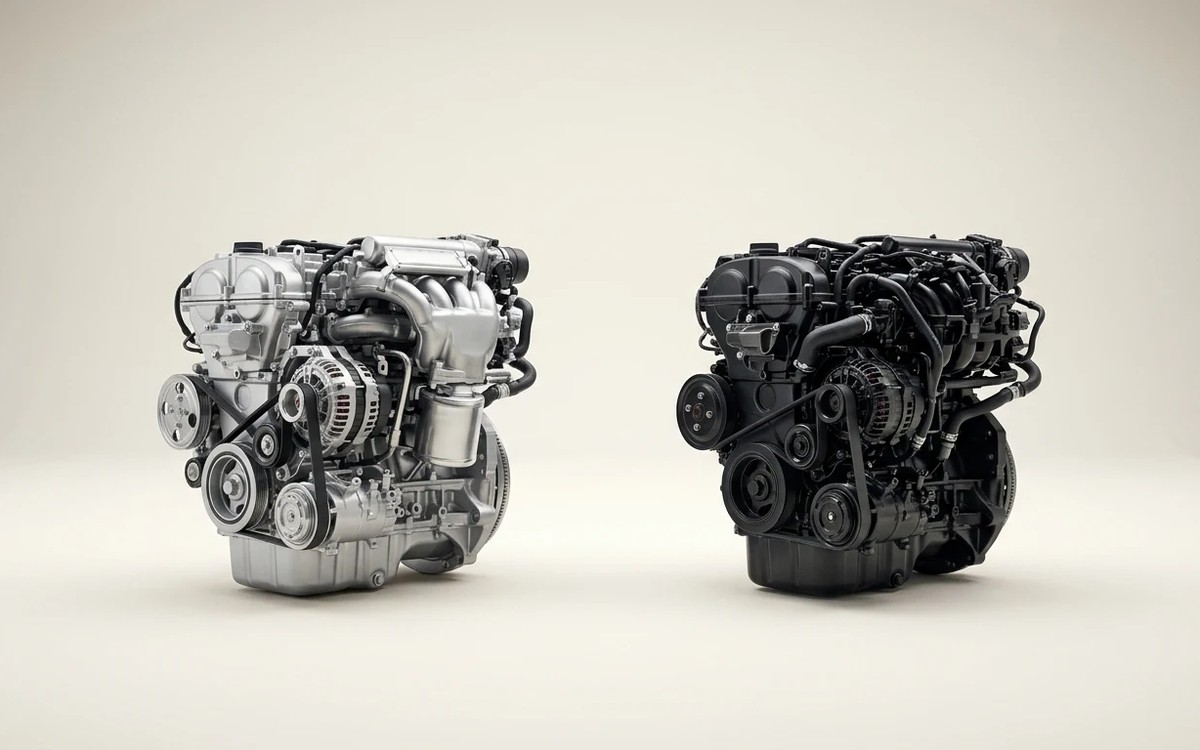 Before you buy
German Turbo Engines vs. Chinese Ones: Which Lasts Longer? An Honest Look at Engine Life
Volkswagen 1.4 and 2.0 TSI, BMW N20 and Mercedes M274 versus Haval, Chery and Geely engines: lifespan benchmarks…
Read →
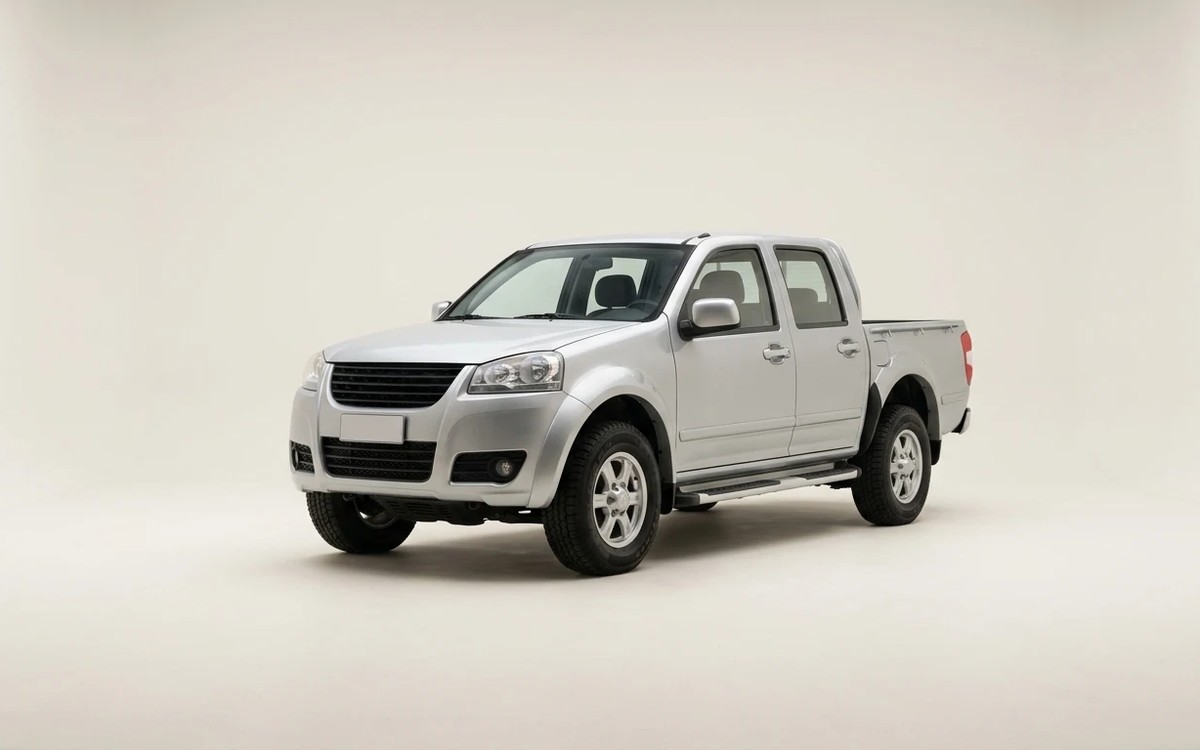 Brand stories
The History of Great Wall Motors
Great Wall Motors Ltd. has been one of China's largest automakers since 1995. It is essentially a holding company that…
Read →
 Garage
Fuel Quality Indicators: What Octane and Cetane Numbers Mean
What is an octane number? What about a cetane number? Which fuel should you choose for a high-compression engine?…
Read →