https://autopapyrus.com/catalog/haval/f7/guides/cylinder-block-sleeving/
Haval F7 1.5 Turbo GW4B15A (2024): Cylinder Block Sleeving
Sleeving is needed when the cylinder walls have deep scoring, cracks, or wear that cannot be removed by boring to an oversize piston. The GW4B15A block is aluminum, with a 76 mm cylinder bore and an 82.6 mm piston stroke. This work can only be done in a machine shop: it cannot be done at home. The exact procedure for this engine (type of factory sleeves, seat dimensions, repair sizes) is not published in open service materials, so the general principle is given below. Check the details against the manufacturer's specifications and the recommendations of the shop that will bore the block.
Key figures
- Cylinder bore76 mm. Measure with a bore gauge and compare with the size after the block is machined (steps 1 and 8)
- Piston stroke82.6 mm. Useful when selecting pistons and checking the crankshaft (steps 10 and 11)
- Engine oil capacity4.0 L (4.2 qt). Fill this amount after assembly, then check the level on the dipstick (step 12)
Check these values against the manufacturer’s specification for your vehicle before you start.
Parts
8| № | Part |
|---|---|
| 01 | Cylinder sleeve set for GW4B15A block (repair size, thin-wall, cast iron)Find on Amazon → |
| 02 | Pistons with rings for new cylinder bore sizeset for all cylindersFind on Amazon → |
| 03 | Engine gasket set (head gasket, oil pan gasket, crankshaft seals)Find on Amazon → |
| 04 | Cylinder head boltsnew, not reusableFind on Amazon → |
| 05 | Crankshaft bearingssize selected from measurementsFind on Amazon → |
| 06 | Engine oil 0W-304.0 L (4.2 qt)Find on Amazon → |
| 07 | Oil filterFind on Amazon → |
| 08 | CoolantFind on Amazon → |
Amazon links search by the part name; use Amazon's fit check for your car before ordering. We may earn a commission from qualifying purchases.
Tools
9Step by step
14 steps- Decide whether sleeving is needed. Remove the cylinder head and inspect the cylinders. Measure the diameter of each cylinder with a bore gauge at three levels and in two planes (along and across the crankshaft axis). If wear or scoring is outside the tolerance and the block is not cracked, sleeving is possible. If the block is cracked, replace the whole block.
- Prepare the vehicle. Disconnect the negative battery terminal, drain the coolant and engine oil, and remove the underbody shield, air ducts, intercooler, and turbocharger pipes. Attach the lifting equipment.
- Remove the ancillaries: alternator, A/C compressor, exhaust manifold with turbocharger, fuel rail, ignition coils, and intake manifold. Disconnect the wiring harnesses and label the connectors.
- Remove the powertrain together with the transmission, or separate the transmission and lift the engine out either upward or downward (the method depends on the configuration: DCT, drive type). Mount the engine on a stand.
- Disassemble the engine: remove the timing chain and phasers, cylinder head, oil pan, oil pump, connecting rod caps and main bearing caps, crankshaft, and pistons with connecting rods. Lay out the caps and bearings strictly in order so they don't get mixed up.
- Clean the block thoroughly, clear the oil passages, and remove the passage plugs. Check the block for cracks (pressure test or crack detection), the cylinder head mating surface for warpage, and the main bearing seats.
- Send the block to the machine shop. The cylinders are bored to the sleeve seat diameter. The sleeves are pressed in with an interference fit to the size specified by the sleeve kit manufacturer. The exact interference and temperature procedure (chilling the sleeve, heating the block) are determined by the machine shop for the chosen sleeve type.
- After pressing in the sleeves, bore and hone the block to the size of the new pistons, with a clearance based on the piston manufacturer's data. Maintain the honing cross-hatch angle and surface roughness, because they affect oil consumption and ring break-in.
- Chamfer the bores, wash the block with a hot solution and a brush, blow out the oil passages, and coat the block with oil to prevent corrosion. The block must be clean: abrasive dust from honing destroys rings and bearings.
- Check the crankshaft (measure the journals) and select bearings based on the clearances. Check the cylinder head surface for warpage and resurface it if needed.
- Assemble the engine: install the pistons and connecting rods with new rings (stagger the ring gaps around the circumference), crankshaft, caps, oil pump, oil pan, timing chain aligned to the marks, new head gasket, and new head bolts. Take the tightening torques and sequences (main and rod caps, cylinder head bolts, chain covers) from the manufacturer's specifications, as they are not confirmed in open sources for this engine. Tighten with a torque wrench in several stages, working from the center outward.
- Install the engine in the vehicle in reverse order, reconnect the transmission, ancillaries, and harnesses. Fill with new 0W-30 oil and coolant, then bleed the cooling system.
- First start: crank the engine with the starter without ignition until oil pressure appears (if possible), then start it and check for leaks and fault codes. Warm the engine up to operating temperature and check that the cooling fan turns on.
- Break-in: for the first 1,000-1,500 km, avoid high rpm and sudden loads, and do not tow. Monitor the oil level. Change the oil and filter after the first 1,000-1,500 km to flush out break-in debris.
Common mistakes and warnings
- Sleeving an aluminum block from a turbocharged direct-injection (GDI) engine without machine shop equipment and experience usually ends in cylinder distortion or loss of sleeve interference fit
- If you lack experience, leave the work to an engine machine shop
- The normal alternative to sleeving for cracks or severe block wear is replacing the cylinder block assembly or fitting a used or remanufactured engine
- When servicing the powertrain, remove and tighten components only according to the manufacturer's specifications, especially the cylinder head bolts and crankshaft caps
Spotted a mistake? Tell us →
Our articles
 Before you buy
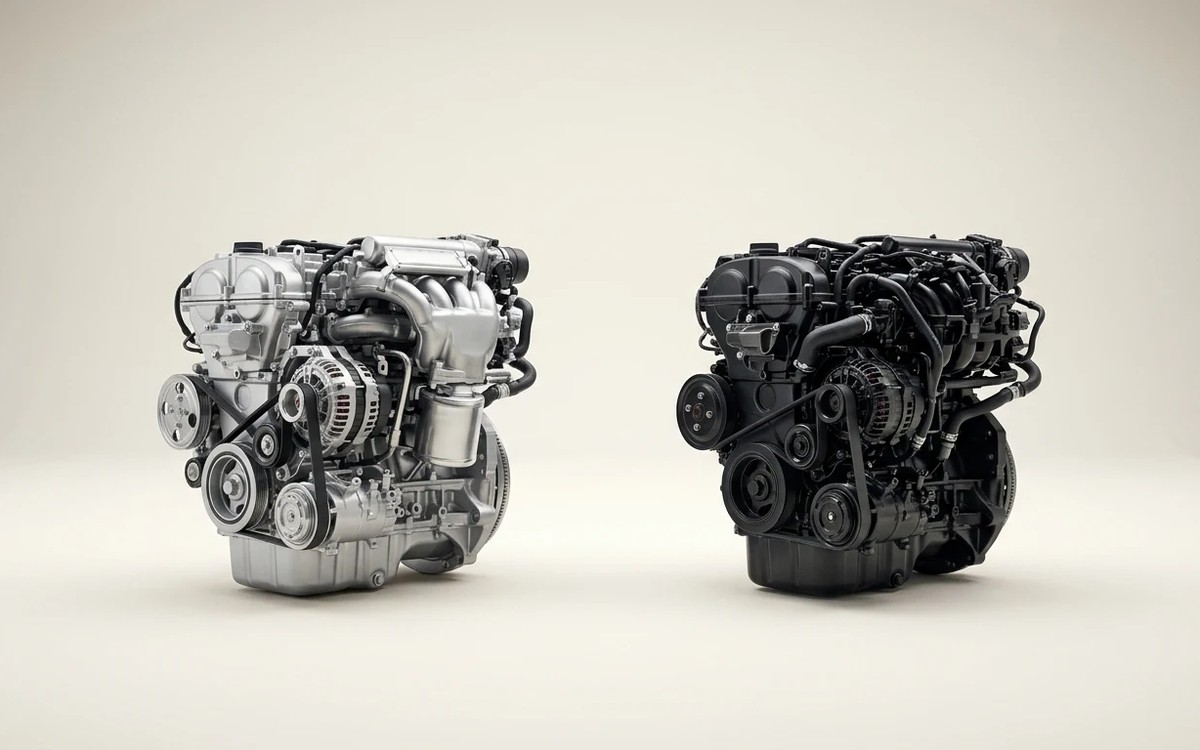
German Turbo Engines vs. Chinese Ones: Which Lasts Longer? An Honest Look at Engine Life
Volkswagen 1.4 and 2.0 TSI, BMW N20 and Mercedes M274 versus Haval, Chery and Geely engines: lifespan benchmarks…
Read →
 Brand stories
The History of Great Wall Motors
Great Wall Motors Ltd. has been one of China's largest automakers since 1995. It is essentially a holding company that…
Read →
 Garage
Fuel Quality Indicators: What Octane and Cetane Numbers Mean
What is an octane number? What about a cetane number? Which fuel should you choose for a high-compression engine?…
Read →