https://autopapyrus.com/catalog/haval/f7/guides/instrument-cluster-removal-and-installation/
Haval F7 (1st generation): Instrument Cluster Removal and Installation
The instrument cluster is mounted in a recess in the dashboard behind a decorative visor and connects through a single multi-pin connector. The exact procedure for this model and year is not documented in publicly available service materials, so what follows is the general principle for this layout. Check the locations of screws and clips as you go, and do not use excessive force.
Part
| № | Part |
|---|---|
| 01 | Haval F7 instrument cluster assemblyFind on Amazon → |
Amazon links search by the part name; use Amazon's fit check for your car before ordering. We may earn a commission from qualifying purchases.
Tools
6Read the codes yourself
A scanner plugged into the OBD2 port under the dashboard shows which fault codes the car has stored, before you buy any parts. Cars sold in the US from 1996, and petrol cars in Europe from 2001 (diesels from 2004), have this port.
- Basic code reader, about $20–40: reads and clears engine codes Amazon →
- Bluetooth scanner with a phone app, about $30–100: live sensor data, and on many cars ABS and airbag codes too Amazon →
Check that the scanner lists your make and model year before you buy. We may earn a commission from qualifying purchases.
Step by step
11 steps- Turn off the engine, put the vehicle in OFF mode, and disconnect the negative battery terminal. Wait 5-10 minutes to let the capacitors in the control modules discharge, including the airbag modules. Note that after reconnecting the battery, the clock, settings, and the one-touch window memory may reset.
- Set the steering wheel to its lowest position (whether the adjustment is electric or manual), and move the seat back for access.
- Remove the decorative cluster visor and any side trim panels that block access. Pry with a plastic trim tool along the edges, starting at a corner. First check for hidden screws in the recess or under the trim panels, and only then pull the clips free.
- If the visor covers the mounting screws, remove it, covering the steering wheel and dash with a cloth. Do not press on the display or the cluster glass.
- Remove the cluster mounting screws (usually 2-4, with a Phillips head or 8-10 mm head). Hold the cluster with your hand so it does not fall into the dash.
- Carefully pull the cluster out toward you by 5-10 cm. Do not pull on the wires.
- Disconnect the connector (or connectors): press the locking tab, slide or fold it back depending on the lock type, and pull off the connector housing. Do not rock it or damage the pins.
- Remove the instrument cluster. Check the recess for any dropped screws and clips.
- To install, plug in the connector until it clicks, seat the cluster in place, and tighten the screws without much force (the plastic mounting points strip easily; as a guide, snug until they stop, without overtightening). Then install the visor and trim panels onto their clips.
- Reconnect the battery and switch on the ignition. Wait for the self-test: the warning lights should come on and go out, and the needles/display should work correctly. Check the fuel level and temperature gauges, the speedometer, the backlight, and make sure there are no error messages on the display.
- When installing a new or used cluster, adaptation may be required (mileage programming, pairing with the immobilizer/ECU). This procedure is done with diagnostic equipment at a repair shop. Simply reinstalling the original cluster does not require this pairing.
Common mistakes and warnings
- Work with the battery disconnected: airbag circuits run nearby, and a short circuit or discharge can cause errors or damage the electronics
- Do not press on the screen or touch the connector contacts with your fingers
- If you have no experience removing interior plastic trim, leave the job to a repair shop: fragile clips break easily, and the dash trim would then have to be replaced or glued
Spotted a mistake? Tell us →
Our articles
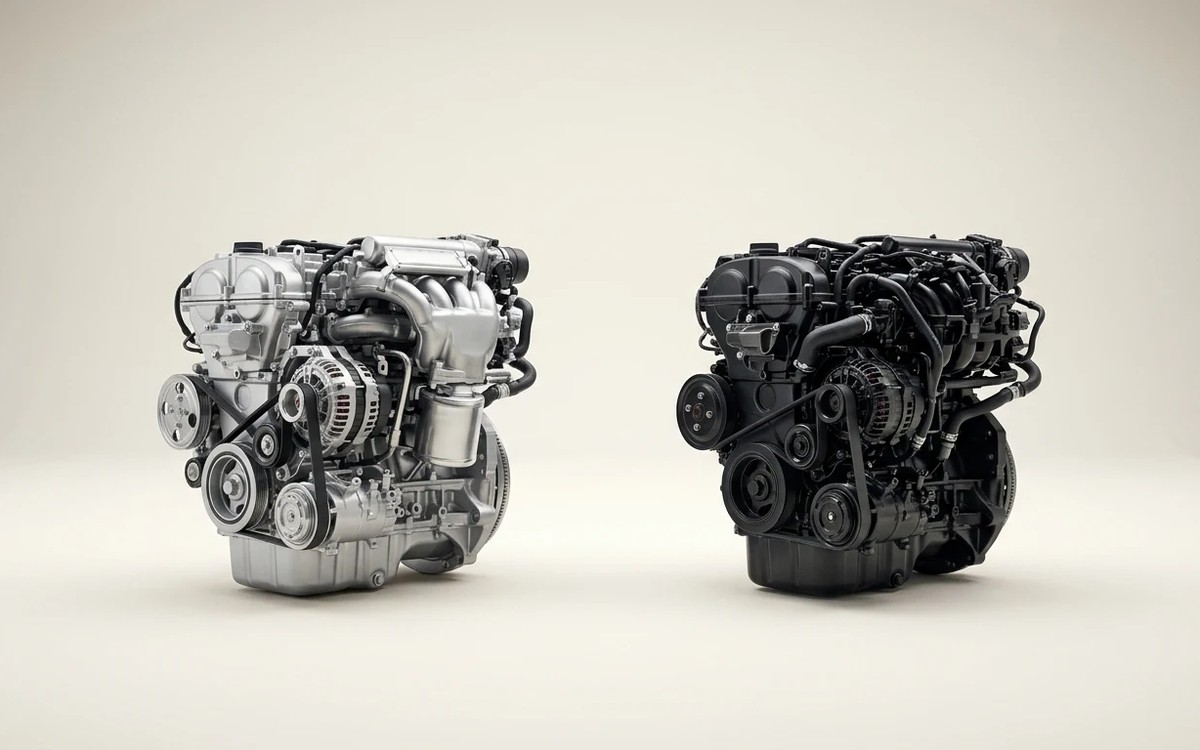 Before you buy
German Turbo Engines vs. Chinese Ones: Which Lasts Longer? An Honest Look at Engine Life
Volkswagen 1.4 and 2.0 TSI, BMW N20 and Mercedes M274 versus Haval, Chery and Geely engines: lifespan benchmarks…
Read →
 Brand stories
The History of Great Wall Motors
Great Wall Motors Ltd. has been one of China's largest automakers since 1995. It is essentially a holding company that…
Read →
 Garage
Fuel Quality Indicators: What Octane and Cetane Numbers Mean
What is an octane number? What about a cetane number? Which fuel should you choose for a high-compression engine?…
Read →