Autopapyrus · Land Rover Freelander 2.5 KV6 (2003)
https://autopapyrus.com/catalog/land-rover/freelander/guides/timing-belt-idler-pulleys-and-tensioner-replacement/
https://autopapyrus.com/catalog/land-rover/freelander/guides/timing-belt-idler-pulleys-and-tensioner-replacement/
Compiled automatically from service literature and owner experience. Specs are for the typical configuration — check them against your exact car before you start.
Land Rover Freelander 2.5 KV6 (2003): Timing Belt, Idler Pulleys and Tensioner Replacement
The timing belt on the 2.5 KV6 drives the camshafts and the water pump. A broken or skipped belt almost always ends in bent valves. The job requires timing locking tools: without them the timing cannot be set accurately. Replace the whole kit: belt, tensioner, pulleys and, as a rule, the water pump.
Parts
8| № | Part | Alternatives |
|---|---|---|
| 01 | Timing belt (2.5 KV6 timing kit)Find on Amazon → | AlternativesGatesDaycoSKFContitech |
| 02 | Hydraulic timing belt tensionerincluded in timing kitFind on Amazon → | AlternativesGatesDaycoSKFContitech |
| 03 | Timing belt tensioner pulleyincluded in timing kitFind on Amazon → | AlternativesGatesDaycoSKFContitech |
| 04 | Timing belt idler pulleysincluded in timing kitFind on Amazon → | AlternativesGatesDaycoSKFContitech |
| 05 | Water pump (driven by timing belt)replace at the same timeFind on Amazon → | |
| 06 | Crankshaft sealif neededFind on Amazon → | |
| 07 | Camshaft sealsif neededFind on Amazon → | |
| 08 | CoolantFind on Amazon → |
Amazon links search by the part name; use Amazon's fit check for your car before ordering. We may earn a commission from qualifying purchases.
Tools
8- KV6 engine timing tool set (tensioner locking pin and two camshaft locking tools) Amazon →
- crankshaft pulley holding tool Amazon →
- socket set and ratchet Amazon →
- torque wrench Amazon →
- jack and jack stands Amazon →
- coolant drain pan Amazon →
- press or vise to compress the tensioner rod Amazon →
- marker Amazon →
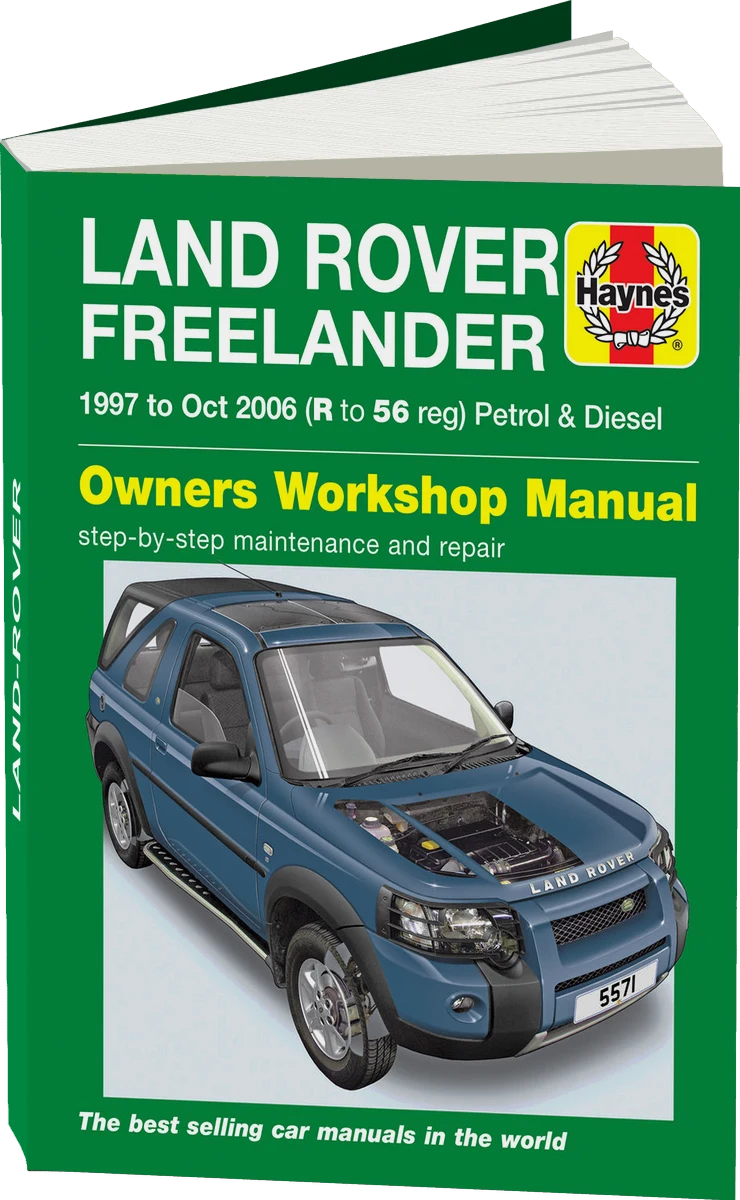 There's a full repair manual for this car
Every system, wiring diagrams and torque specs — not just this job. Haynes and 8 more.
See manuals →
Step by step
17 steps- Work on a cold engine. Disconnect the negative battery terminal. Raise the front of the vehicle and support it securely on jack stands, then remove the engine undertray.
- Drain the coolant. Remove the air intake and any hoses that get in the way, and the coolant expansion tank or its mounts as needed.
- Remove the accessory drive belt and its tensioner. Disconnect and move aside everything that blocks access to the timing covers (hoses, wiring harnesses, lines). Take photos of how everything is routed.
- Remove the right engine mount, or support the engine with a jack and a wooden block under the oil pan, to get access to the upper timing cover. Remove the upper and lower timing covers.
- Using the crankshaft pulley bolt, turn the crankshaft in its normal direction of rotation until the timing marks on the crankshaft pulley and at the camshafts line up. Install the camshaft locking tools in the slots. Never turn the engine backward.
- Hold the crankshaft pulley to keep it from turning and loosen its bolt. The tightening torque of this bolt is high; check the exact value in the manufacturer's service manual. Remove the crankshaft pulley, and the lower cover if it is still in place.
- If you plan to inspect the old belt, mark the direction of rotation on it with a marker. Release the tensioner, insert the rod locking pin if needed, and remove the belt.
- Remove the tensioner pulley, idler pulleys, tensioner and water pump. Clean the mounting surfaces of old coolant and dirt. Check for oil leaks from the crankshaft and camshaft seals. If they leak, replace the seals.
- Install the new water pump with a new gasket or seal. Tighten the pump bolts in a crisscross pattern to the torque specified in the service manual.
- Install the new pulleys and tensioner. Before installing the new hydraulic tensioner, compress the rod slowly, without jerking, in a vise and lock it with the pin. Tighten the pulley and tensioner bolts: a rough guide is 25-45 N·m (18-33 lb-ft), but confirm the exact value in the service manual.
- Fit the new belt. Start at the crankshaft sprocket, then follow the belt path through the pulleys and camshaft sprockets, the pump and the tensioner, so the drive side stays taut. Make sure the marks line up and the camshaft locking tools are still in place.
- Pull the pin out of the tensioner, check that the rod has extended and the belt is tight. Remove the camshaft locking tools.
- Install the crankshaft pulley and tighten its bolt to the service manual specification, holding the pulley in place. Turn the crankshaft by hand, using the pulley bolt, two full turns in the normal direction of rotation. It should turn freely without binding: if you hit resistance, stop immediately and check the timing.
- Align the marks again and make sure the camshaft locking tools slide in without force. If they don't, remove the belt and repeat the installation.
- Install the timing covers, engine mount, accessory drive belt, air intake and hoses. Tighten the timing cover bolts evenly; the torque is low, per the service manual.
- Fill with the correct type of coolant and bleed the air from the system: warm up the engine with the expansion tank cap open and top off if needed. Check for leaks and unusual noises.
- Start the engine. Check how it runs at idle, check for OBD fault codes and look for leaks. Check the coolant level again after a few hundred kilometers.
Common mistakes and warnings
- The KV6 is an interference engine: incorrect timing or a skipped belt will bend the valves. Do not replace the belt alone without the tensioner, pulleys and pump: if a pulley or the pump fails, the belt will be destroyed. Take torque values (especially for the crankshaft pulley bolt) from the manufacturer's KV6 service manual, and do not tighten "by feel." If you have no experience with timing locking tools or don't have the right tools, it is better to leave the job to a specialist repair shop. The belt replacement interval is usually 10 years or 120,000-150,000 km, depending on the condition and history of the vehicle: if the history is unknown, replace it right away.
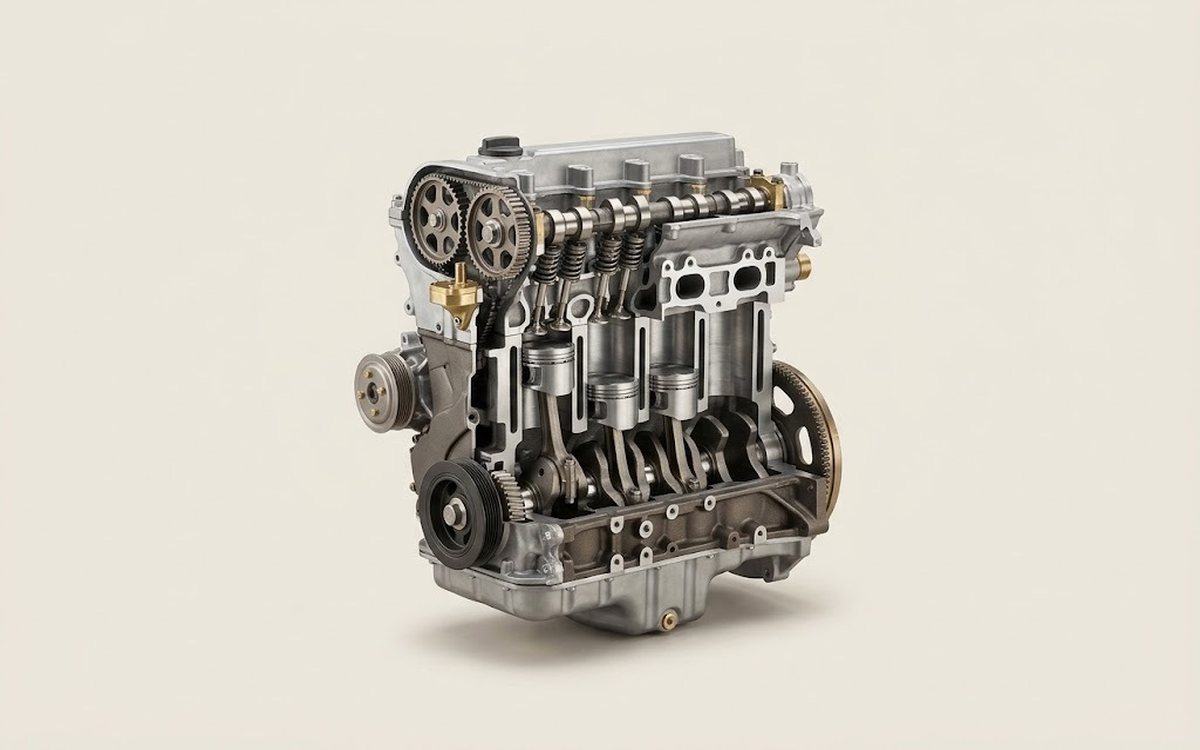 How it works · 3D
How a Car Engine Works
How the part you're working on actually works — in plain English, on a 3D model.
Open in 3D →
Spotted a mistake? Tell us →
Our articles
 Brand stories
The History of the Land Rover Brand
Land Rover debuted on the automotive market in the late 1940s and focused on four-wheel-drive vehicles from the start.…
Read →
 Garage
Fuel Quality Indicators: What Octane and Cetane Numbers Mean
What is an octane number? What about a cetane number? Which fuel should you choose for a high-compression engine?…
Read →
 Before you buy
How to Pick Up Your Car from the Dealership the Right Way
If you've decided to buy a car from a dealership, it isn't enough to simply choose a model you like, pay for it, and…
Read →