Autopapyrus · Land Rover Freelander (First generation, L314)
https://autopapyrus.com/catalog/land-rover/freelander/guides/cabin-air-filter-replacement/
https://autopapyrus.com/catalog/land-rover/freelander/guides/cabin-air-filter-replacement/
Compiled automatically from service literature and owner experience. Specs are for the typical configuration — check them against your exact car before you start.
Land Rover Freelander (First generation, L314): Cabin Air Filter Replacement
On the Freelander I, the filter isn't behind the glove box. It sits in the air intake under the hood, at the base of the windshield. To reach it, you remove the wiper arms, the hood seal and the air intake cover. Replace the filter once a year or about every 12,000 miles (about 20,000 km). Replace it more often in dusty conditions and in city stop-and-go traffic.
Part
| № | Part | Alternatives |
|---|---|---|
| 01 | Cabin (pollen) filter, in holders2 pcs.Find on Amazon → | AlternativesCortecoMannBlue Print |
Amazon links search by the part name; use Amazon's fit check for your car before ordering. We may earn a commission from qualifying purchases.
Tools
4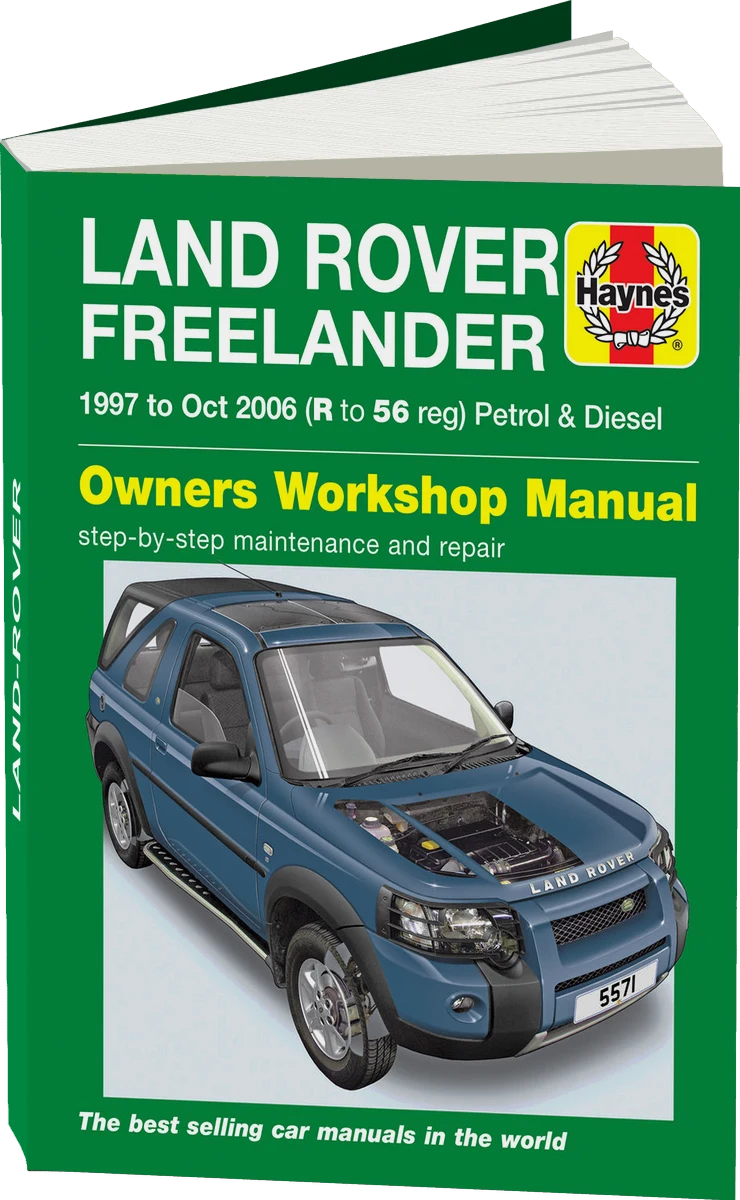 There's a full repair manual for this car
Every system, wiring diagrams and torque specs — not just this job. Haynes and 8 more.
See manuals →
Step by step
11 steps- Open the hood. Lift the wiper arms, press the retaining tabs and remove the wiper blades.
- Remove the caps from the wiper arm nuts, unscrew the nuts and remove the arms. Note or mark their position on the glass so you can reinstall them in exactly the same place.
- Remove the hood seal at the base of the windshield (it covers the cover's fasteners).
- Remove the 6 screws along the rear edge of the air intake cover. Pull out the clips around the perimeter of the grille, if there are any, and remove the cover.
- Remove the rubber seal from the molded part of the air intake.
- Release the 4 clips that hold the filter holders. Pull out the holders together with the old filters.
- Before removal, note or photograph the position of the old elements. The sources I found show no airflow direction markings, so use the old filter as a guide, along with the arrow on the new one if it has one.
- Clean leaves and dirt out of the air intake. Don't let debris get into the ventilation duct.
- Install the new filters in the holders and secure them in their original positions with the clips. Install the rubber seal, the cover and the 6 screws.
- Reinstall the hood seal and fit the wiper arms in their original position. Tighten the arm nuts to the manufacturer's specified torque (as a guide, snug without stripping the threads). Install the caps and the blades.
- Turn on the heater fan and check the airflow. Check that the wipers return to their park position.
Common mistakes and warnings
- The clips and the plastic grille become brittle with age, so remove them carefully and buy spare clips if needed
- The two filters in holders are listed under different entries in some catalogs, so check that the new set fits a 1998 vehicle
- Don't overtighten the wiper nuts
Spotted a mistake? Tell us →
Our articles
 Brand stories
The History of the Land Rover Brand
Land Rover debuted on the automotive market in the late 1940s and focused on four-wheel-drive vehicles from the start.…
Read →
 Garage
Fuel Quality Indicators: What Octane and Cetane Numbers Mean
What is an octane number? What about a cetane number? Which fuel should you choose for a high-compression engine?…
Read →
 Before you buy
How to Pick Up Your Car from the Dealership the Right Way
If you've decided to buy a car from a dealership, it isn't enough to simply choose a model you like, pay for it, and…
Read →