Autopapyrus · Tesla Model 3 (1st Generation)
https://autopapyrus.com/catalog/tesla/model-3/guides/cabin-air-filter-replacement/
https://autopapyrus.com/catalog/tesla/model-3/guides/cabin-air-filter-replacement/
Compiled automatically from service literature and owner experience. Specs are for the typical configuration — check them against your exact car before you start.
Tesla Model 3 (1st Generation): Cabin Air Filter Replacement
The Model 3 cabin air filter is located in the front passenger footwell area and should be replaced every 2 years. A distinctive feature of this car is that two filters are stacked on top of each other and are replaced as a set. The procedure requires removing the lower panels of the center console.
Part
| № | Part |
|---|---|
| 01 | Cabin air filters Tesla (set of two)Find on Amazon → |
Amazon links search by the part name; use Amazon's fit check for your car before ordering. We may earn a commission from qualifying purchases.
Tools
4Step by step
14 steps- Turn off the climate control on the touchscreen.
- Slide the front passenger seat all the way back and remove the floor mat.
- Use a plastic trim tool to carefully release the clips of the lower footwell cover on the passenger side.
- Disconnect the two electrical connectors from the removed panel (pull on the plastic connector housing, not on the wires).
- Remove the right side panel of the center console by releasing the retaining clips.
- Remove the T20 screw that secures the filter cover to the HVAC housing (depending on the build date, the fastener may be a hybrid T20/6 mm type, or there may be latches with no screw).
- Remove the filter module cover by pulling it toward you, taking care not to bend or strain the orange high-voltage cables.
- Pull out both filters by their plastic tabs: the top one first, then the bottom one.
- Install the new filters in reverse order: the bottom one first, then the top one. Make sure the airflow direction arrows on each filter point toward the rear of the vehicle (toward the trunk).
- Put the filter cover back in place, engaging the lower tab first.
- Tighten the T20 screw to 1.2 N·m (11 lb-in) (hand-tighten only, do not overtighten).
- Install the right console panel and the lower footwell panel, snapping in all the clips. Reconnect the two connectors.
- Put the floor mat and the seat back in their original positions.
- Reset the filter maintenance interval through the vehicle menu: Service > Reset Interval.
Common mistakes and warnings
- Orange high-voltage cables run through the work area
- It is strictly forbidden to stretch, bend, pinch, or damage these cables, as this can result in fatal injuries from high-voltage electric shock
- Do not touch the orange wires or their insulation
- If the HV cables are accidentally damaged, contact a certified Tesla service center immediately
Spotted a mistake? Tell us →
Our articles
 Test drives
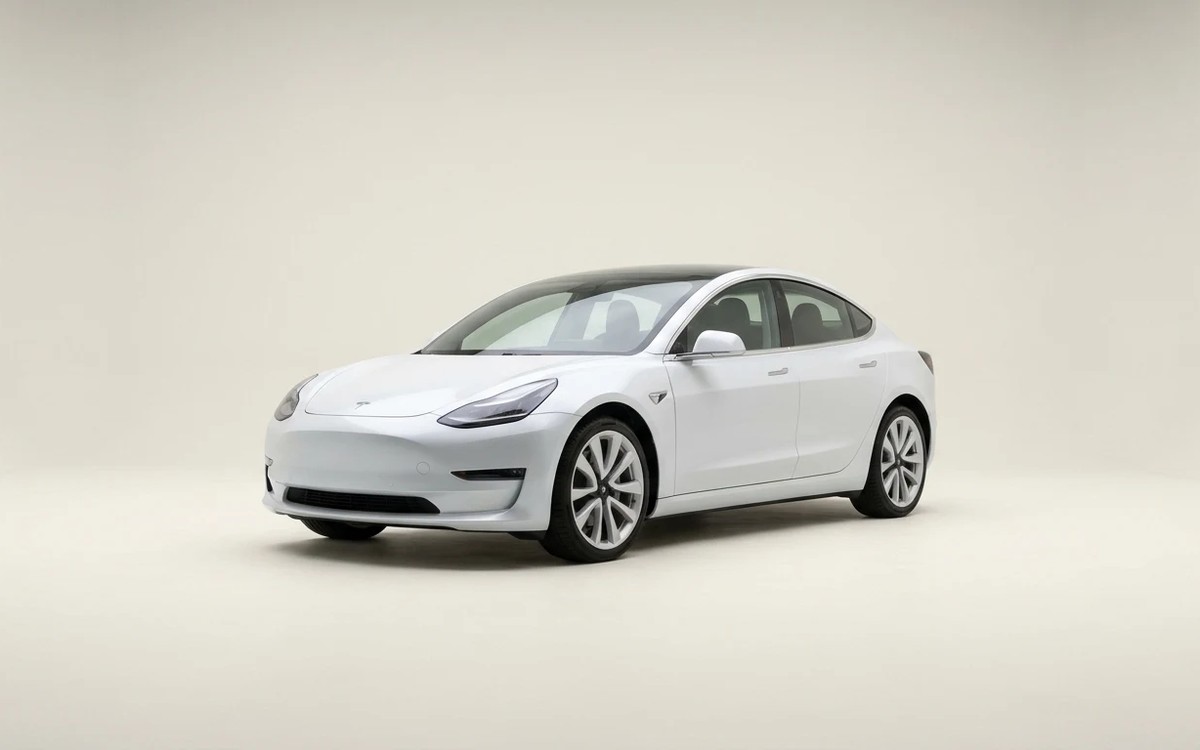
Tesla Model 3 Review
Electric cars from the American company Tesla are gaining popularity around the world and sell by the thousands. Not…
Read →
 Brand stories
The History of the Tesla Brand
Tesla Motors, a North American company founded in 2003, is rightly considered the pioneer of a new era in the…
Read →
 Garage
Fuel Quality Indicators: What Octane and Cetane Numbers Mean
What is an octane number? What about a cetane number? Which fuel should you choose for a high-compression engine?…
Read →