Autopapyrus · Tesla Model 3 (2021)
https://autopapyrus.com/catalog/tesla/model-3/guides/front-brake-pad-replacement/
https://autopapyrus.com/catalog/tesla/model-3/guides/front-brake-pad-replacement/
Compiled automatically from service literature and owner experience. Specs are for the typical configuration — check them against your exact car before you start.
Tesla Model 3 (2021): Front Brake Pad Replacement
This guide covers the front pads. The rear brakes are different: they have an electric parking brake, and service mode is required before you start. On an electric vehicle, you can replace the pads without disconnecting the high-voltage system, because you don't touch the orange HV cables. Because of regenerative braking, the pads wear slowly, but the slide pins and pins rust, so they need to be cleaned and lubricated.
Key figures
- Lug nut torque176 N·m (130 lb-ft). Set it on the torque wrench when installing the wheel (step 19); an under-tightened wheel can come loose while driving
- Socket size for the caliper bolts18 mm or Torx. You will need it in step 10 if you remove the caliper to replace the rotors
- Socket size for the rotor retaining screw10 mm. You will need it in step 12
Check these values against the manufacturer’s specification for your vehicle before you start.
Diagram: where the pads, caliper and pins are on the brake with the wheel off
Tap to enlarge
- 1Pad: plate with friction layer in the gap between caliper and disc at the rim. Take old pads out of the caliper and fit new ones the same way, keeping inner and outer apart.
- 2Caliper: cast bracket over the disc rim. Inspect it and the boots; to change discs remove the two bolts on its back.
- 3Caliper pins: two pins at the top of the caliper. Knock them out with a punch and hammer; when refitting make sure they seat fully.
- 4Hub with center nut: the disc and wheel mount on it. The disc locking bolt takes a 10 mm socket.
- 5Dust shield: thin plate behind the disc. Do not hit it when removing the disc: if bent, the pads will rub.
- 6Brake disc: when worn it is removed and replaced; wipe the new one with brake cleaner.
Parts
3| № | Part | Alternatives |
|---|---|---|
| 01 | Front brake pad set for Model 3 (pads made by Brembo)Find on Amazon → | AlternativesBremboTRWATE |
| 02 | High-temperature grease for brake slide pins and pad backing platesFind on Amazon → | |
| 03 | Front brake rotorsif the pads are worn down to the metal and the rotors are wornFind on Amazon → |
Amazon links search by the part name; use Amazon's fit check for your car before ordering. We may earn a commission from qualifying purchases.
Tools
10- Jack and jack stands (or a floor jack with a Tesla jack point adapter) Amazon →
- lug wrench Amazon →
- torque wrench Amazon →
- drift punch for the caliper pins Amazon →
- flat-blade screwdriver Amazon →
- hammer Amazon →
- penetrating oil Amazon →
- 18 mm and 10 mm sockets and a Torx socket (EP20) Amazon →
- wire for hanging the caliper Amazon →
- syringe or C-clamp/piston spreader for the piston Amazon →
Step by step
24 steps · 5 stagesStage 1 of 5 Preparation 4 steps
- Park the vehicle on a level surface, shift into P, and chock the wheels on the opposite axle.
- Open the hood and remove the cap from the brake fluid reservoir. This keeps the level from rising above normal when you push the pistons back. If any fluid is pushed out, wipe it up right away: it damages paint.
- Loosen the lug nuts on the front wheels half a turn, without removing them.
- Lift the front of the vehicle with the jack, using the adapter at the Tesla jack point so you don't damage the battery enclosure. Place jack stands under the vehicle and remove the wheel.
Stage 2 of 5 Pad removal 5 steps
- Inspect the caliper, the dust boots, and the brake hose. Treat the pins with penetrating oil if they are rusty.
- Drive out the first caliper pin with the drift punch and a hammer.
- Remove the second pin, which holds the pads in place.
- Insert a flat-blade screwdriver between the old pads and the rotor. Pry the pads away from the rotor so the piston moves back into the caliper. Do this only with the old pads, not with the new ones.
- Take the pads out of the caliper. Note which one was on the inboard side and which was on the outboard side, and don't mix them up.
Stage 3 of 5 CALIPER AND ROTOR REMOVAL (only if you are replacing the rotors or cleaning the slide pins) 4 steps
- Remove the two bolts on the back of the caliper (18 mm socket or Torx, depending on the trim).
- Take the caliper off the hub and hang it with wire from the suspension spring. Don't leave it hanging from the brake hose.
- Remove the small rotor retaining screw (10 mm socket).
- Remove the rotor. If it is stuck, tap on the back of the rotor from the caliper side. Don't hit the dust shield behind the rotor: if it gets bent, the pads will rub.
Stage 4 of 5 Installation 5 steps
- Clean the pad seats and the pins of dirt and rust. Replace rusty pins.
- If you replaced the rotor, install the new one, tighten the 10 mm retaining screw, and wipe the rotor with brake cleaner.
- Reinstall the caliper and tighten its two bolts. The torque for the caliper mounting bolts is about 95-120 N·m (70-89 lb-ft). Check the exact value against the Tesla service manual.
- Apply a thin layer of brake grease to the backing plates of the new pads and to the places where they contact the caliper. No grease should get on the rotor or the friction material.
- Insert the new pads, insert the pins, and make sure they are fully seated.
Stage 5 of 5 Reassembly and check 6 steps
- Install the wheel, thread the lug nuts on by hand, lower the vehicle, and tighten the lug nuts in a crisscross pattern to 176 N·m (130 lb-ft).
- Repeat steps 3-19 on the other wheel.
- Check the fluid level between the MIN and MAX marks, then close the brake fluid reservoir.
- Press the brake pedal all the way down several times until it feels firm. Only then move the vehicle.
- Take a test drive at low speed, then make 10-15 brake applications from moderate speed to bed in the pads. Avoid hard braking for the first few miles.
- If a pad drags after a few minutes of driving (squealing, a hot rotor), remove the wheel and check the rotor dust shield: it may be bent.
Common mistakes and warnings
- Brakes are a safety system
- If you don't have experience, have a repair shop do the work
- A soft or sinking pedal won't be fixed by new pads: look for air in the system, a leak, or a master cylinder fault
- Never work under a vehicle that is supported only by a jack
 How it works · 3D
How Car Brakes Work
How the part you're working on actually works — in plain English, on a 3D model.
Open in 3D →
Spotted a mistake? Tell us →
Our articles
 Test drives
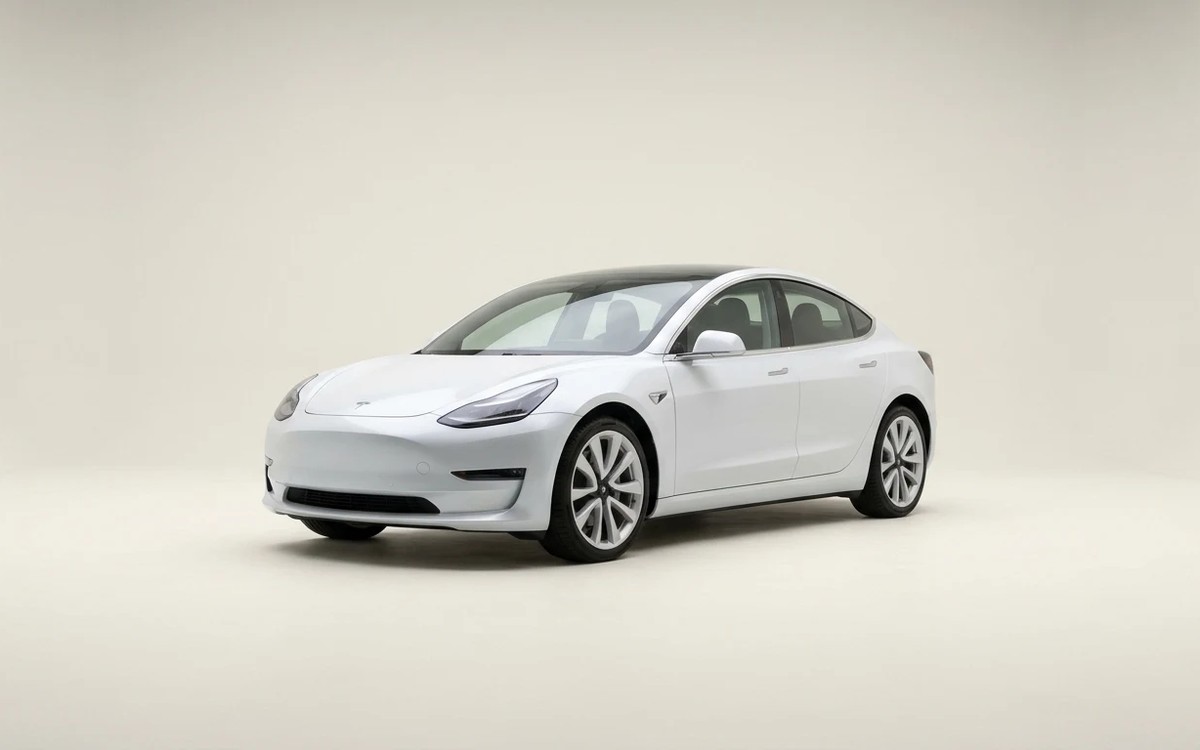
Tesla Model 3 Review
Electric cars from the American company Tesla are gaining popularity around the world and sell by the thousands. Not…
Read →
 Brand stories
The History of the Tesla Brand
Tesla Motors, a North American company founded in 2003, is rightly considered the pioneer of a new era in the…
Read →
 Garage
Fuel Quality Indicators: What Octane and Cetane Numbers Mean
What is an octane number? What about a cetane number? Which fuel should you choose for a high-compression engine?…
Read →